Some links in this post are affiliate links, so I may earn a small commission if you make a purchase. It’s a great way to support Crafty Bones, and it doesn’t cost you anything extra! You can find more details in our Privacy Policy.
Check out the Pattern Adult and Kids sized
Pattern PDFs on Ravelry
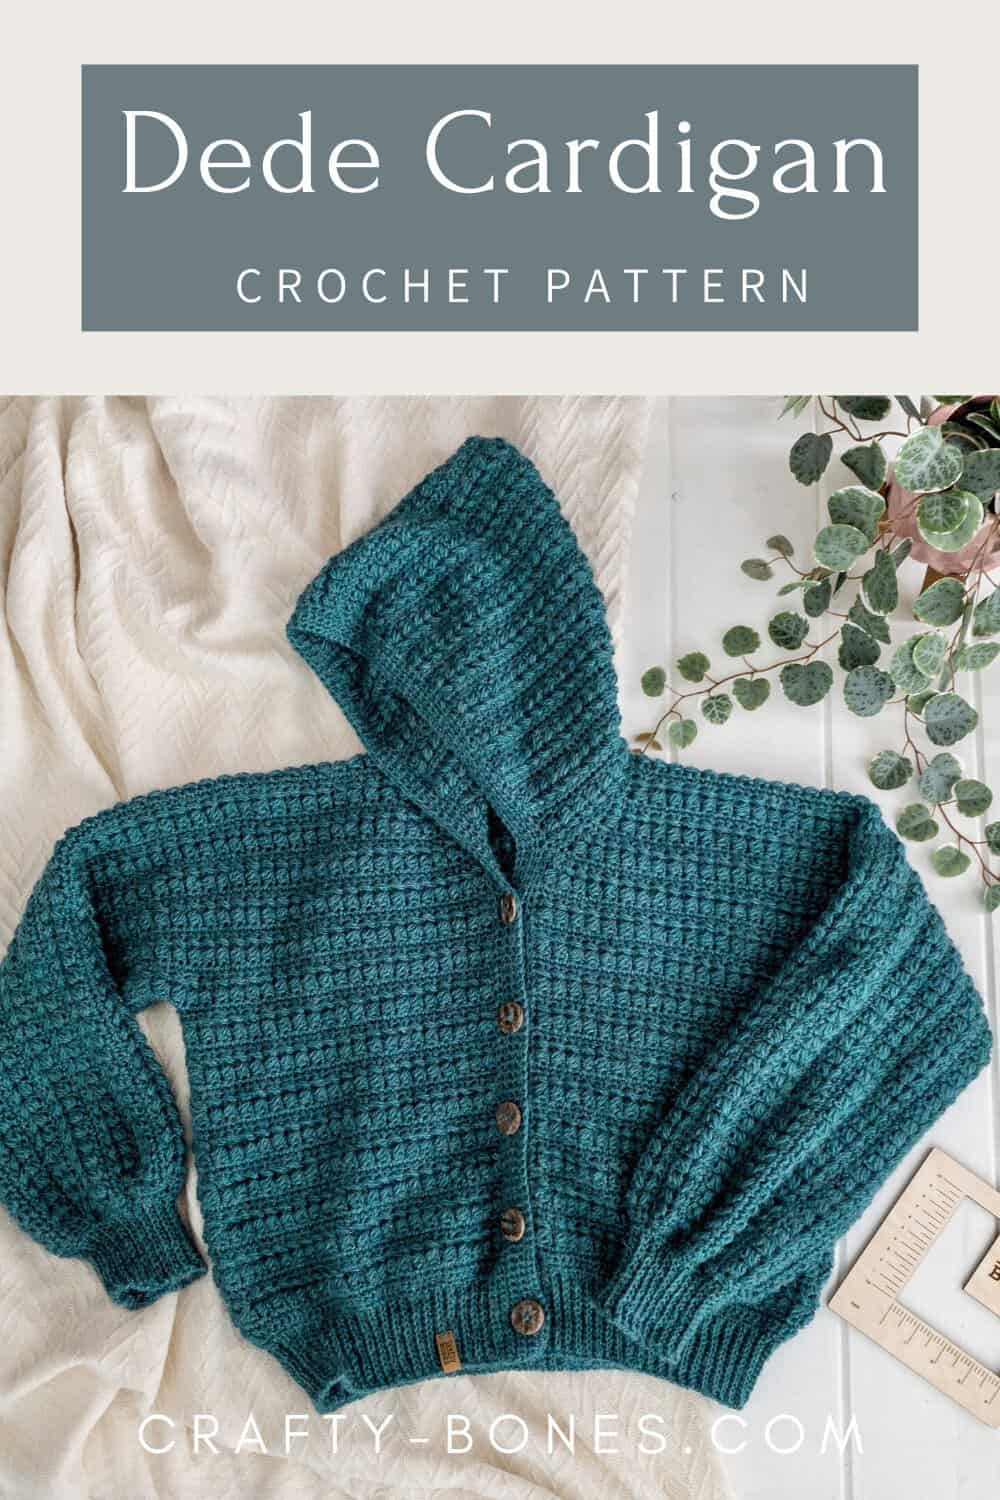
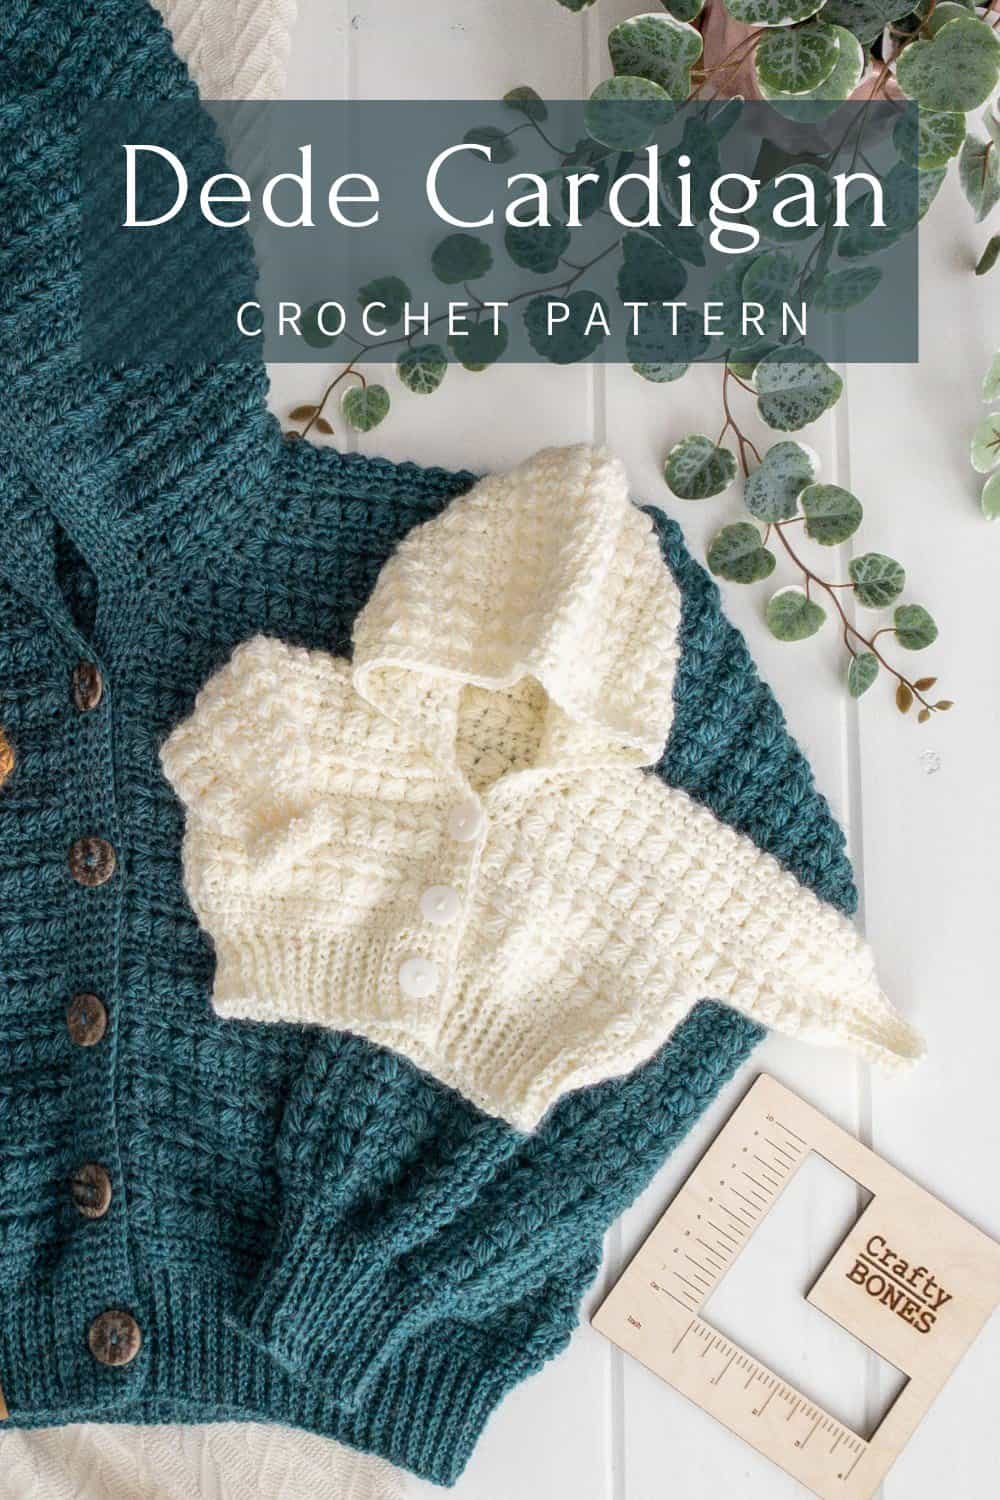
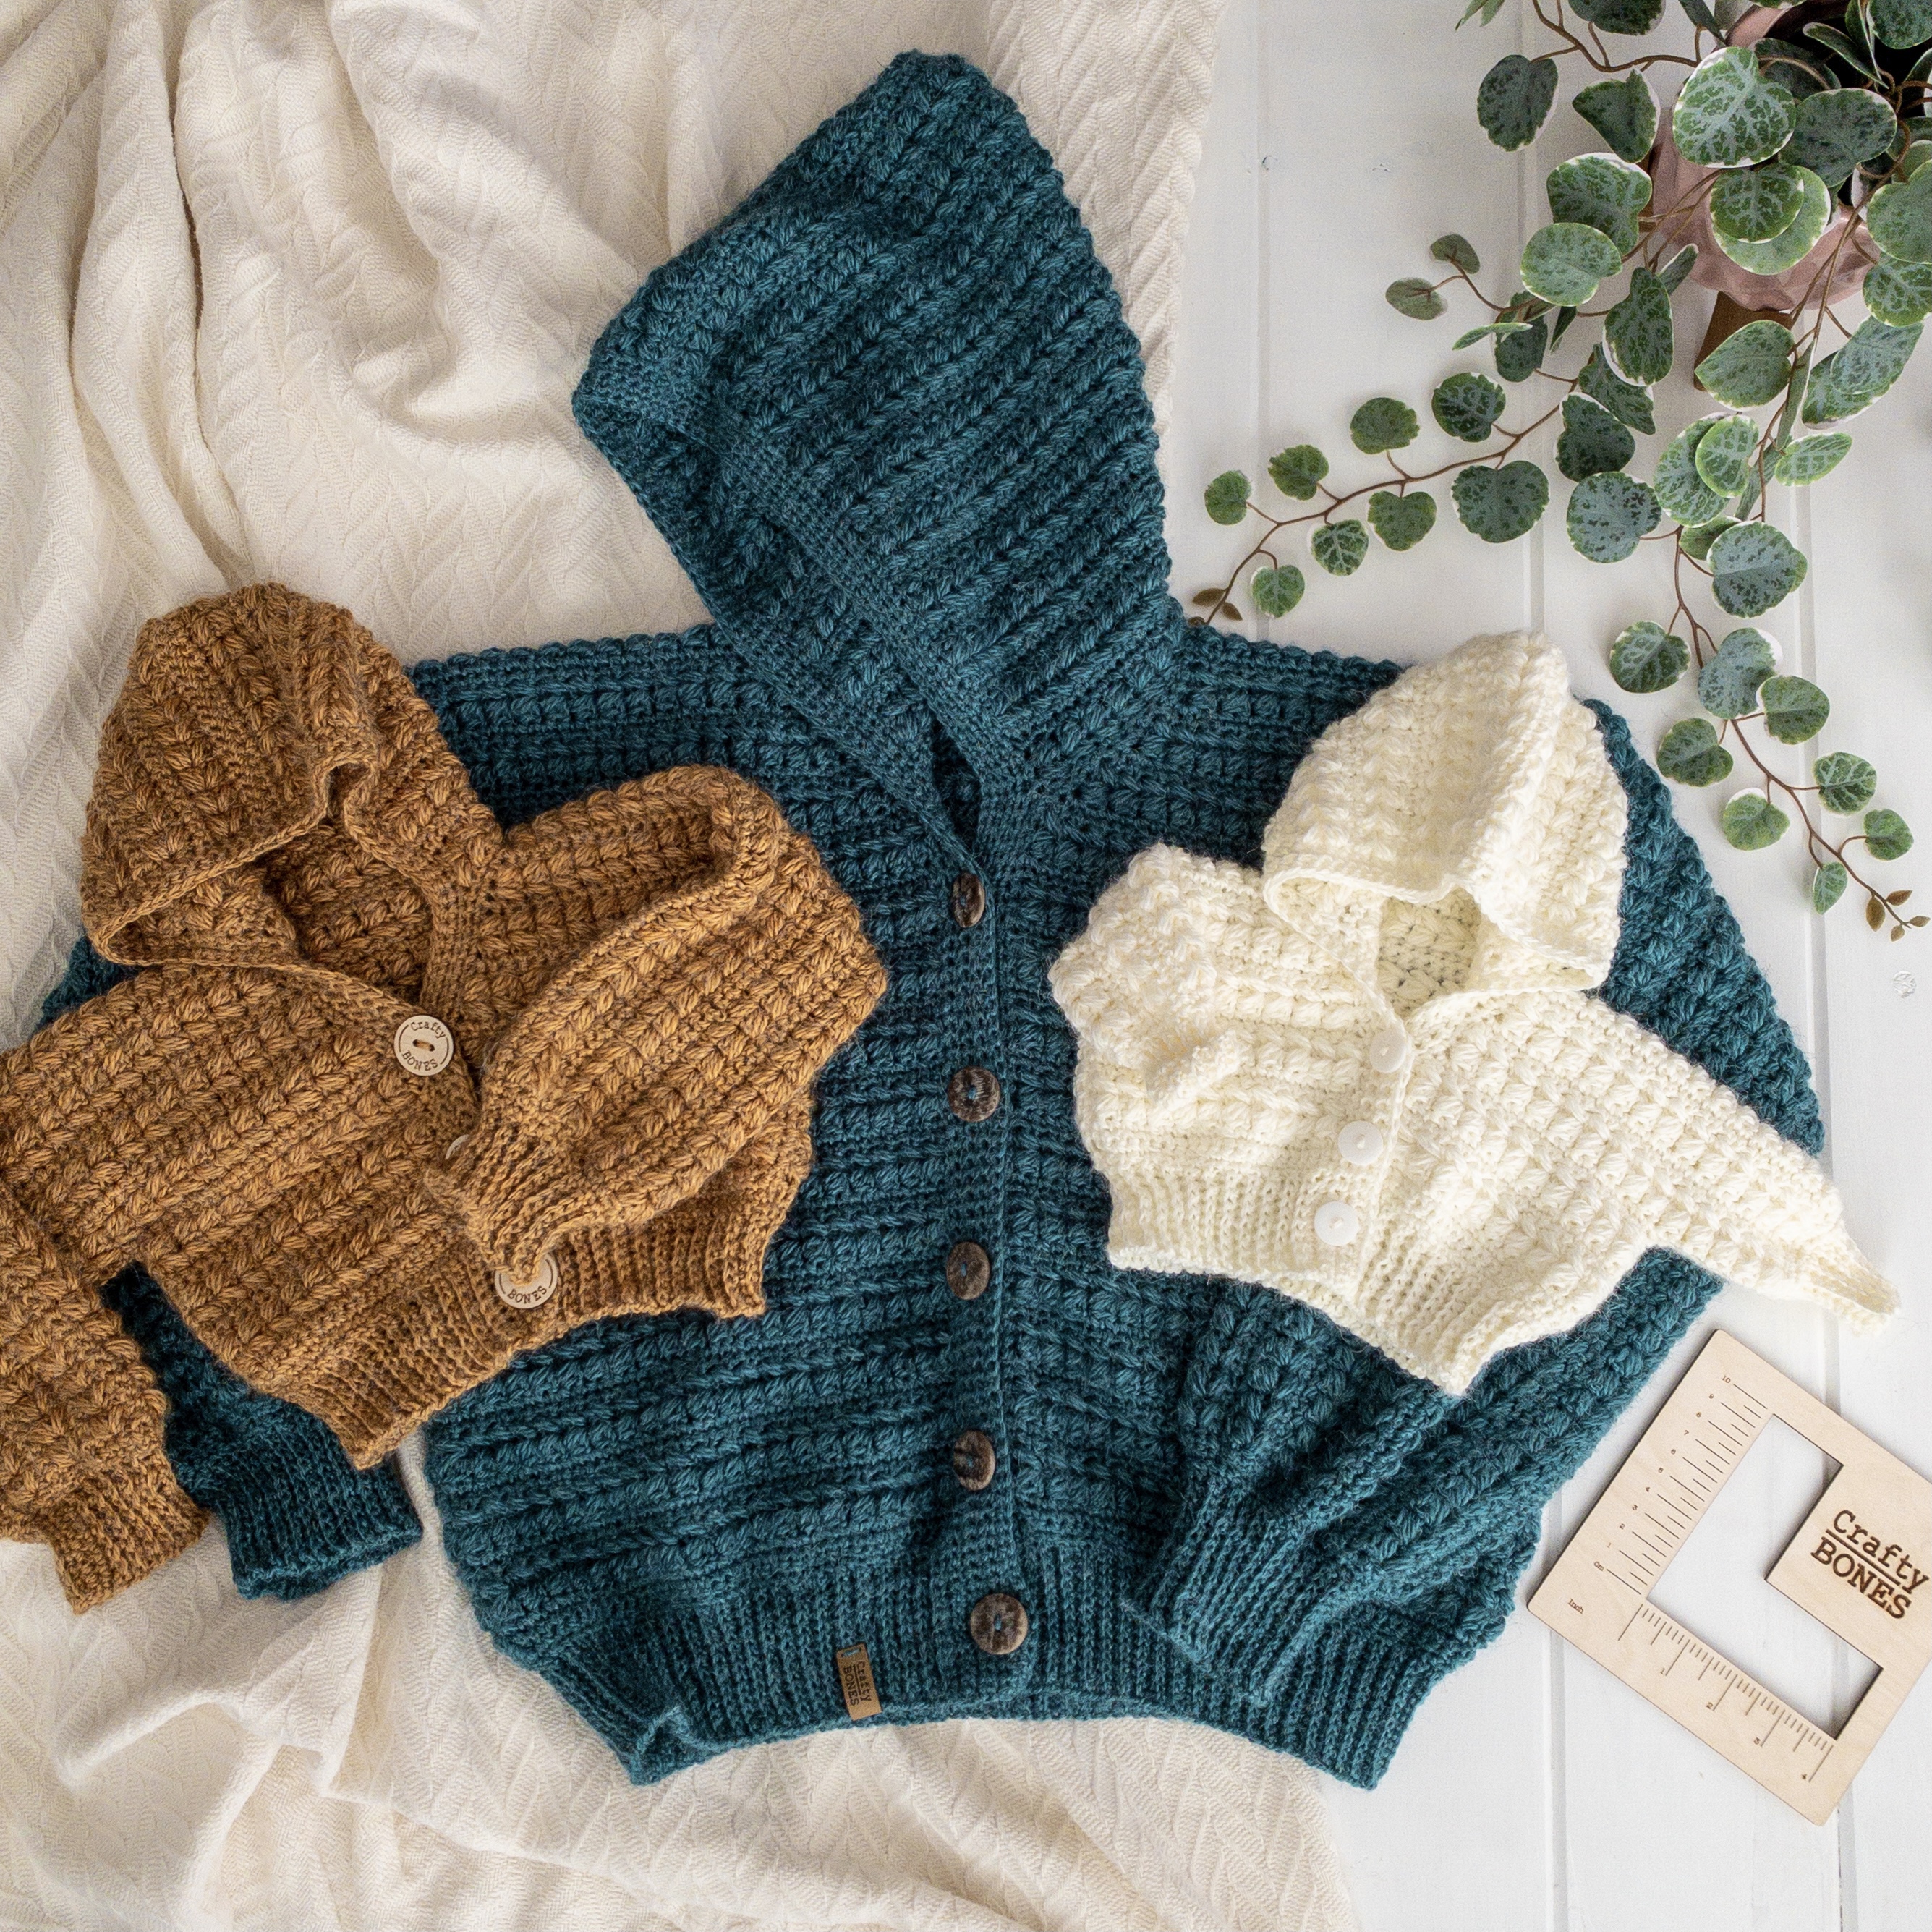
After designing the Delilah Cardigan I shortly realized how much I loved the texture and pattern of the stitch. So why not make it into a Hooded Cardigan with lots of customization options, know as the Dede Cardigan.
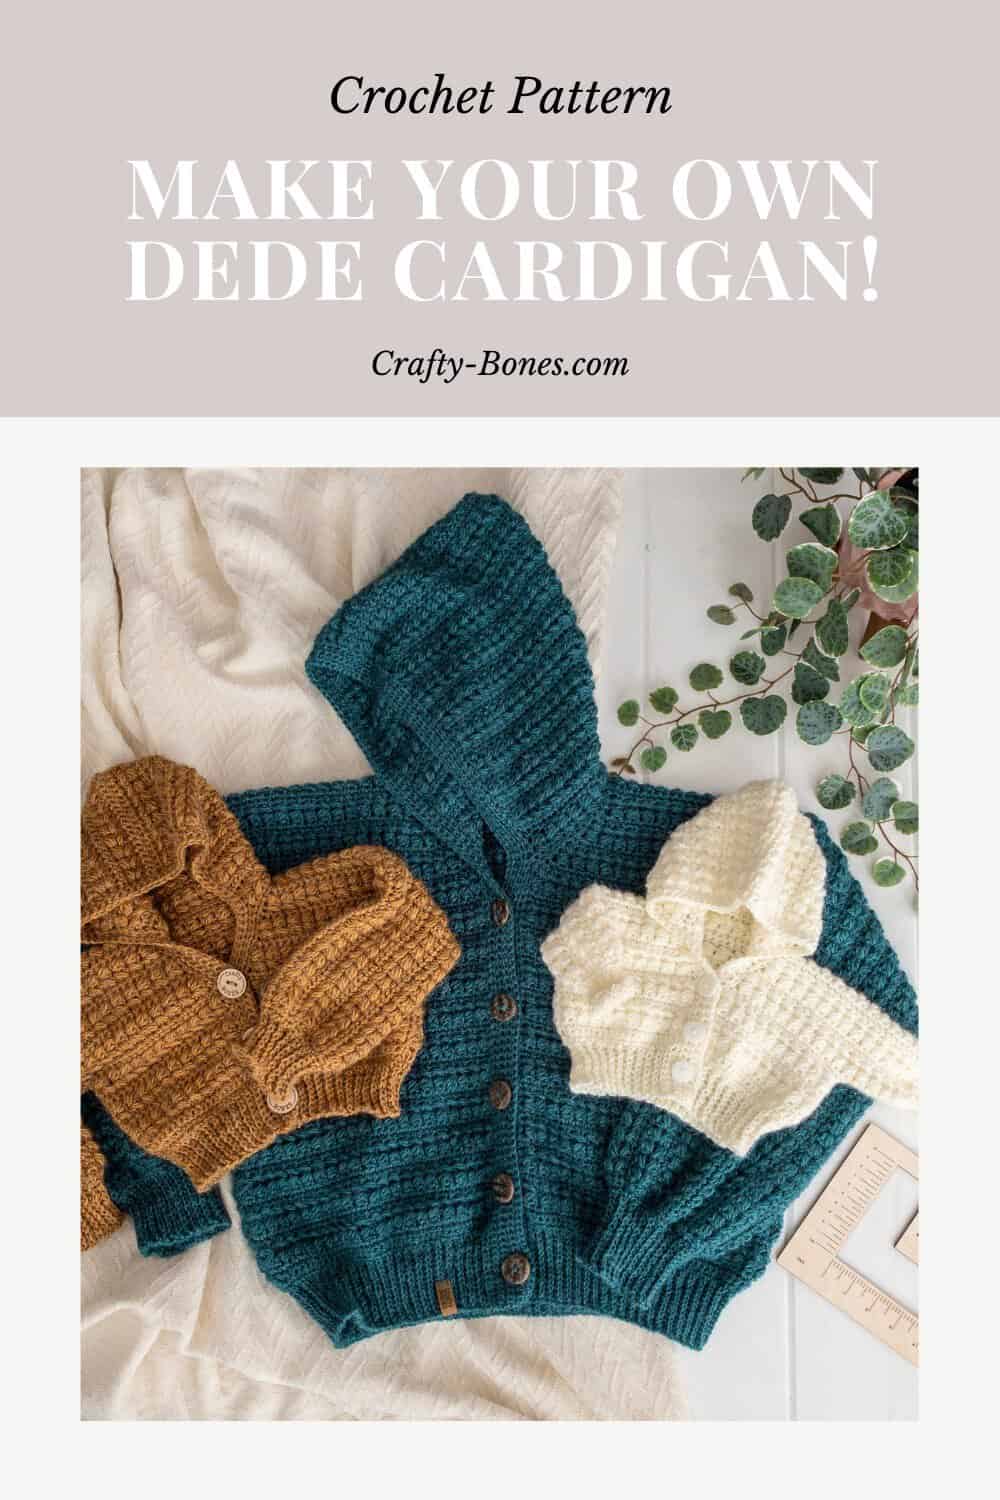
This is a great beginner garment pattern. You only have to learn a couple of stitches and the way it is constructed it uses minimal seaming. It is also a great netflix and crochet pattern.
Wanting to make a Crochet Cardigan for yourself or as a gift?
The Baby/Kids Pattern includes 8 sizes (3 months, 6 months, 12 months, size 2, size 4, size 6, size 8, size 10) and the adult pattern includes 9 sizes (xs, s, m, l, xl, 2xl, 3xl, 4xl, 5xl).
The pattern explains all the different ways you can customize the fit of the cardigan to be exactly the right fit.
Dede Cardigan PDF Pattern
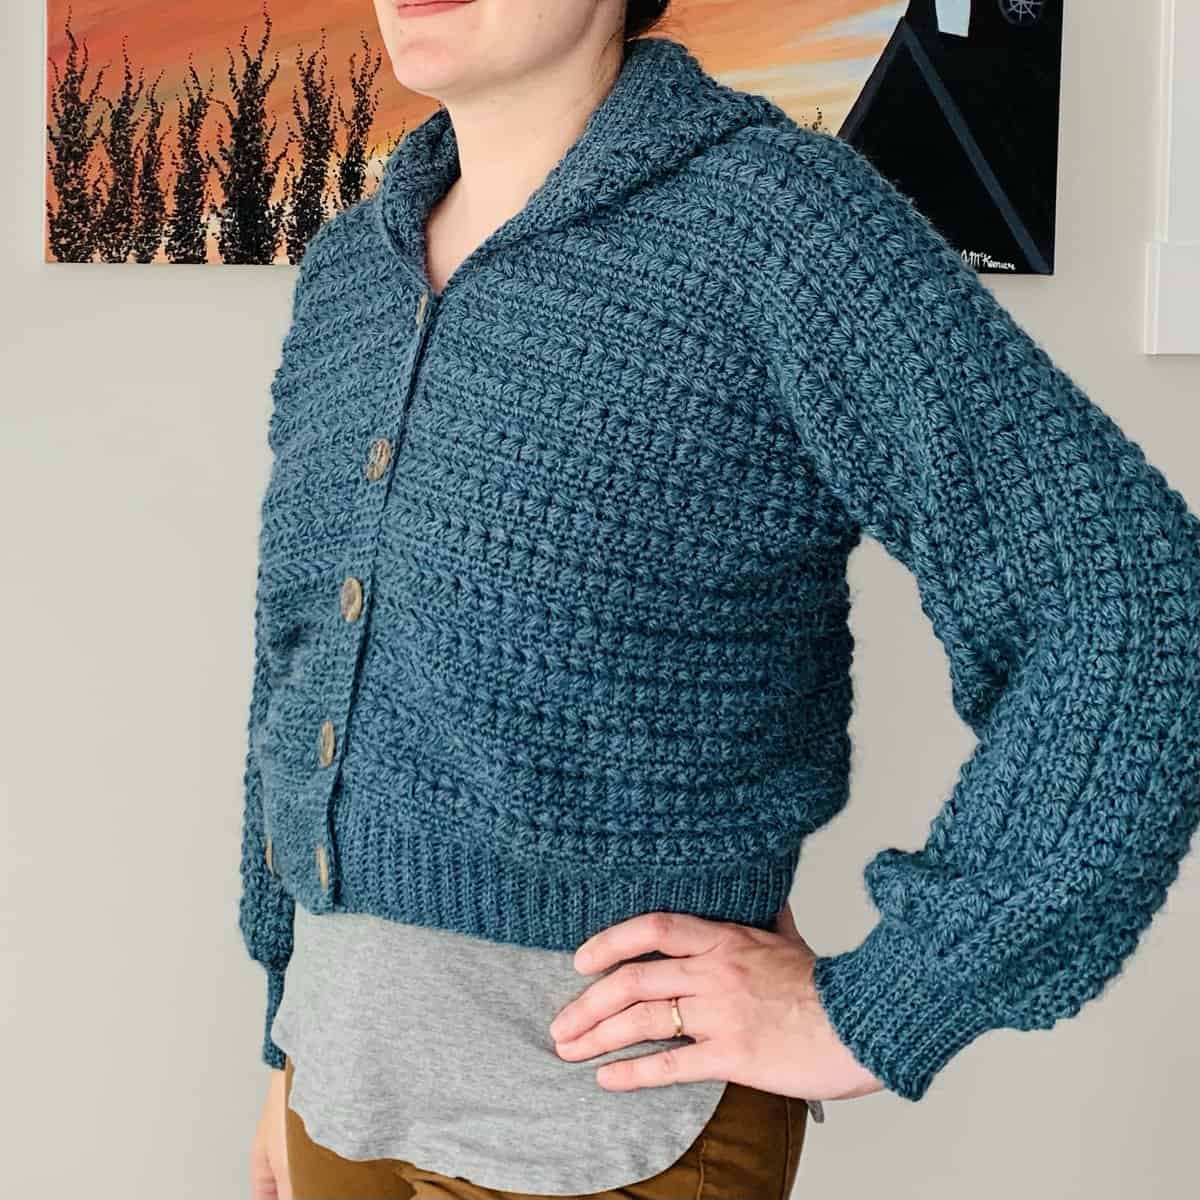
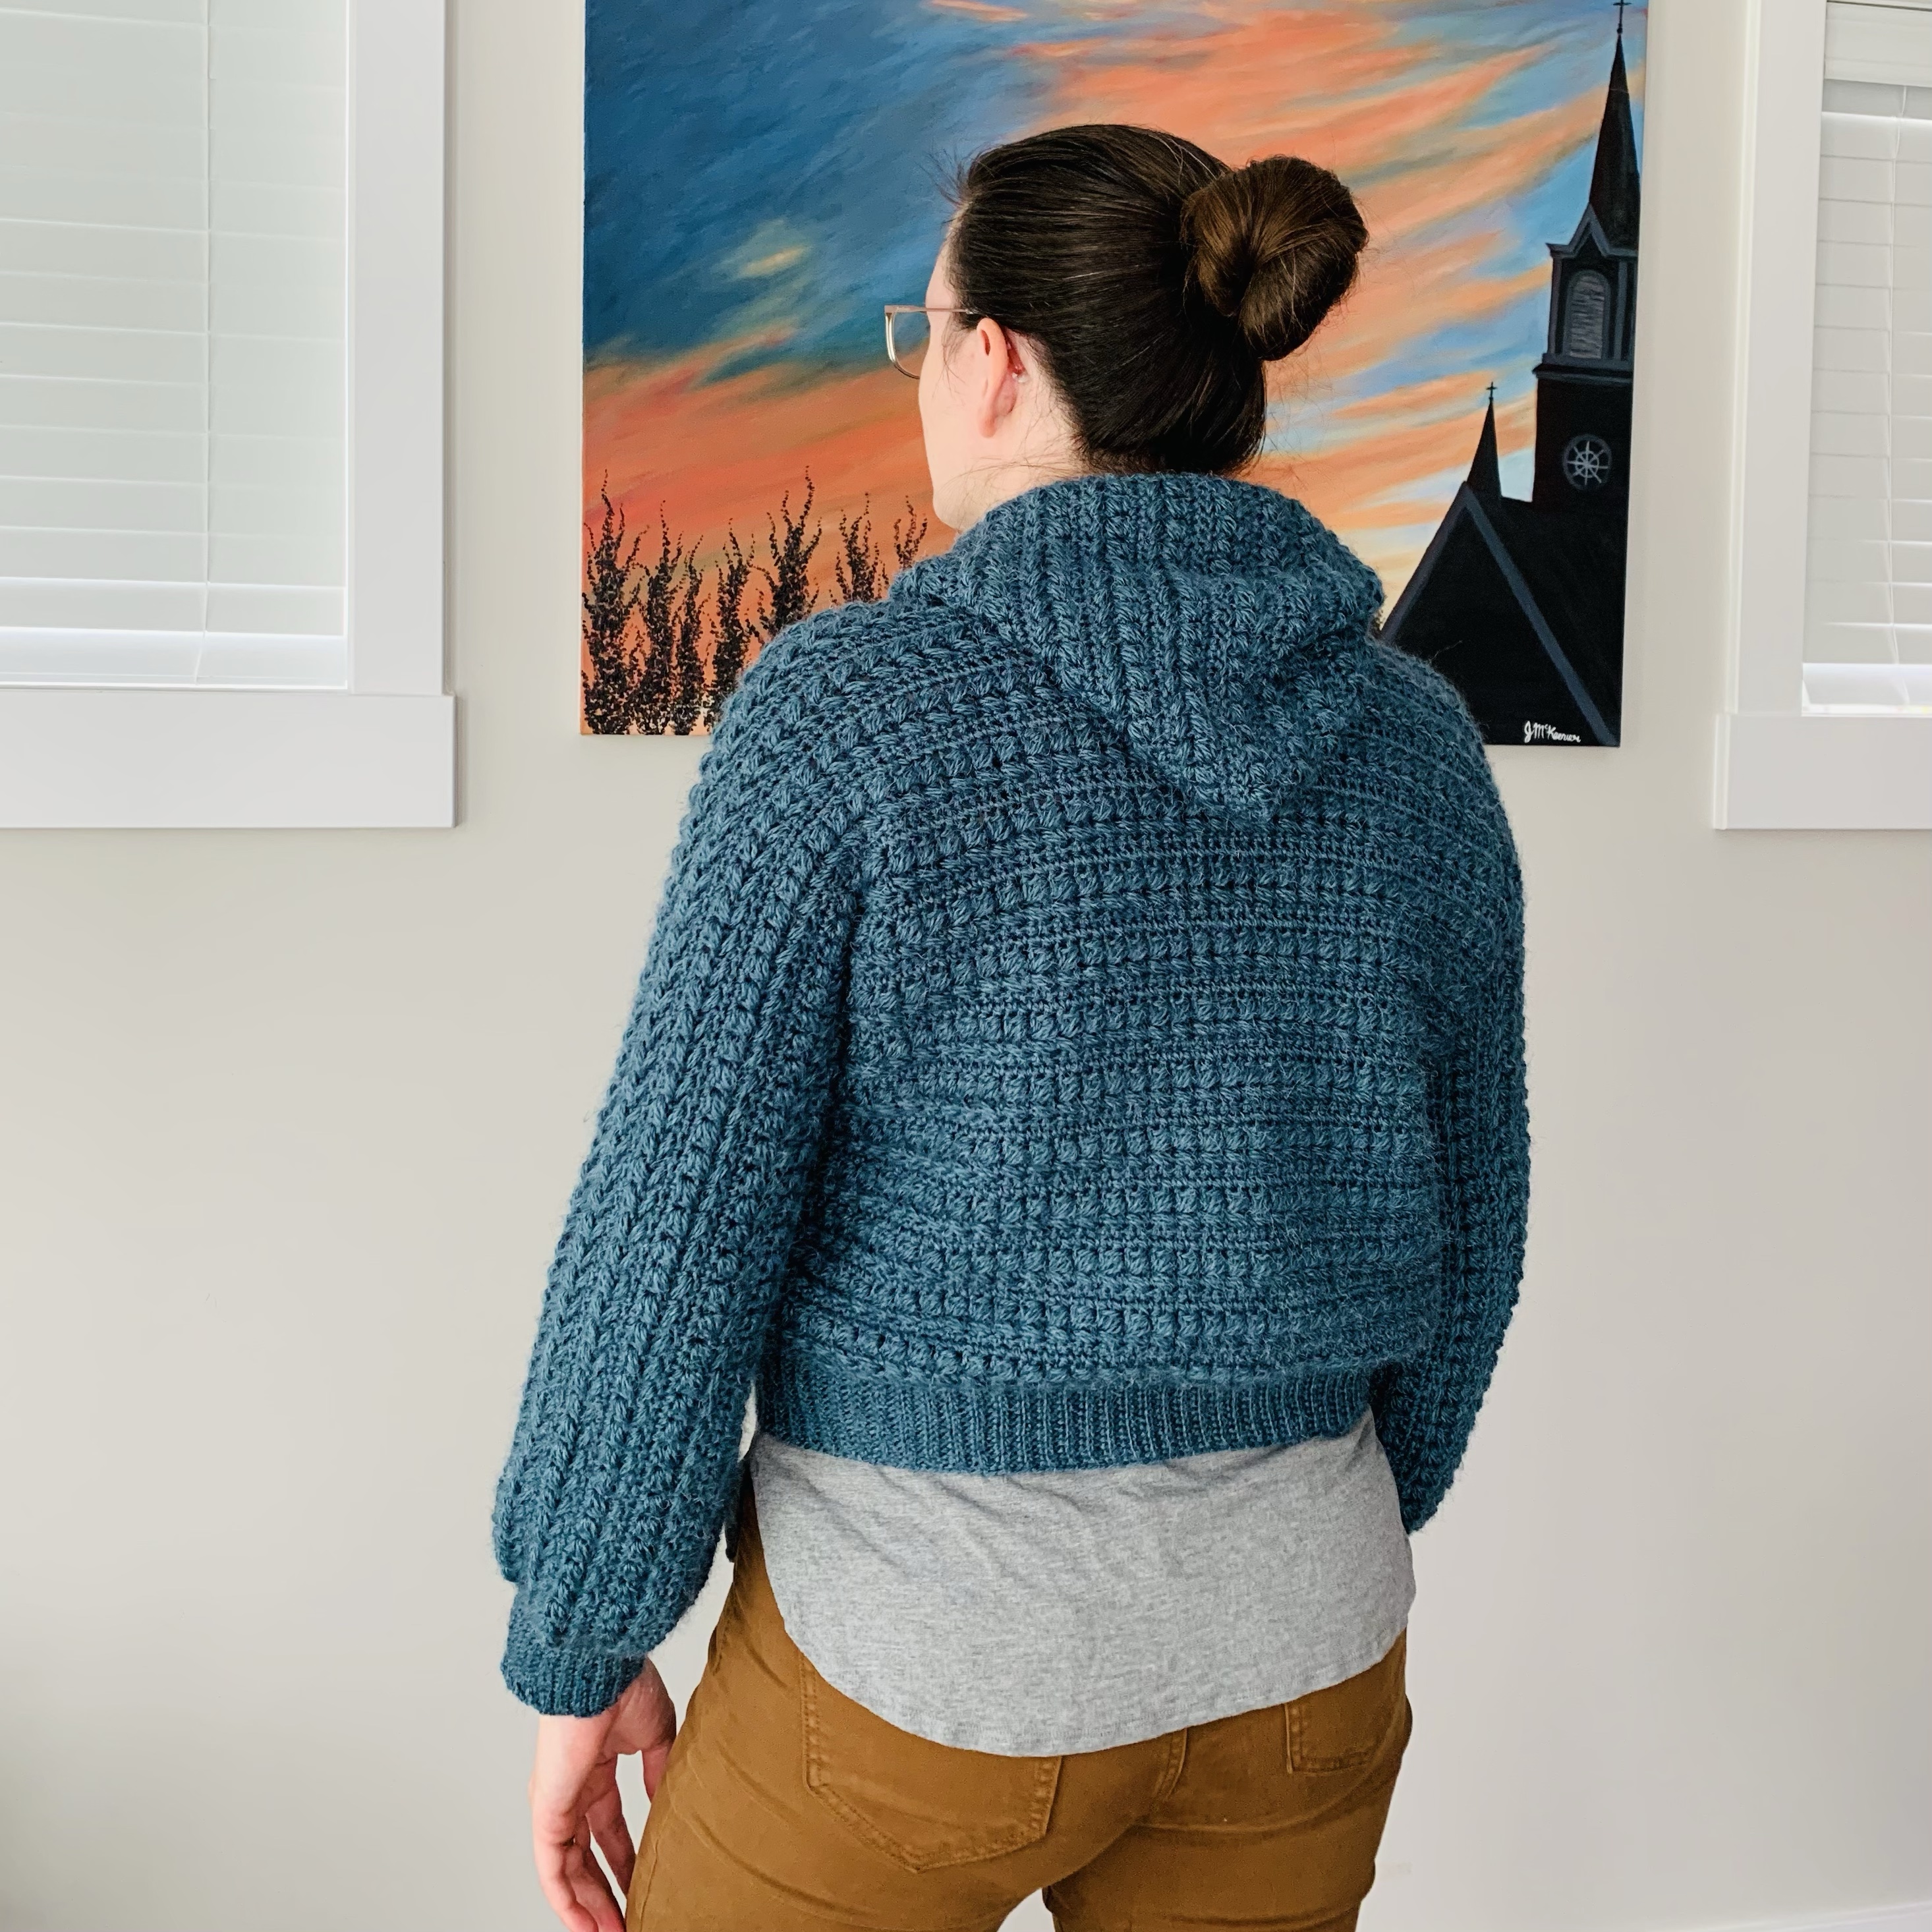
Tester Photos


Some of the yarns used by the tester were
-Red Heart Unforgettable
-We Crochet Alpaca Cloud
-Hobbii Fluffy Day
-Hobbii Cosy
-Loops and Threads Joy DK
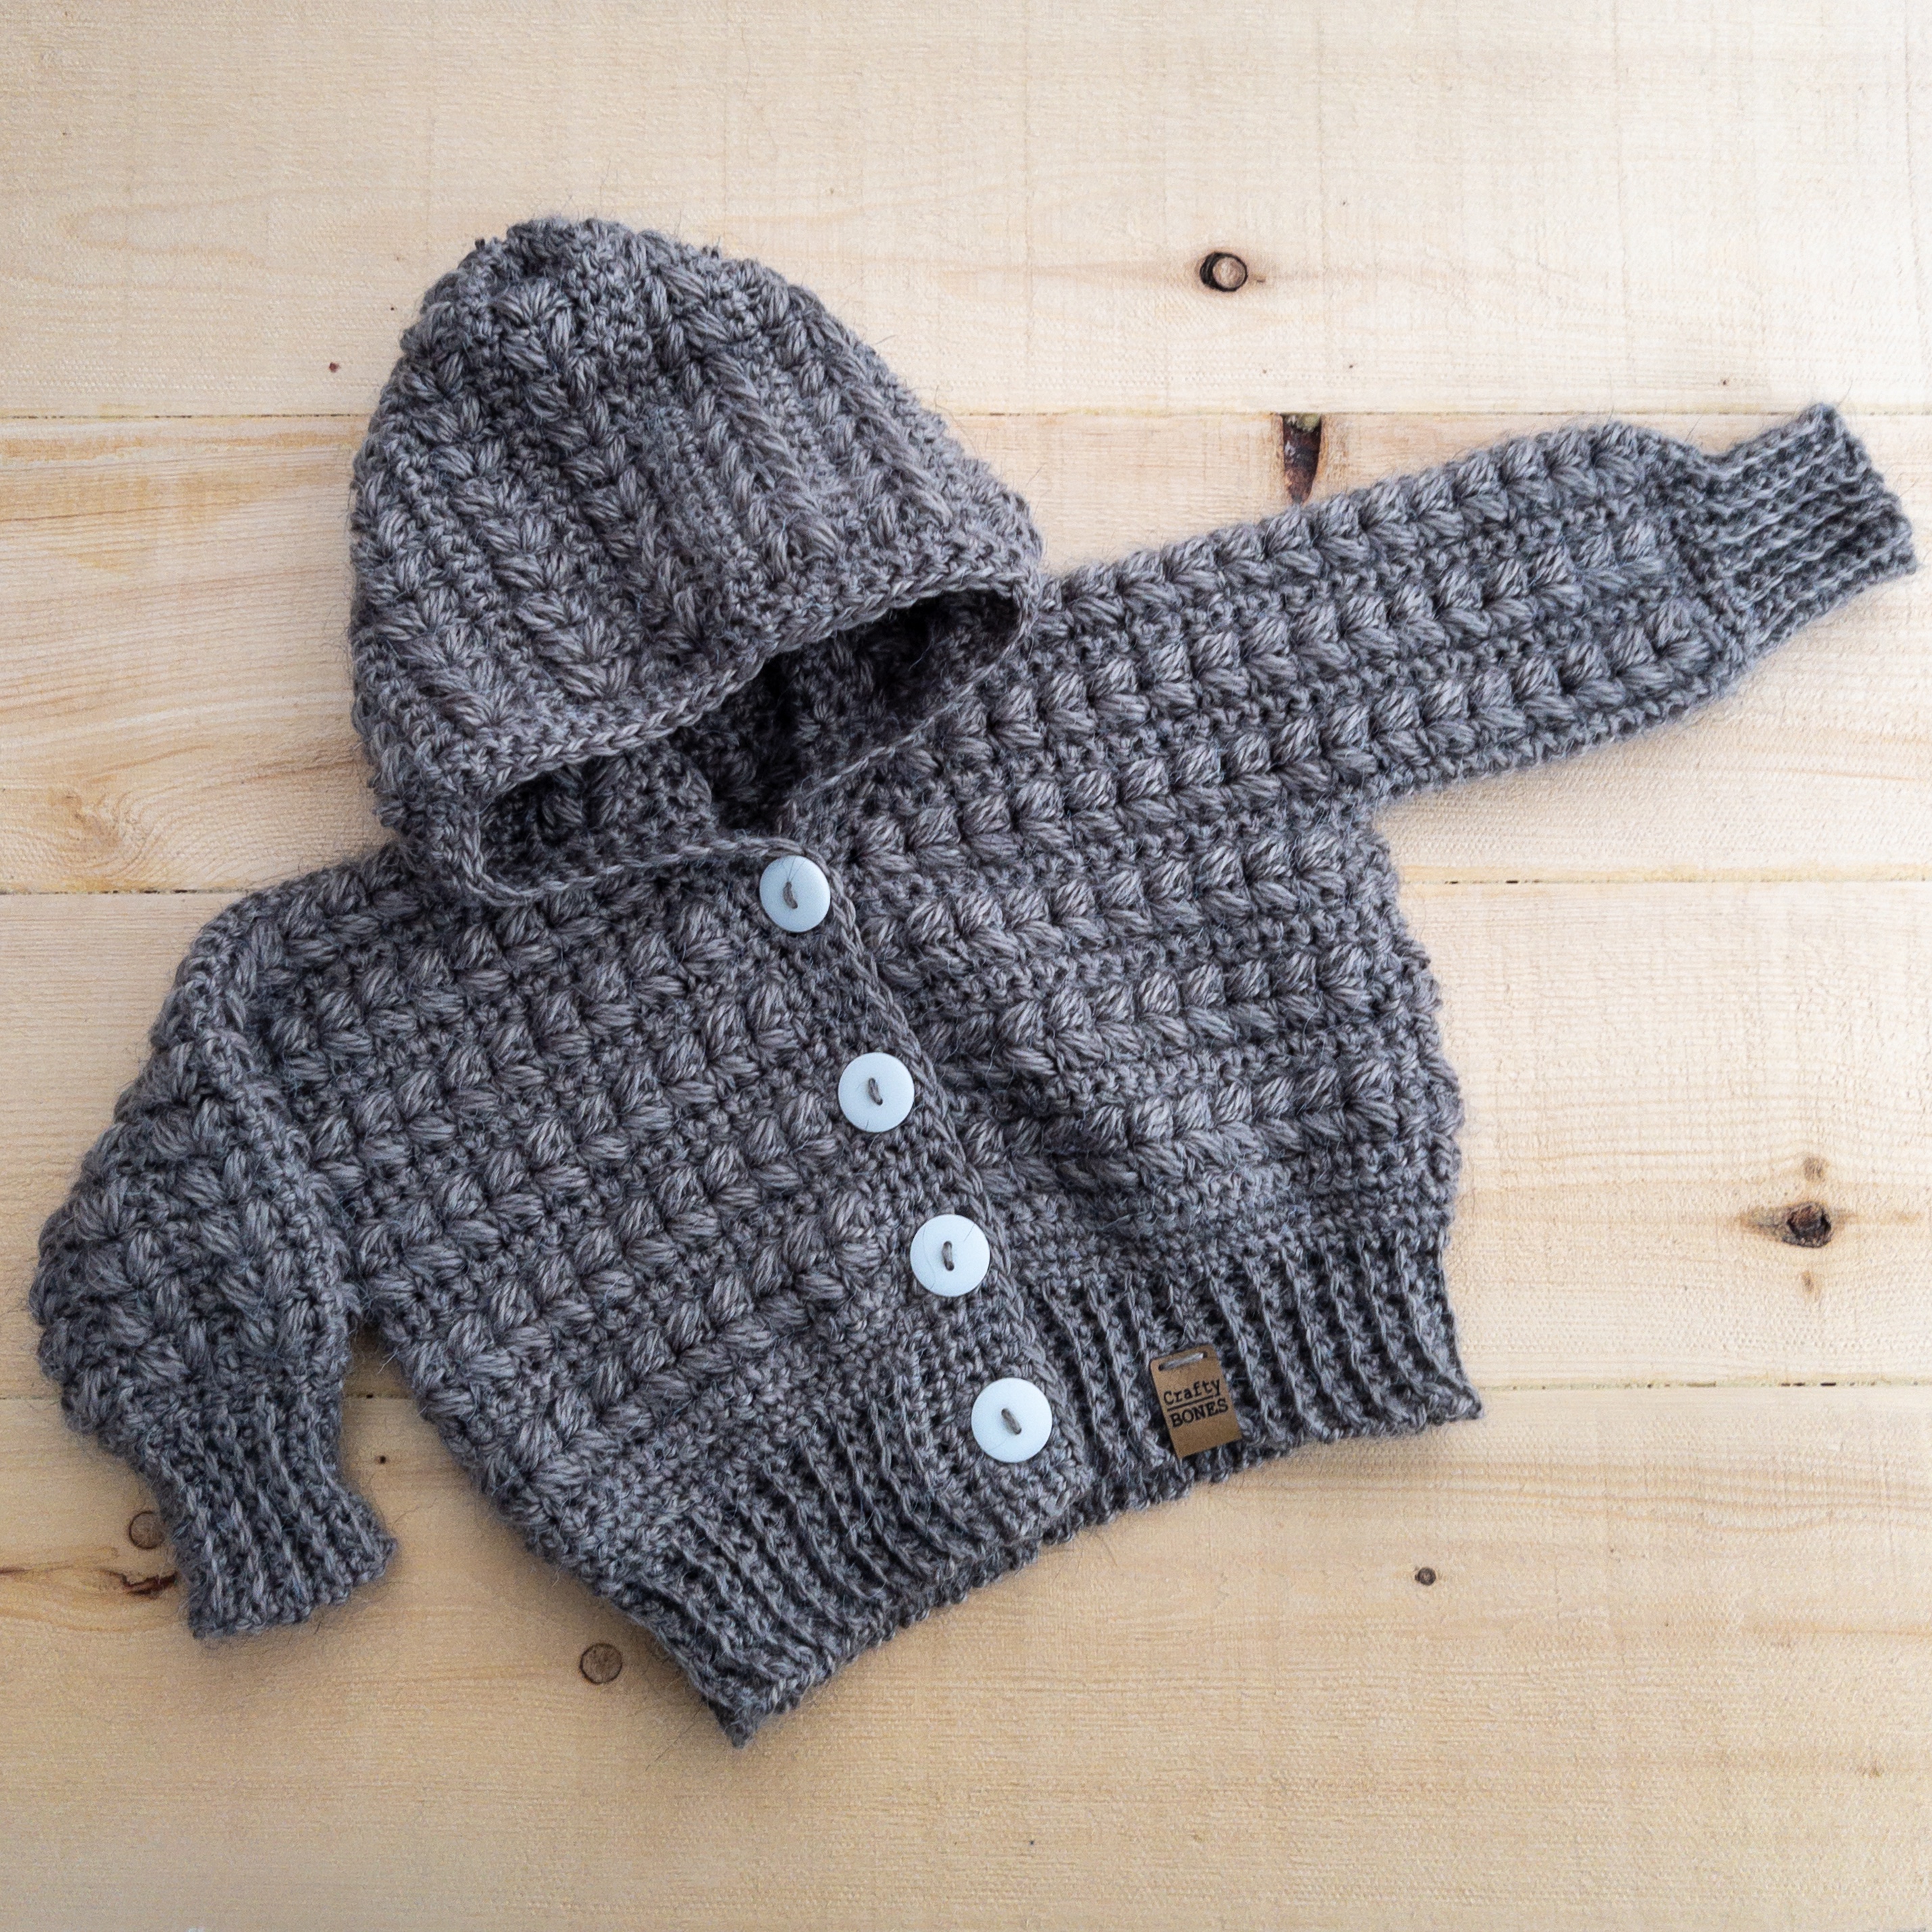
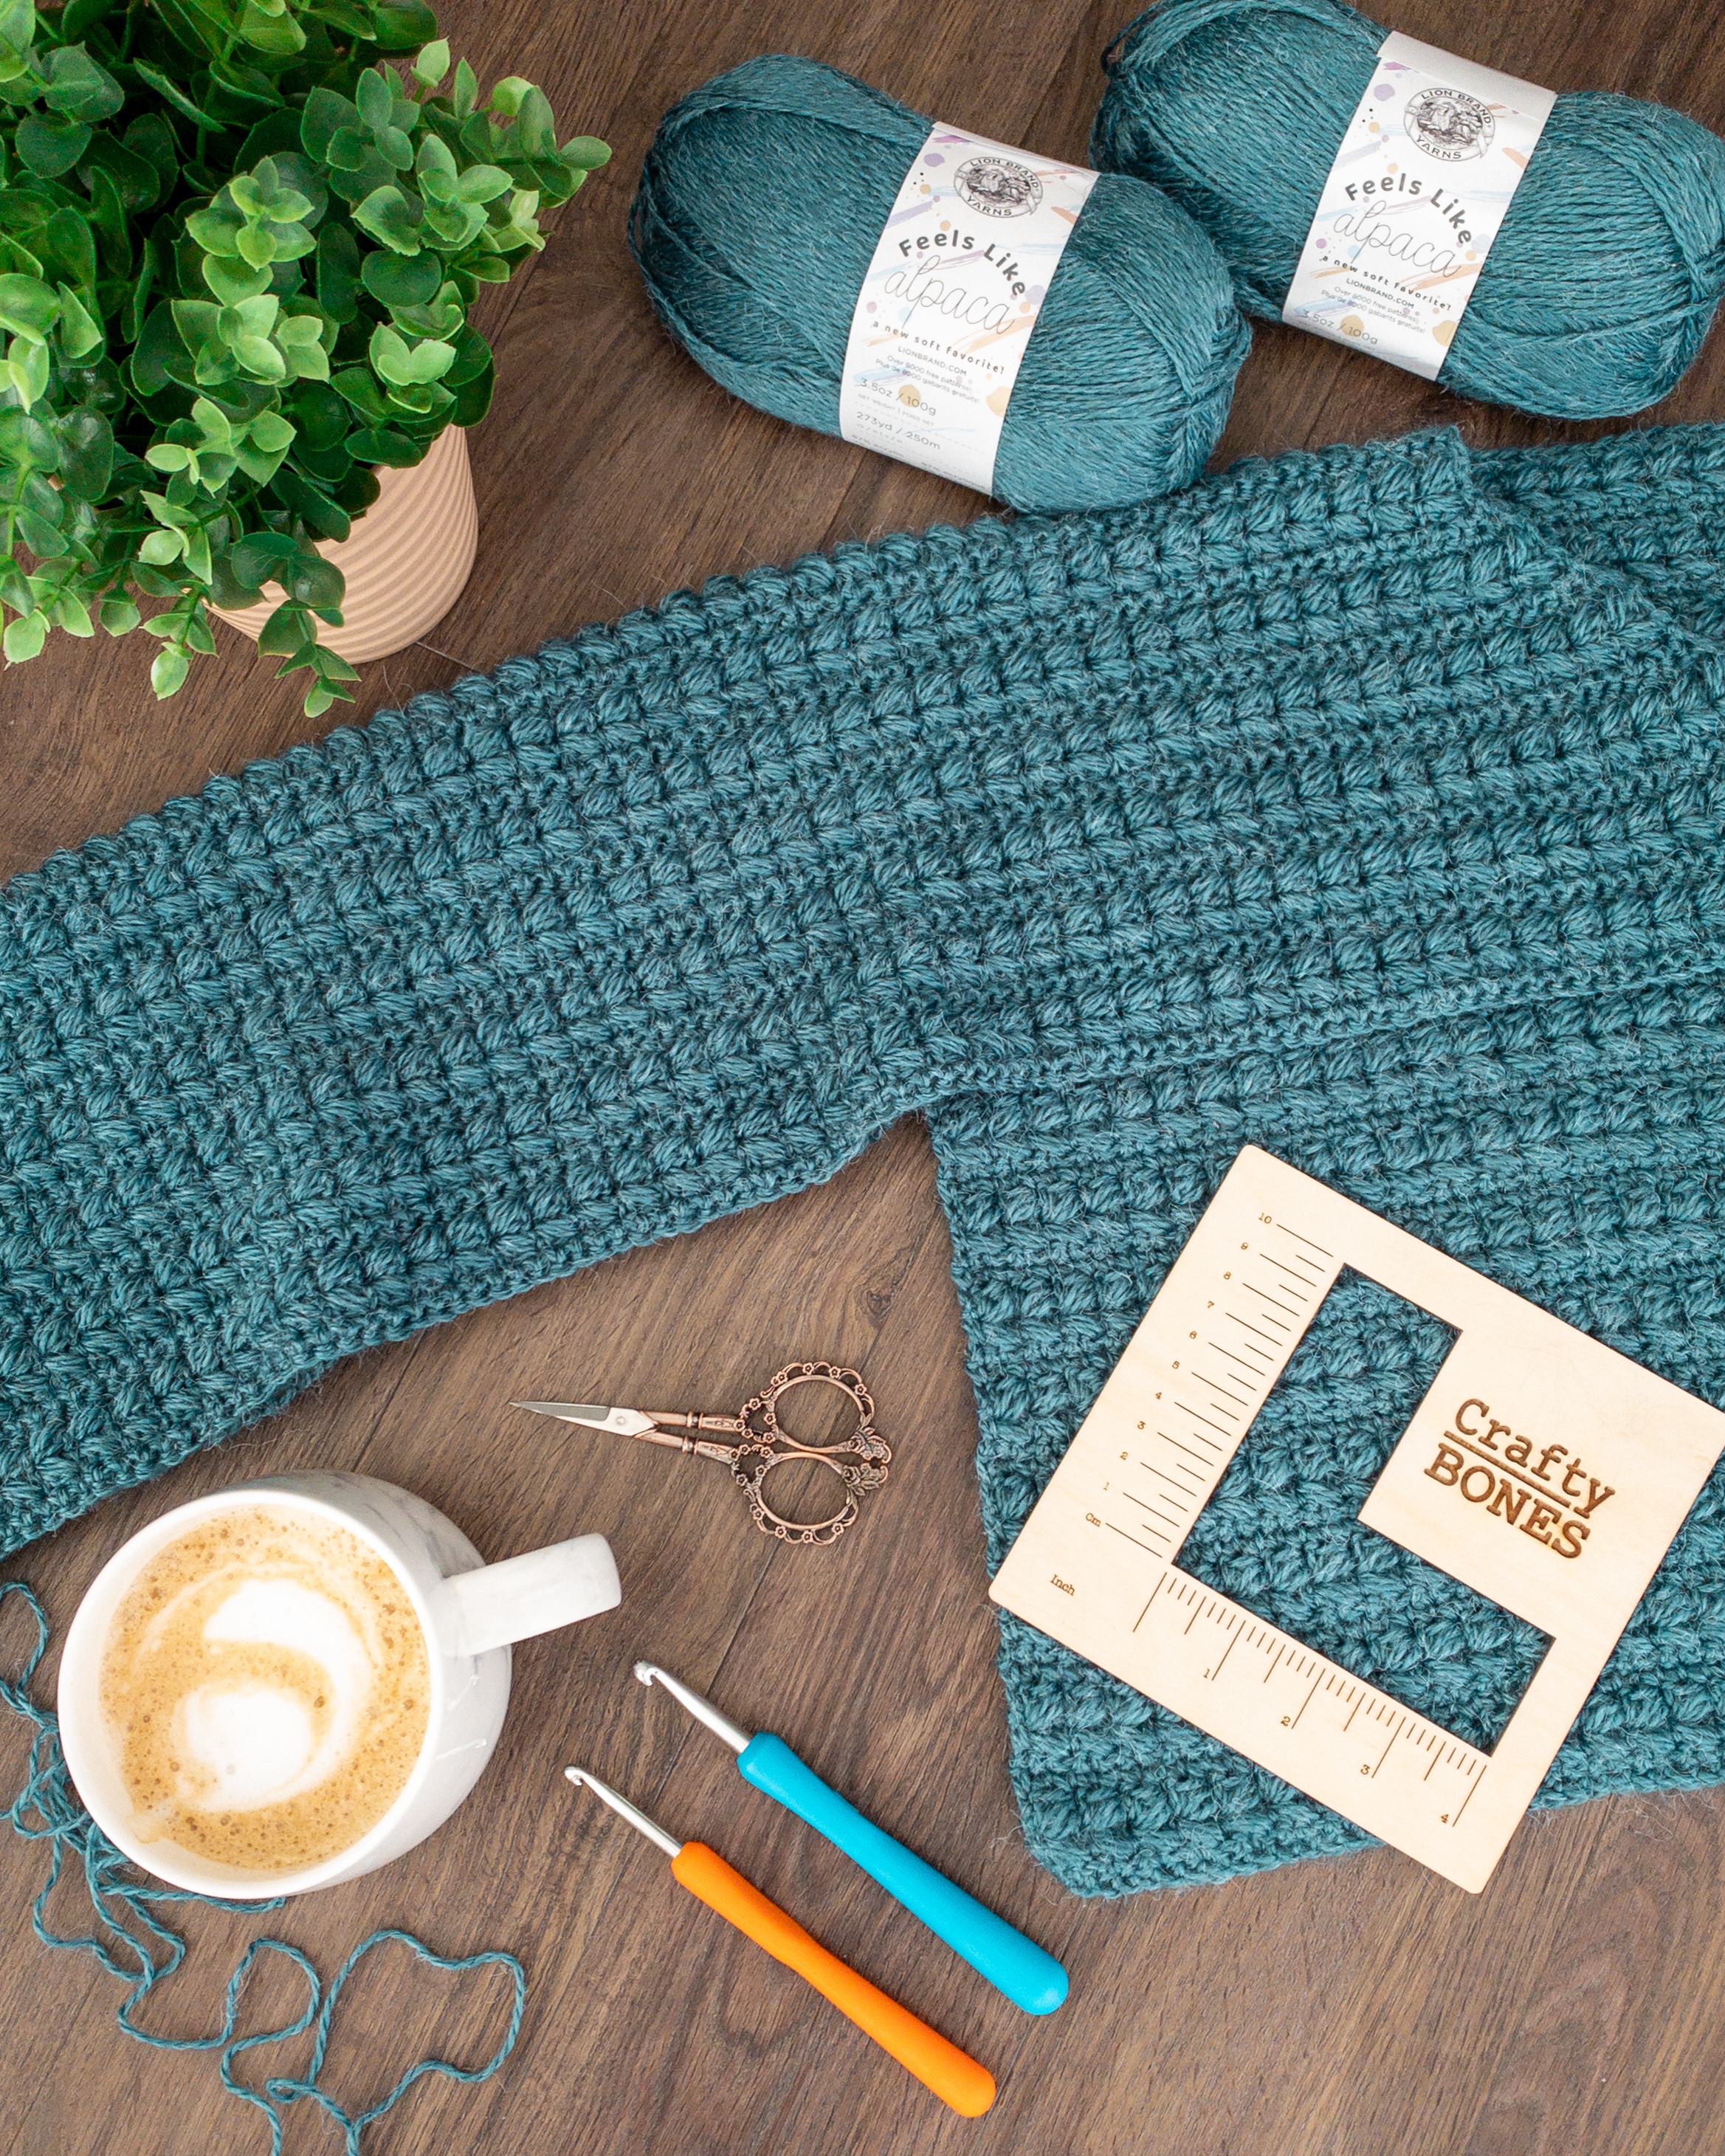
3 Month Size Baby Cardigan Pattern
Materials
5.0 mm (H-8) Crochet Hook
6.5 mm (K-10 1/2) Crochet Hook
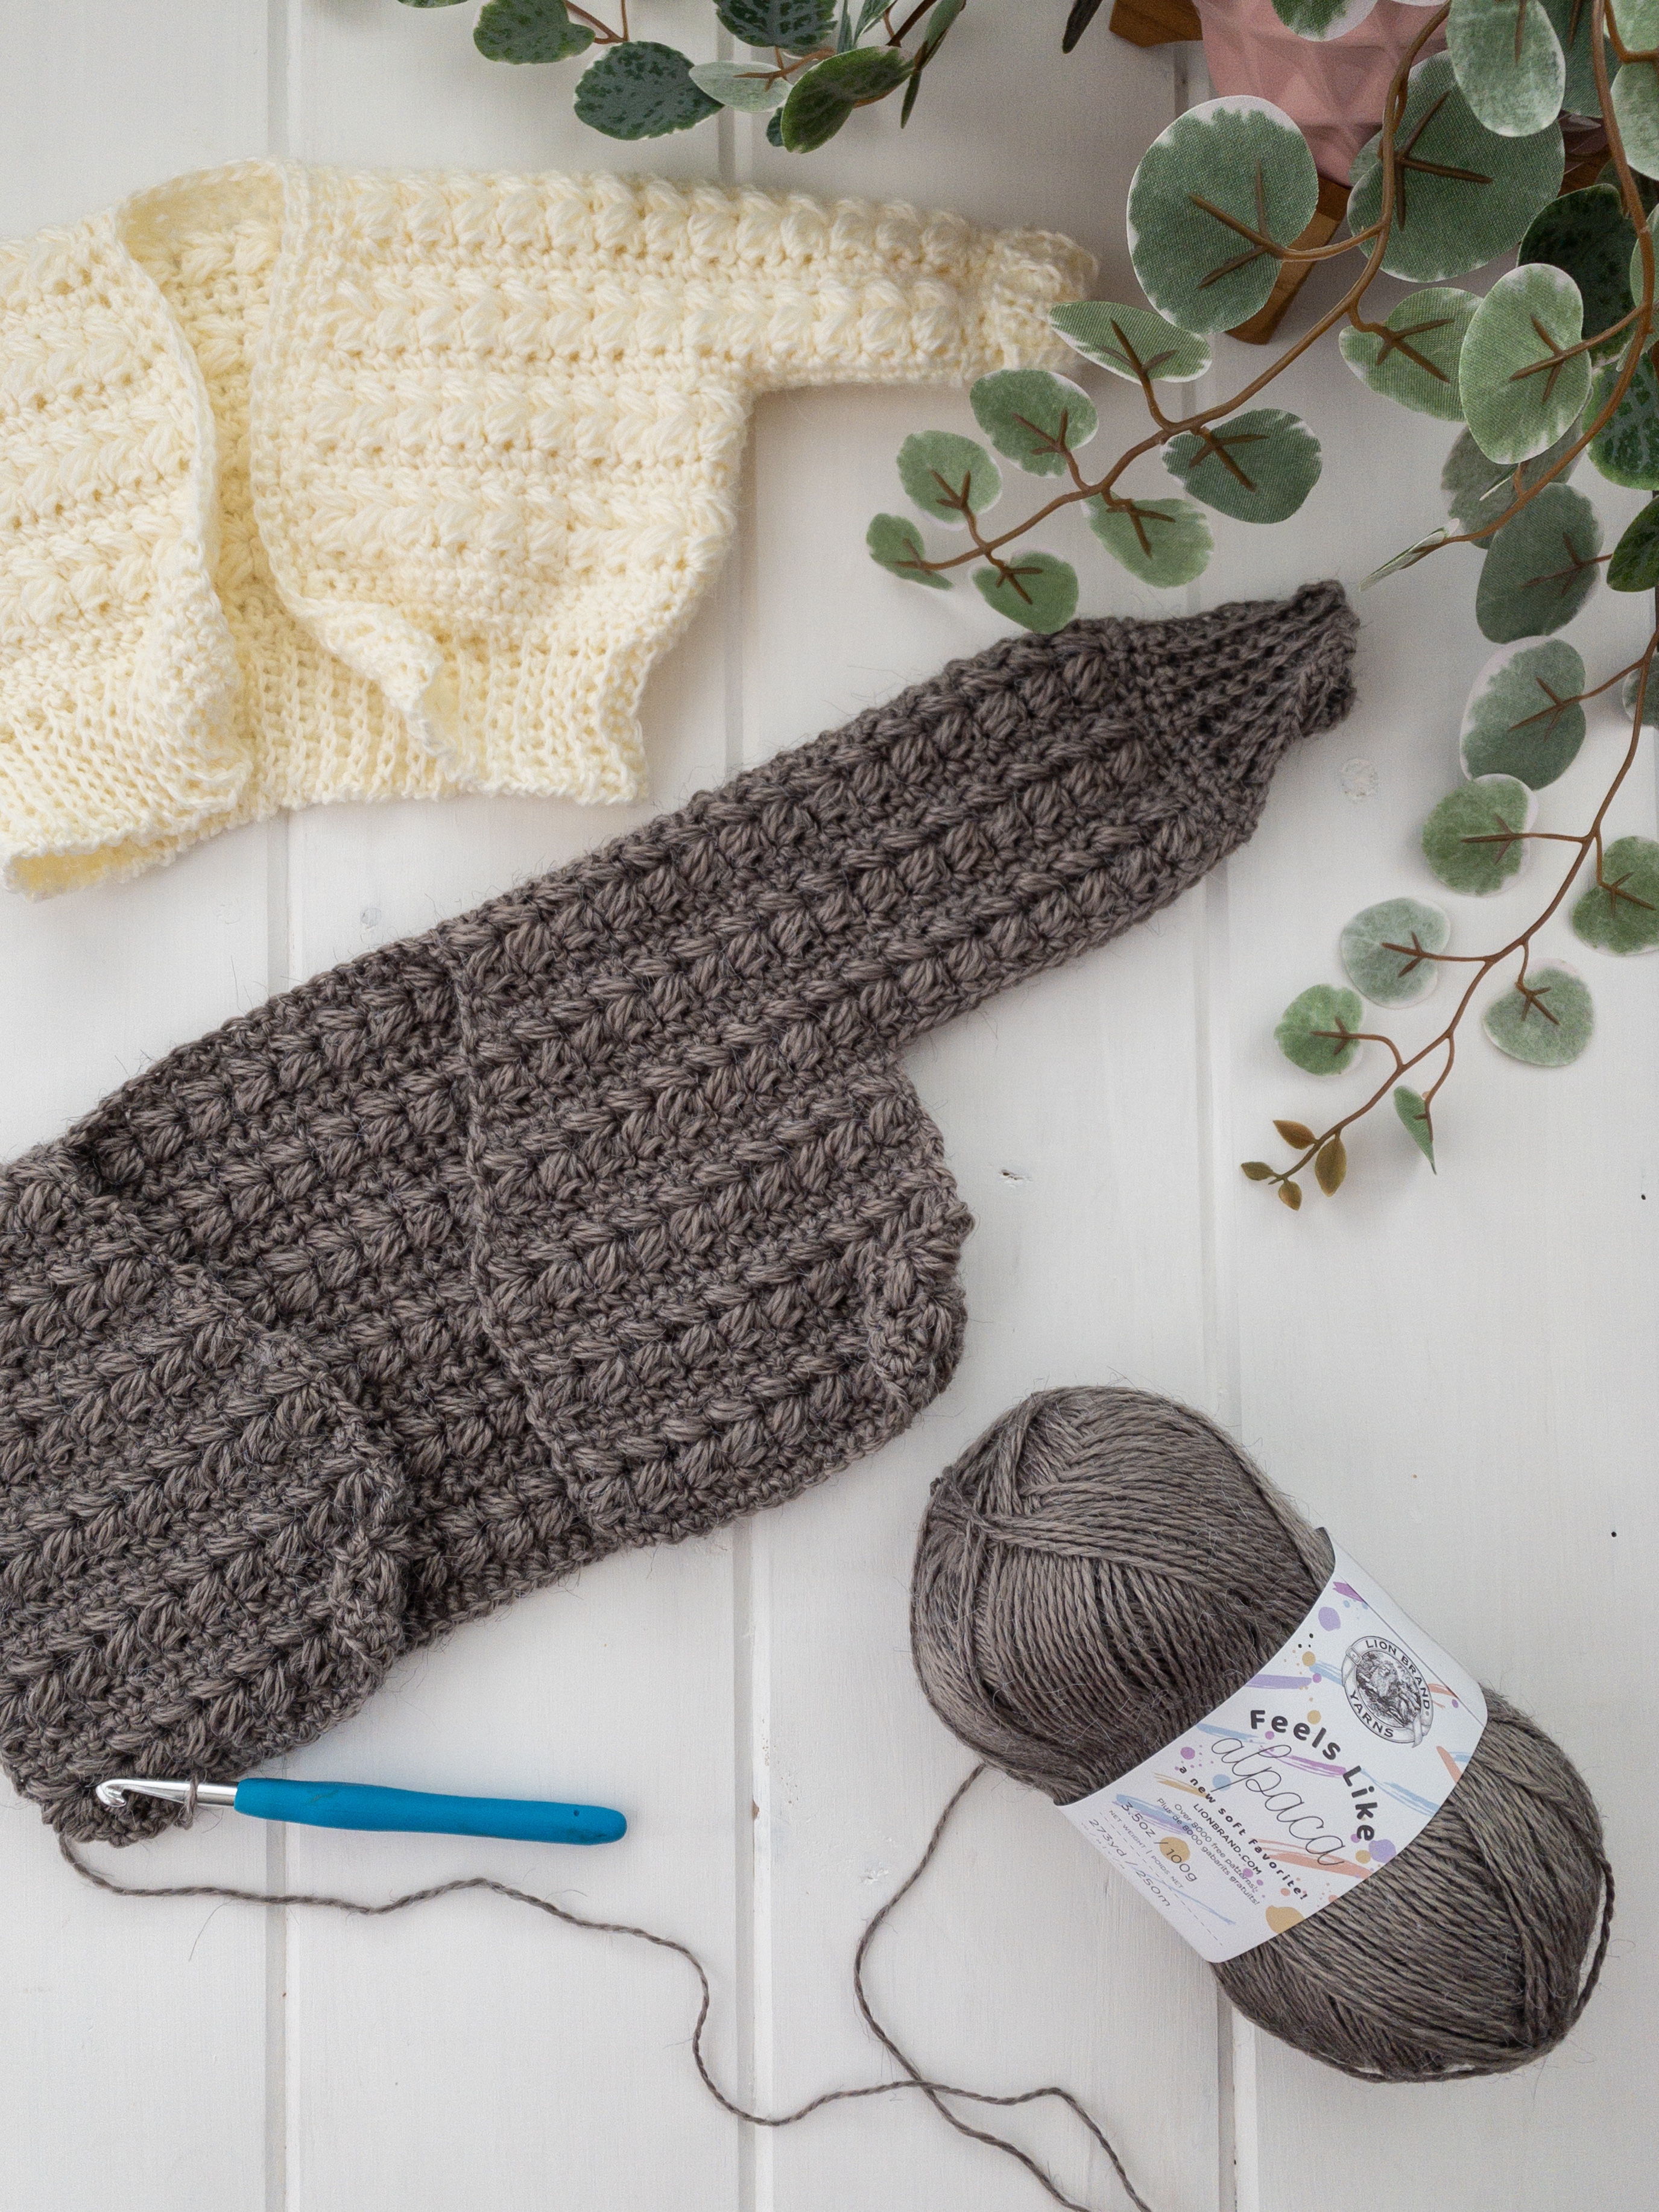
Size 3 Yarn
Lion Brand – Feels like Alpaca
Tapestry Needle
Buttons 3/4″ (1.9 cm) x 3
Get the Printer Friendly PDF for all the Kids Sizes Here
Abbreviations
US Terms
CH – Chain
CONT. – Continued
FSC – Foundation Single Crochet
HDC – Half Double Crochet
PUFF – Stitch described in instructions
SC – Single Crochet
SC2TOG – Single Crochet 2 Together
SCBLO – Single Crochet Back Loop Only
SK/SKD – Skip/Skipped
SL ST – Slip Stitch
ST – Stitch
Get the Adults Sized PDF Here
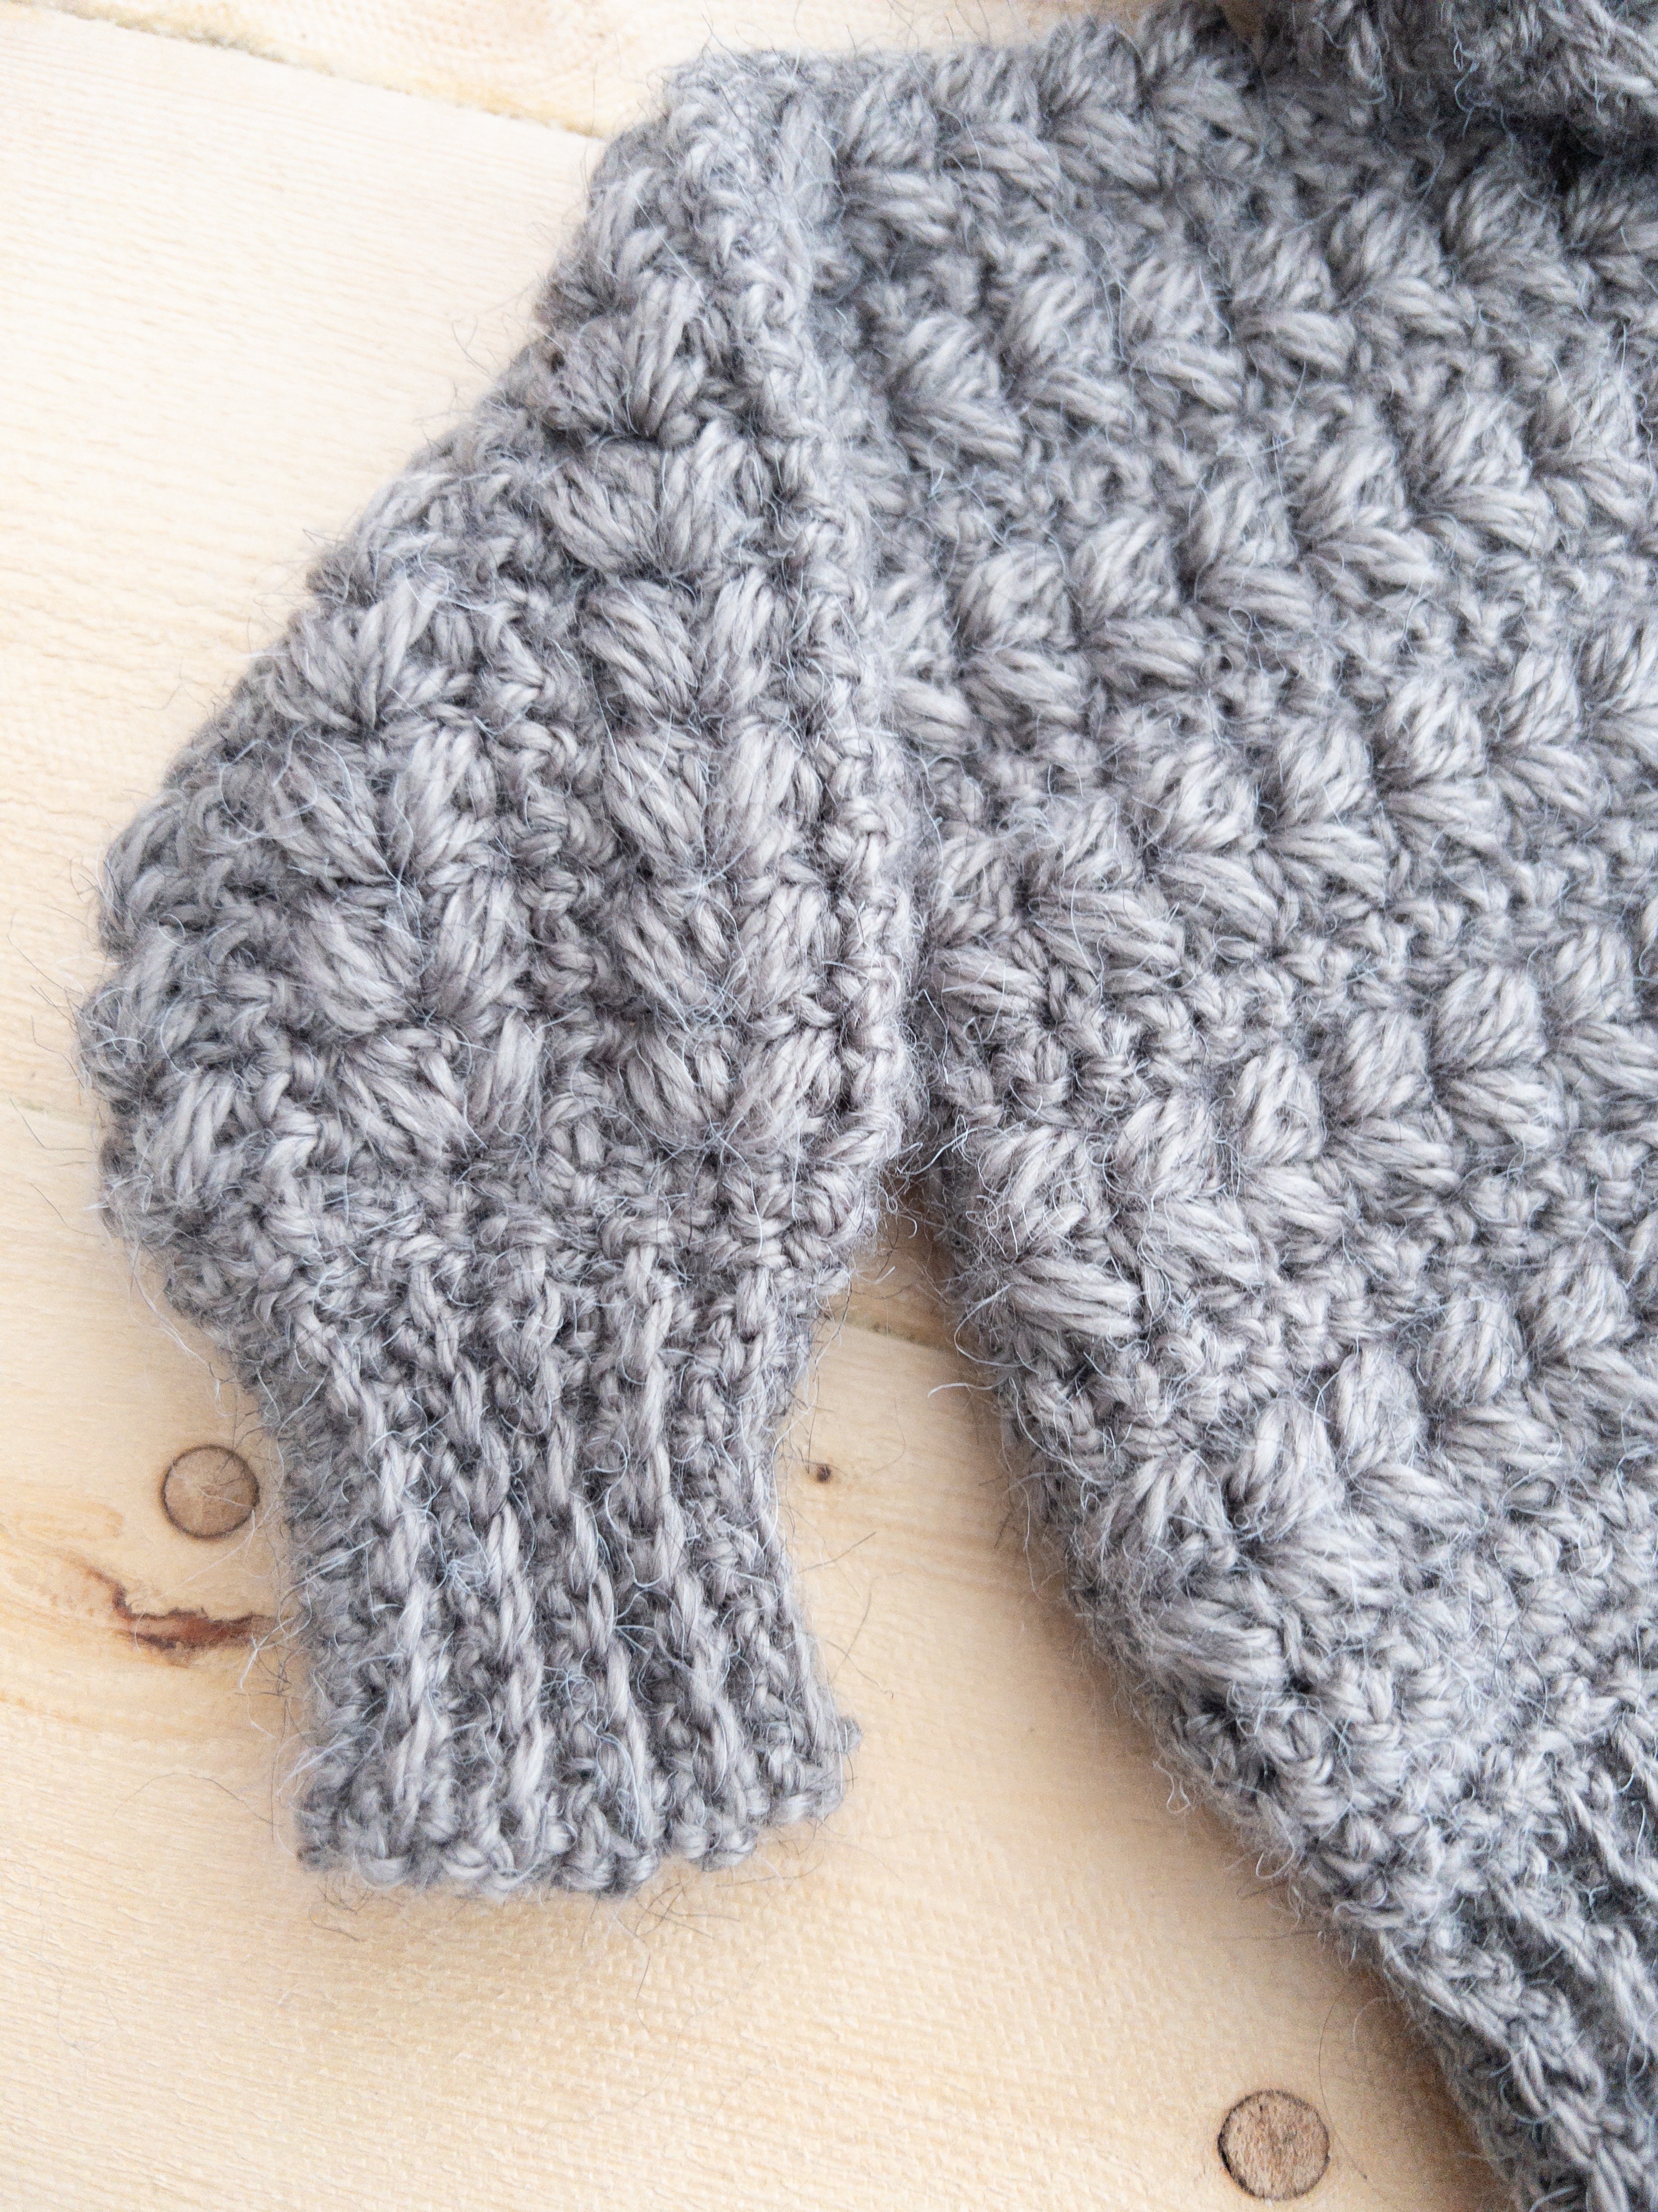
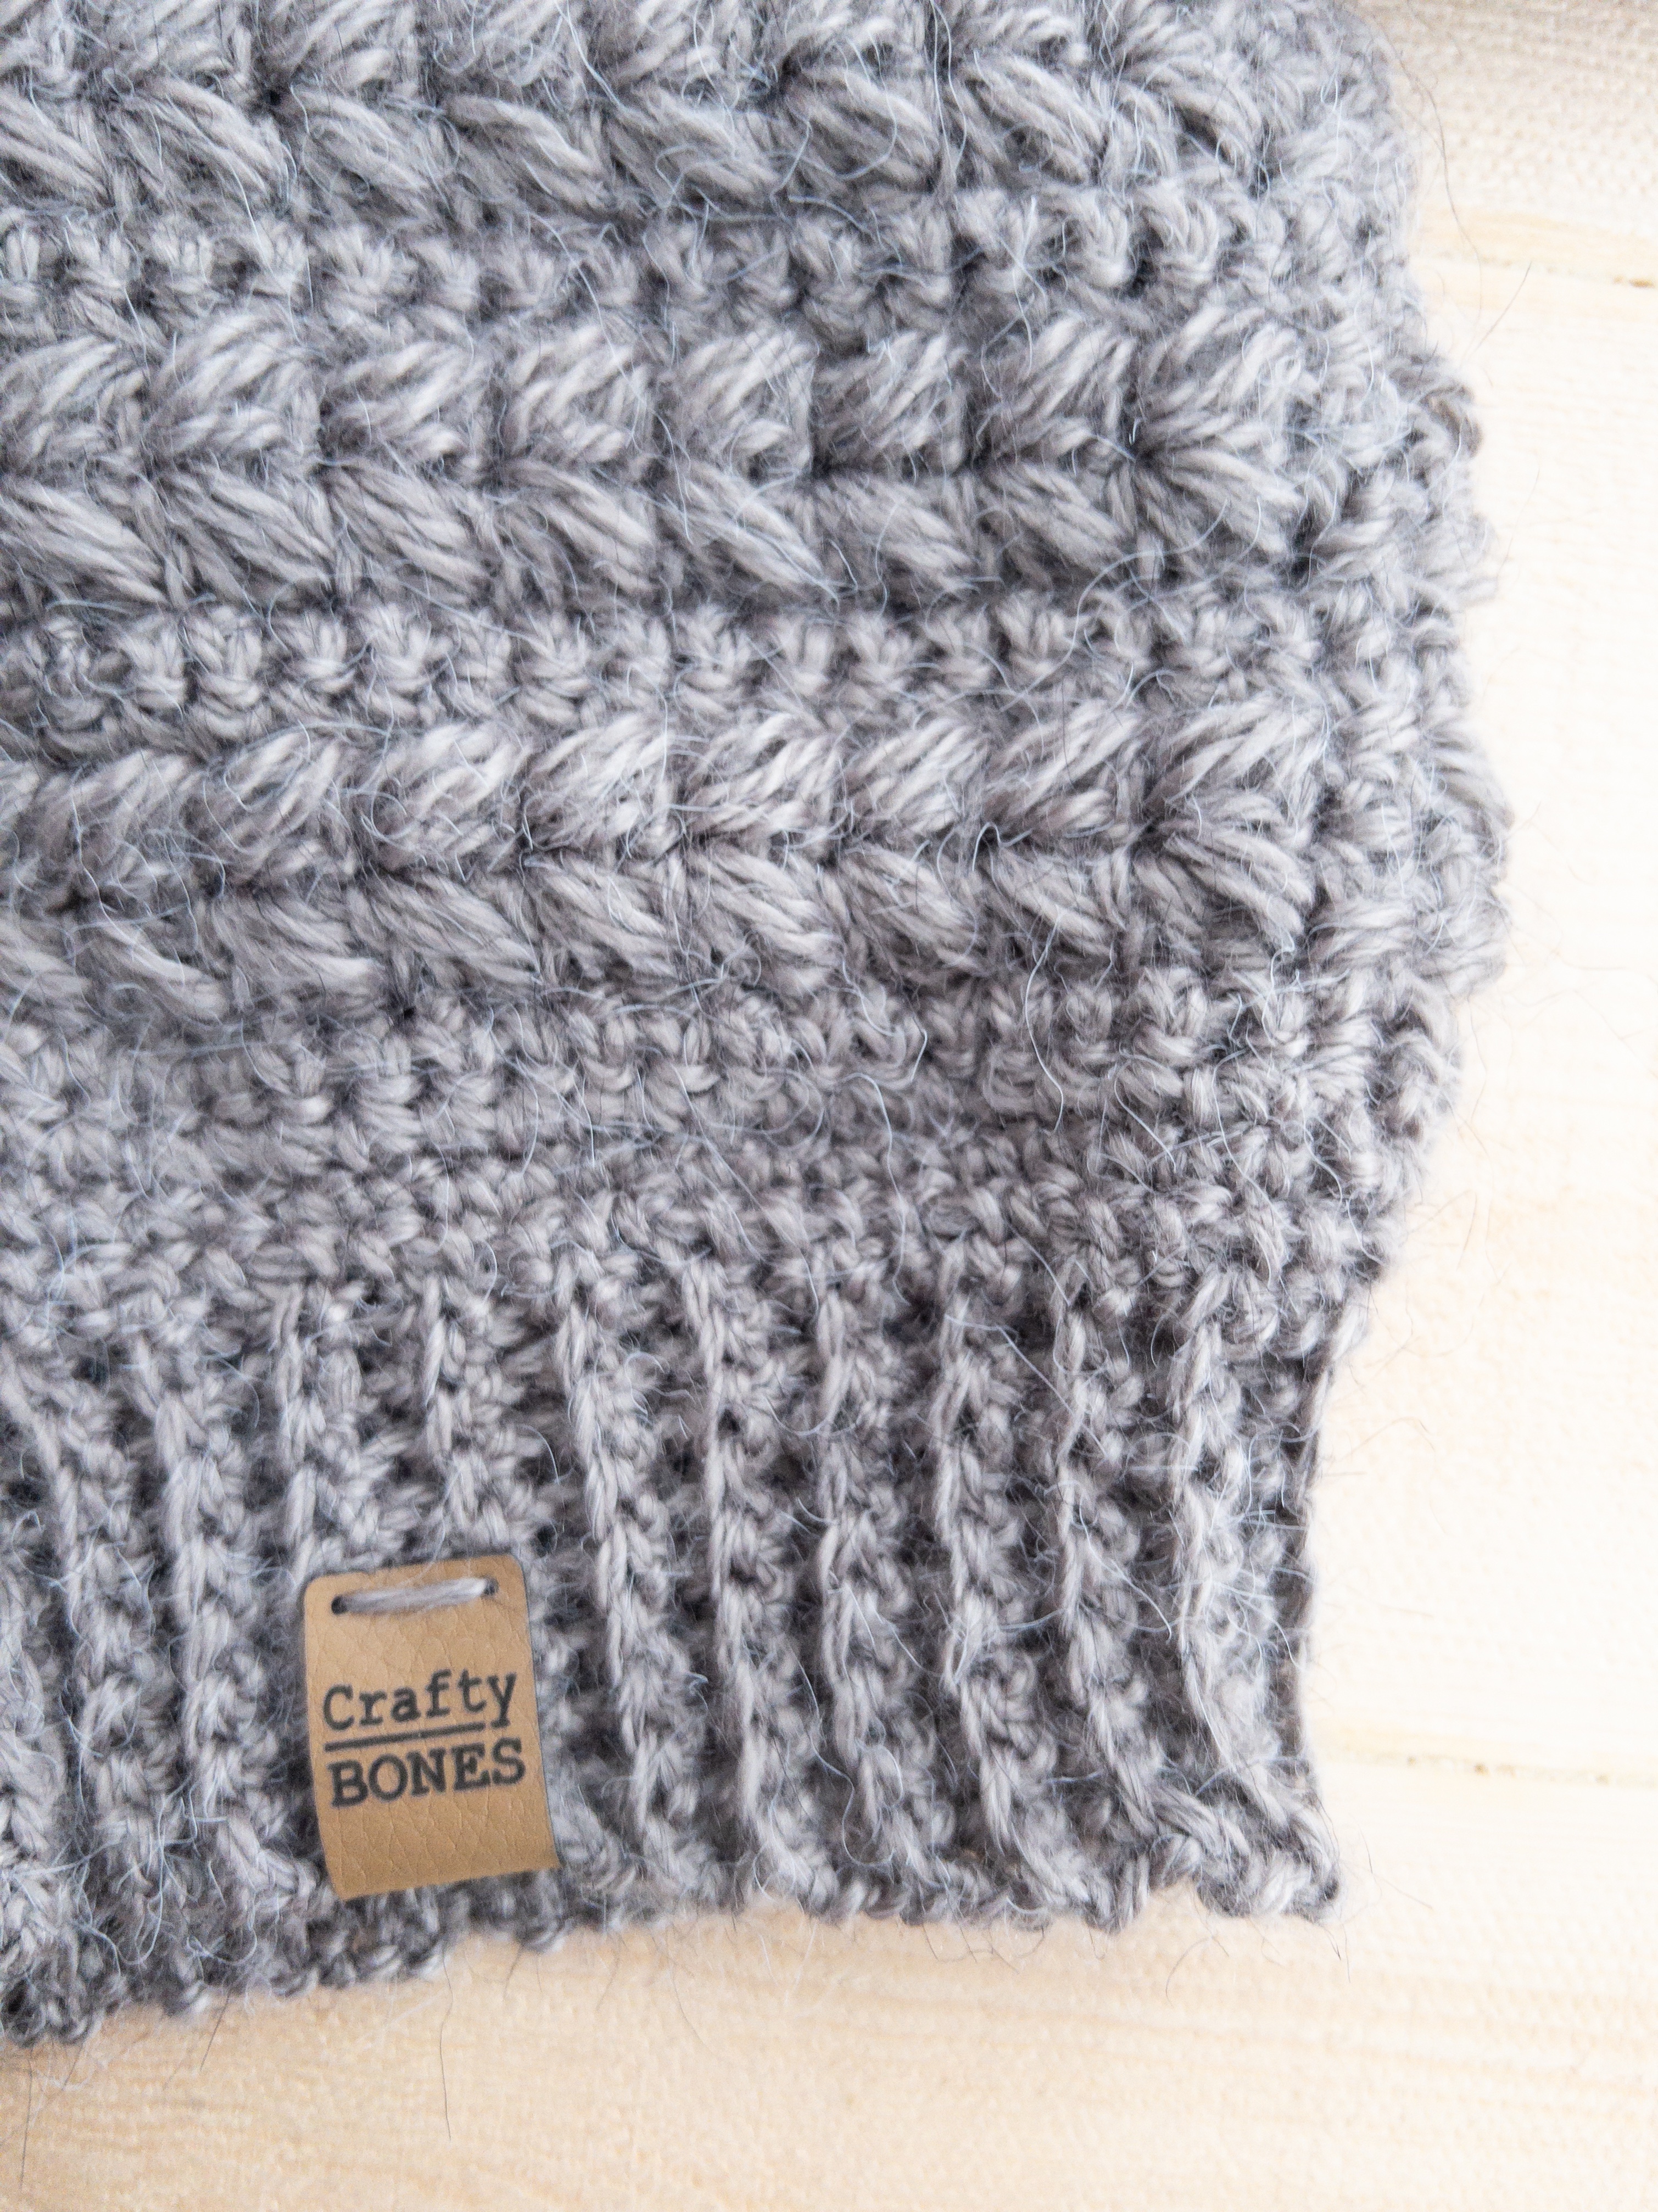
In this pattern there is a Puff Stitch which is made using 3 hdc.
To make this stitch you will
Yarn over and insert the hook into the stitch where you are creating your puff stitch.
Yarn over and draw through. There will be three loops on the hook.
Yarn over, insert your hook into the same stitch as the first step. Yarn over and draw through. There will be 5 loops on your hook now.
Yarn over, insert your hook into the same stitch a third time. Yarn over and draw through. There will now be 7 loops on the hook for a 3 hdc puff stitch.
Yarn over and pull through all loops on the hook.
Gauge
14 sts x 14 rows = 4″ (10 cm) square
6.5 mm (K-10 1/2) hook
(or hook size needed to achieve gauge)
Work up a swatch to see if you are achieving gauge.
(Calculated on an unblocked Gauge Swatch)
Row 1 – Work a fsc of 23, turn
Row 2 – Ch 1 (doesn’t count as st) 23 sc , turn
Rows 3 & 4 – Ch 1, *sk 1, sc in next st, puff st back into the skd st,
repeat from * across to last st, work a sc in the last st, turn
Rows 5 & 6 – Ch 1, sc 23, turn
Row 7 – Row 14 – Repeat row 3 to 6
Back Panel
6.5 mm (K-10 1/2) Hook
(or hook size used to achieve gauge)
Ch 1 does not count as a st in the Back, Side A or Side B Panels of this pattern
Row 1 – Work a fsc of 43, turn
Row 2 – Ch 1, sc 43, turn
Rows 3 & 4 – Ch 1, *sk 1, sc in next st, work puff st back into the skd st, repeat from * across to last st, work a sc in the last st, turn
Rows 5 & 6 – Ch 1, sc 43, turn
Rows 7 & 8 – Ch 1, *sk 1, sc in next st, work puff st back into the skd st, repeat from * across to last st, work a sc in the last st, turn
Row 9 – Ch 1, sc 43
Row 10 – Ch 11, turn, work a sc in the second ch from the hook. Work a sc into each ch and then each sc across (53 sts). Work a fsc of 10 into the end of the row to create the second sleeve, turn (63 sts)
Rows 11 & 12 – Ch 1, *sk 1, sc in next st, work puff st back into the skd st, repeat from * across to last st, work a sc in the last st, turn
Rows 13 & 14 – Ch 1, sc 63, turn
Rows 15 & 16 – Ch 1, *sk 1, sc in next st, work puff st back into the skd st, repeat from * across to last st, work a sc in the last st, turn
Row 17 – Ch 1, sc 63, turn
Side A
Row 18 – Ch 1, sc 25, turn
Rows 19 & 20 – Ch 1, *sk 1, sc in next st, work puff st back into the skd st, repeat from * across to last st, work a sc in the last st, turn
Row 21 – Ch 1, work 2 sc into the first st, work 2 sc into the second st, sc 23, turn (27 sts)
Row 22 – Ch 1, sc 25, work 2 sc in the second last st, work 2 sc into the last st, turn (29 sts)
Rows 23 & 24 – Ch 1, *sk 1, sc in next st, work puff st back into the skd st, repeat from * across to last st, work a sc in the last st, turn
Row 25 – Ch 1, work 2 sc into the first st, work 2 sc into the second st, sc 27, turn (31 sts)
Row 26 – Ch 1, sc 31, turn (31 sts)
Rows 27 & 28 – Ch 1, *sk 1, sc in next st, work puff st back into the skd st, repeat from * across to last st, work a sc in the last st, turn
Row 29 – Ch 1, sc 31, turn
Row 30 – Tie off, sk over 10 sts, join, ch 1, sc 21, turn (21 sts)
Rows 31 & 32 – Ch 1, *sk 1, sc in next st, work puff st back into the skd st, repeat from * across to last st, work a sc in the last st, turn
Rows 33 & 34 – Ch 1, sc 21, turn
Rows 35 & 36 – Ch 1, *sk 1, sc in next st, work puff st back into the skd st, repeat from * across to last st, work a sc in the last st, turn
Row 37 – Ch 1, sc 21, turn
Row 38 – Ch 1, sc 21, Tie off
Side B
Row 18 – Return to row 18 and sk over 13 sts, join, Ch 1, sc 25, turn
Rows 19 & 20 – Ch 1, *sk 1, sc in next st, work puff st back into the skd st, repeat from * across to last st, work a sc in the last st, turn
Row 21 – Ch 1, sc 23, work 2 sc in the second last st, work 2 sc into the last st, turn (27 sts)
Row 22 – Ch 1, work 2 sc into the first st, work 2 sc in the second st, sc 25, turn (29 sts)
Rows 23 & 24 – Ch 1, *sk 1, sc in next st, work puff back into the skd st, repeat from * across to last st, work a sc in the last st, turn
Row 25 – Ch 1, sc 27, work 2 sc in the second last st, work 2 sc into the last st, turn (31 sts)
Row 26 – Ch 1, sc 31, turn (31 sts)
Rows 27 & 28 – Ch 1, *sk 1, sc in next st, work puff st back into the skd st, repeat from * across to last st, work a sc in the last st, turn
Row 29 – Ch 1, sc 31, turn
Row 30 – Ch 1, sc 21, turn (21 sts)
Rows 31 & 32 – Ch 1, *sk 1, sc in next st, work puff back into the skd st, repeat from * across to last st, work a sc in the last st, turn
Rows 33 & 34 – Ch 1, sc 21, turn
Rows 35 & 36 – Ch 1, *sk 1, sc in next st, work puff back into the skd st, repeat from * across to last st, work a sc in the last st, turn
Row 37 – Ch 1, sc 21, turn
Row 38 – Ch 1, sc 21, tie off
Ribbing for the Sleeves
(5.0 mm (H-8) Hook)
(or 1.5 mm smaller than gauge hook size)
Ch 1 Does count as a stitch in the ribbing
Join yarn to the corner of the sleeve.
Edge – Ch 1, sc 19 (20 sts)
– Ch 10
The first rows will be worked into the Ch 10 from the sleeve ribbing edge
Row 1 – Work sc into 2nd ch from the hook, sc into each ch, working back to the edge of the sleeve (9 sts)
You will join to the next st of the edge row (not at the base of where the chain started) using a sl st, and then work one more sl st in the next st. (each join will have 2 sl sts in total), turn
Row 2 – Sk 2 sl sts, scblo into each sc, scblo into ch1 from previous row, turn (there will be 9 scblo)
Row 3 – Ch 1, scblo 8, sl st into next st along the edge, and sl st into the next st of the edge, turn
Repeat row 2 & 3 until you reach the end of the edge.
Tie off
Seaming
(6.5 mm (K-10 1/2) Hook)
(or hook sized used to achieve gauge)
Once you have the back panel, side A, side B, and sleeve ribbing finished you will want to weave in all your ends.
Then fold the sweater in half at the shoulders with the two right sides together (your sweater will be inside out).
Join the yarn to the bottom outside corner of the back panel, ch 1 and sc the front and back together, working up the side and along the arm. Tie off and do the same thing on the other side.
Weave in ends.
Bottom Ribbing
(5.0 mm (H-8) Hook)
(or 1.5 mm smaller than gauge hook size)
Ch 1 Does count as a stitch in the ribbing
Join yarn to the corner of one of the front sides.
Edge – Ch 1, sc into each sc around the bottom of the cardigan
Row 1 – Ch 10, turn, work sc into 2nd ch from hook, sc into each ch, working back towards the edge row.
You will join to the next st of the edge row (not at the base of where the chain started) using a sl st, and then work one more sl st in the next st. (each join will have 2 sl sts in total), turn
Row 2 – Sk 2 sl sts, scblo into each sc, scblo into ch 1 from previous row, turn (there will be 9 scblo)
Row 3 – Ch 1, scblo 8, sl st into next st along the edge, and sl st into the next st of the edge,
Repeat row 2 & 3 until you reach the end of the edge.
Tie off
Neck Edging
Join to the corner of the bottom ribbing on the inside of panel A
Ch 1 Does Not count as a stitch in the neck Edging
Row 1 – These sts will be worked along the edge of side A, across the top of the neck, and back around the edge of side B.
Ch 1, sc 21, work 2 sc into the next st, sc 29, work 2 sc into the next st, sc 21, turn (75 sts)
Row 2 – Ch 1, sc 22, work 2 sc into the next st, sc 29, work 2 sc into the next st, sc 22, turn (77 sts)
Now you will go and work on the hood rows before finishing off the neckline. (You can leave the yarn attached, to come back to.)
-If you are wanting to omit the hood on your cardigan continue onto row 3.
Row 3 – Ch 1, sc 4,* ch2, sk 2, sc in next 4, repeat from * 2 more times, continue to sc in the remaining sts around (including adding a st into the edge of each row of the hood), turn
Row 4 – Ch 1, sc into each sc, and in each ch space work 2 sc, turn
Row 5 – Ch 1, sc into each sc, tie off
Weave in all the remaining ends and sew on your buttons.
Once you have done the first 2 rows of the neckline edge you will join to side A of the sweater and begin the hood.
Hood
Join to Side A at st number 25 of neckline edge
Row 1 – Ch 1, *sk 1, sc in next st, work puff st back into the skd st, repeat from * across to the 52nd st, work a sc in the next st, turn (29 sts)
Row 2 – Ch 1, *sk 1, sc in next st, work puff st back into the skd st, repeat from * across to last st, work a sc in the last st, turn (29 sts)
Row 3 – Ch 1, work 2 sc in the first st, work 2 sc in the second st, sc 25, work 2 sc in the second last st, work 2 sc in the last st, turn (33 sts)
Row 4 – Ch 1, work 2 sc in the first st, work 2 sc in the second st, sc 29, work 2 sc in the second last st, work 2 sc in the last st, turn (37 sts)
Rows 5 & 6 – Ch 1, *sk 1, sc in next st, work puff st back into the skd st, repeat from * across to last st, work a sc in the last st, turn (37 sts)
Row 7 – Ch 1, work 2 sc in the first st, work 2 sc in the second st, sc 33, work 2 sc in the second last st, work 2 sc in the last st, turn (41 sts)
Row 8 – Ch 1, work 2 sc in the first st, work 2 sc in the second st, sc 37, work 2 sc in the second last st, work 2 sc in the last st, turn (45 sts)
Rows 9 & 10 – Ch 1, *sk 1, sc in next st, work puff st back into the skd st, repeat from * across to last st, work a sc in the last st, turn (45 sts)
Row 11 – Ch 1, sc 12, work 2 sc in the next st, sc 19, work 2 sc in the next st, sc 12, turn (47 sts)
Row 12 – Ch 1, sc 13, work 2 sc in the next st, sc 19, work 2 sc in the next st, sc 13, turn (49 sts)
Rows 13 & 14 – Ch 1, *sk 1, sc in next st, work puff st back into the skd st, repeat from * across to last st, work a sc in the last st, turn (49 sts)
Rows 15 & 16 – Ch 1, sc 49, turn (49 sts)
Rows 17 & 18 – Ch 1, *sk 1, sc in next st, work puff st back into the skd st, repeat from * across to last st, work a sc in the last st, turn (49 sts)
Rows 19 & 20 – Ch 1, sc 49, turn
Side 1
Rows 21 & 22 – Ch 1, *sk 1, sc in next st, work puff st back into the skd st, repeat from * across to the 22nd st, work a sc in the next st, turn (23 sts)
Row 23 – Ch 1, sc 21, sc2tog, turn (22 sts)
Row 24 – Ch 1, sc2tog, sc 20, tie off (21 sts)
Side 2
Return to row 21 of the hood, sk over 3 sts and join to the 4th
Rows 21 & 22 – Ch 1, *sk 1, sc in next st, work
puff st back into the skd st, repeat from * across, work a sc in the last st, turn (23 sts)
Row 23 – Ch 1, sc2tog, sc 21, turn (22 sts)
Row 24 – Ch 1, sc 20, sc2tog, turn (21 sts)
Rows 25 & 26 – Ch 1, *sk 1, sc in next st, work puff st back into the skd st, repeat from * across to last st, work a sc in the last st, tie off (21 sts)
You will now seam the top of the hood together and then return to row 3 of the neck edging.
Pattern for the Baby/Kids and the Women’s Sizes Here
This is an original pattern by Crafty Bones ©2022. Distribution of this document in whole or in part in any way is not allowed. You may sell finished work with this pattern but please kindly include pattern credit to Leanna Haughian of Crafty Bones or link back to Crafty-Bones.com
Feel free to tag me in any work on social media using:
@Crafty.bones or the hashtags #makewithcraftybones #Dedecardigan
Subscribe at crafty-bones.com to stay up to date on the latest patterns
If you have any questions my email is
craftybonespatterns@outlook.com
Best way to stay up to date is to Subscribe!
Join my Newsletter to hear about all things Crafty Bones


Leave a Reply