Some links in this post are affiliate links, so I may earn a small commission if you make a purchase. It’s a great way to support Crafty Bones, and it doesn’t cost you anything extra! You can find more details in our Privacy Policy.
Who doesn’t love to wander in nature every once in a while?
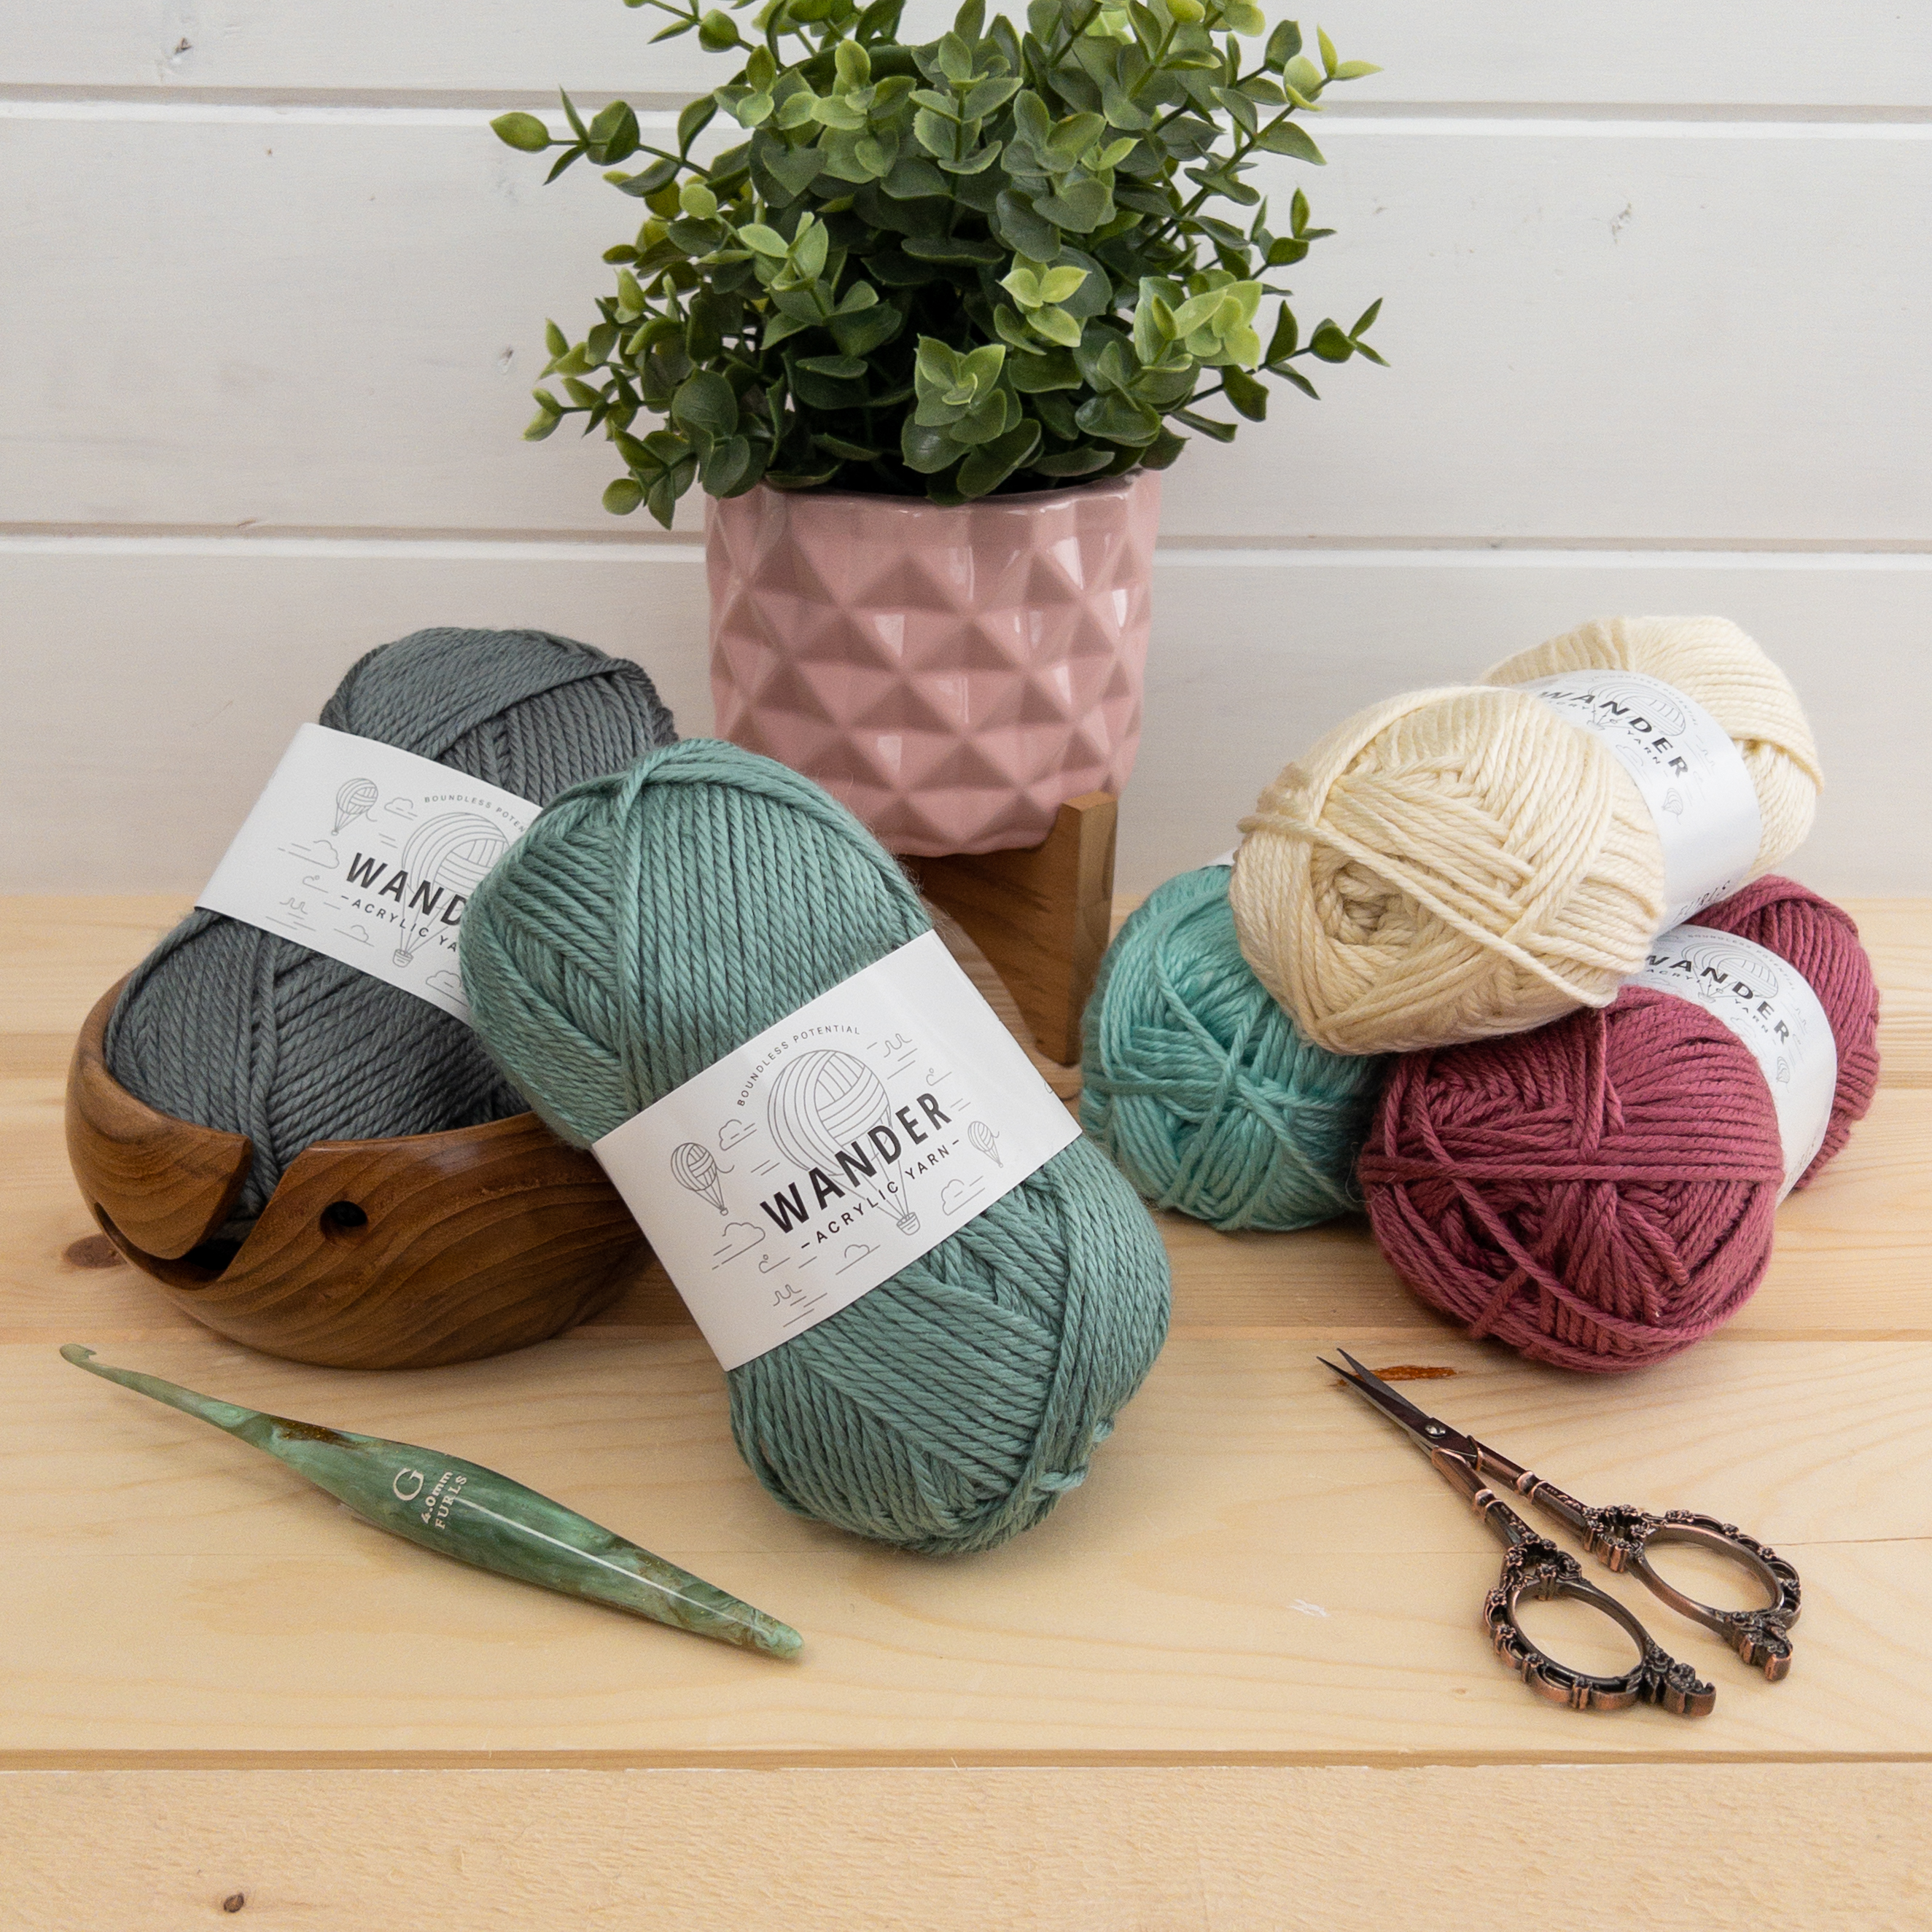
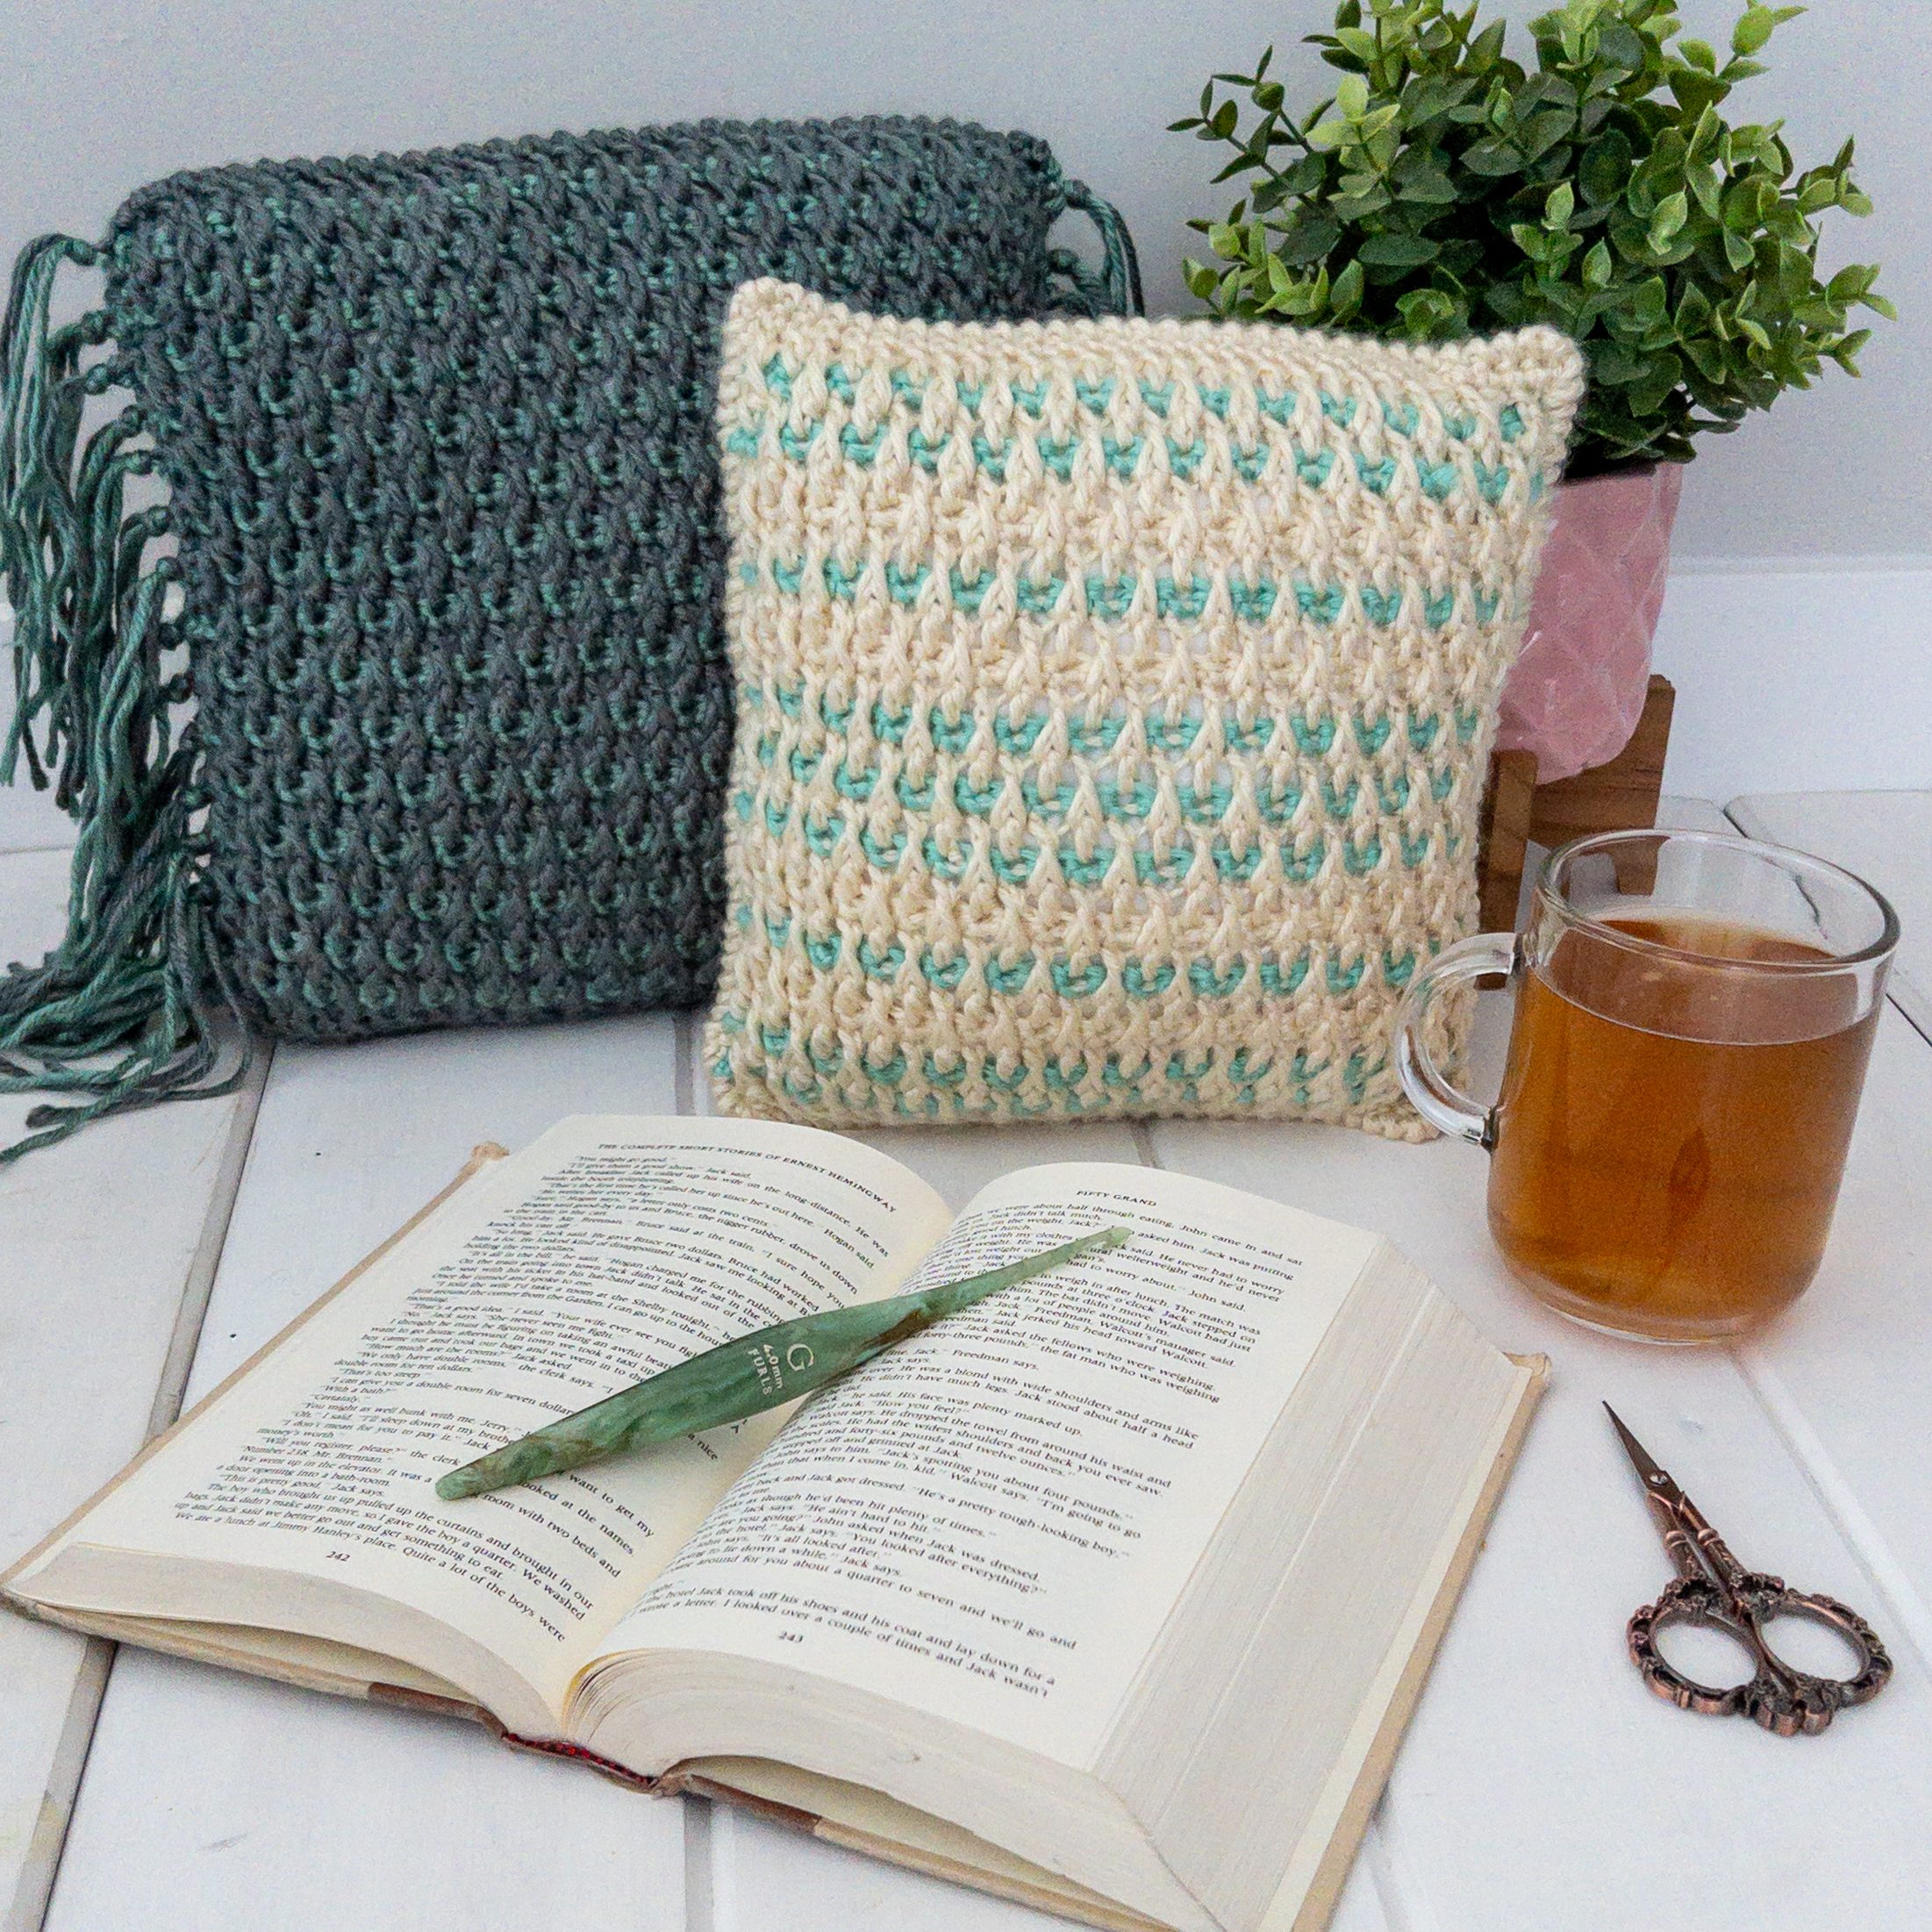
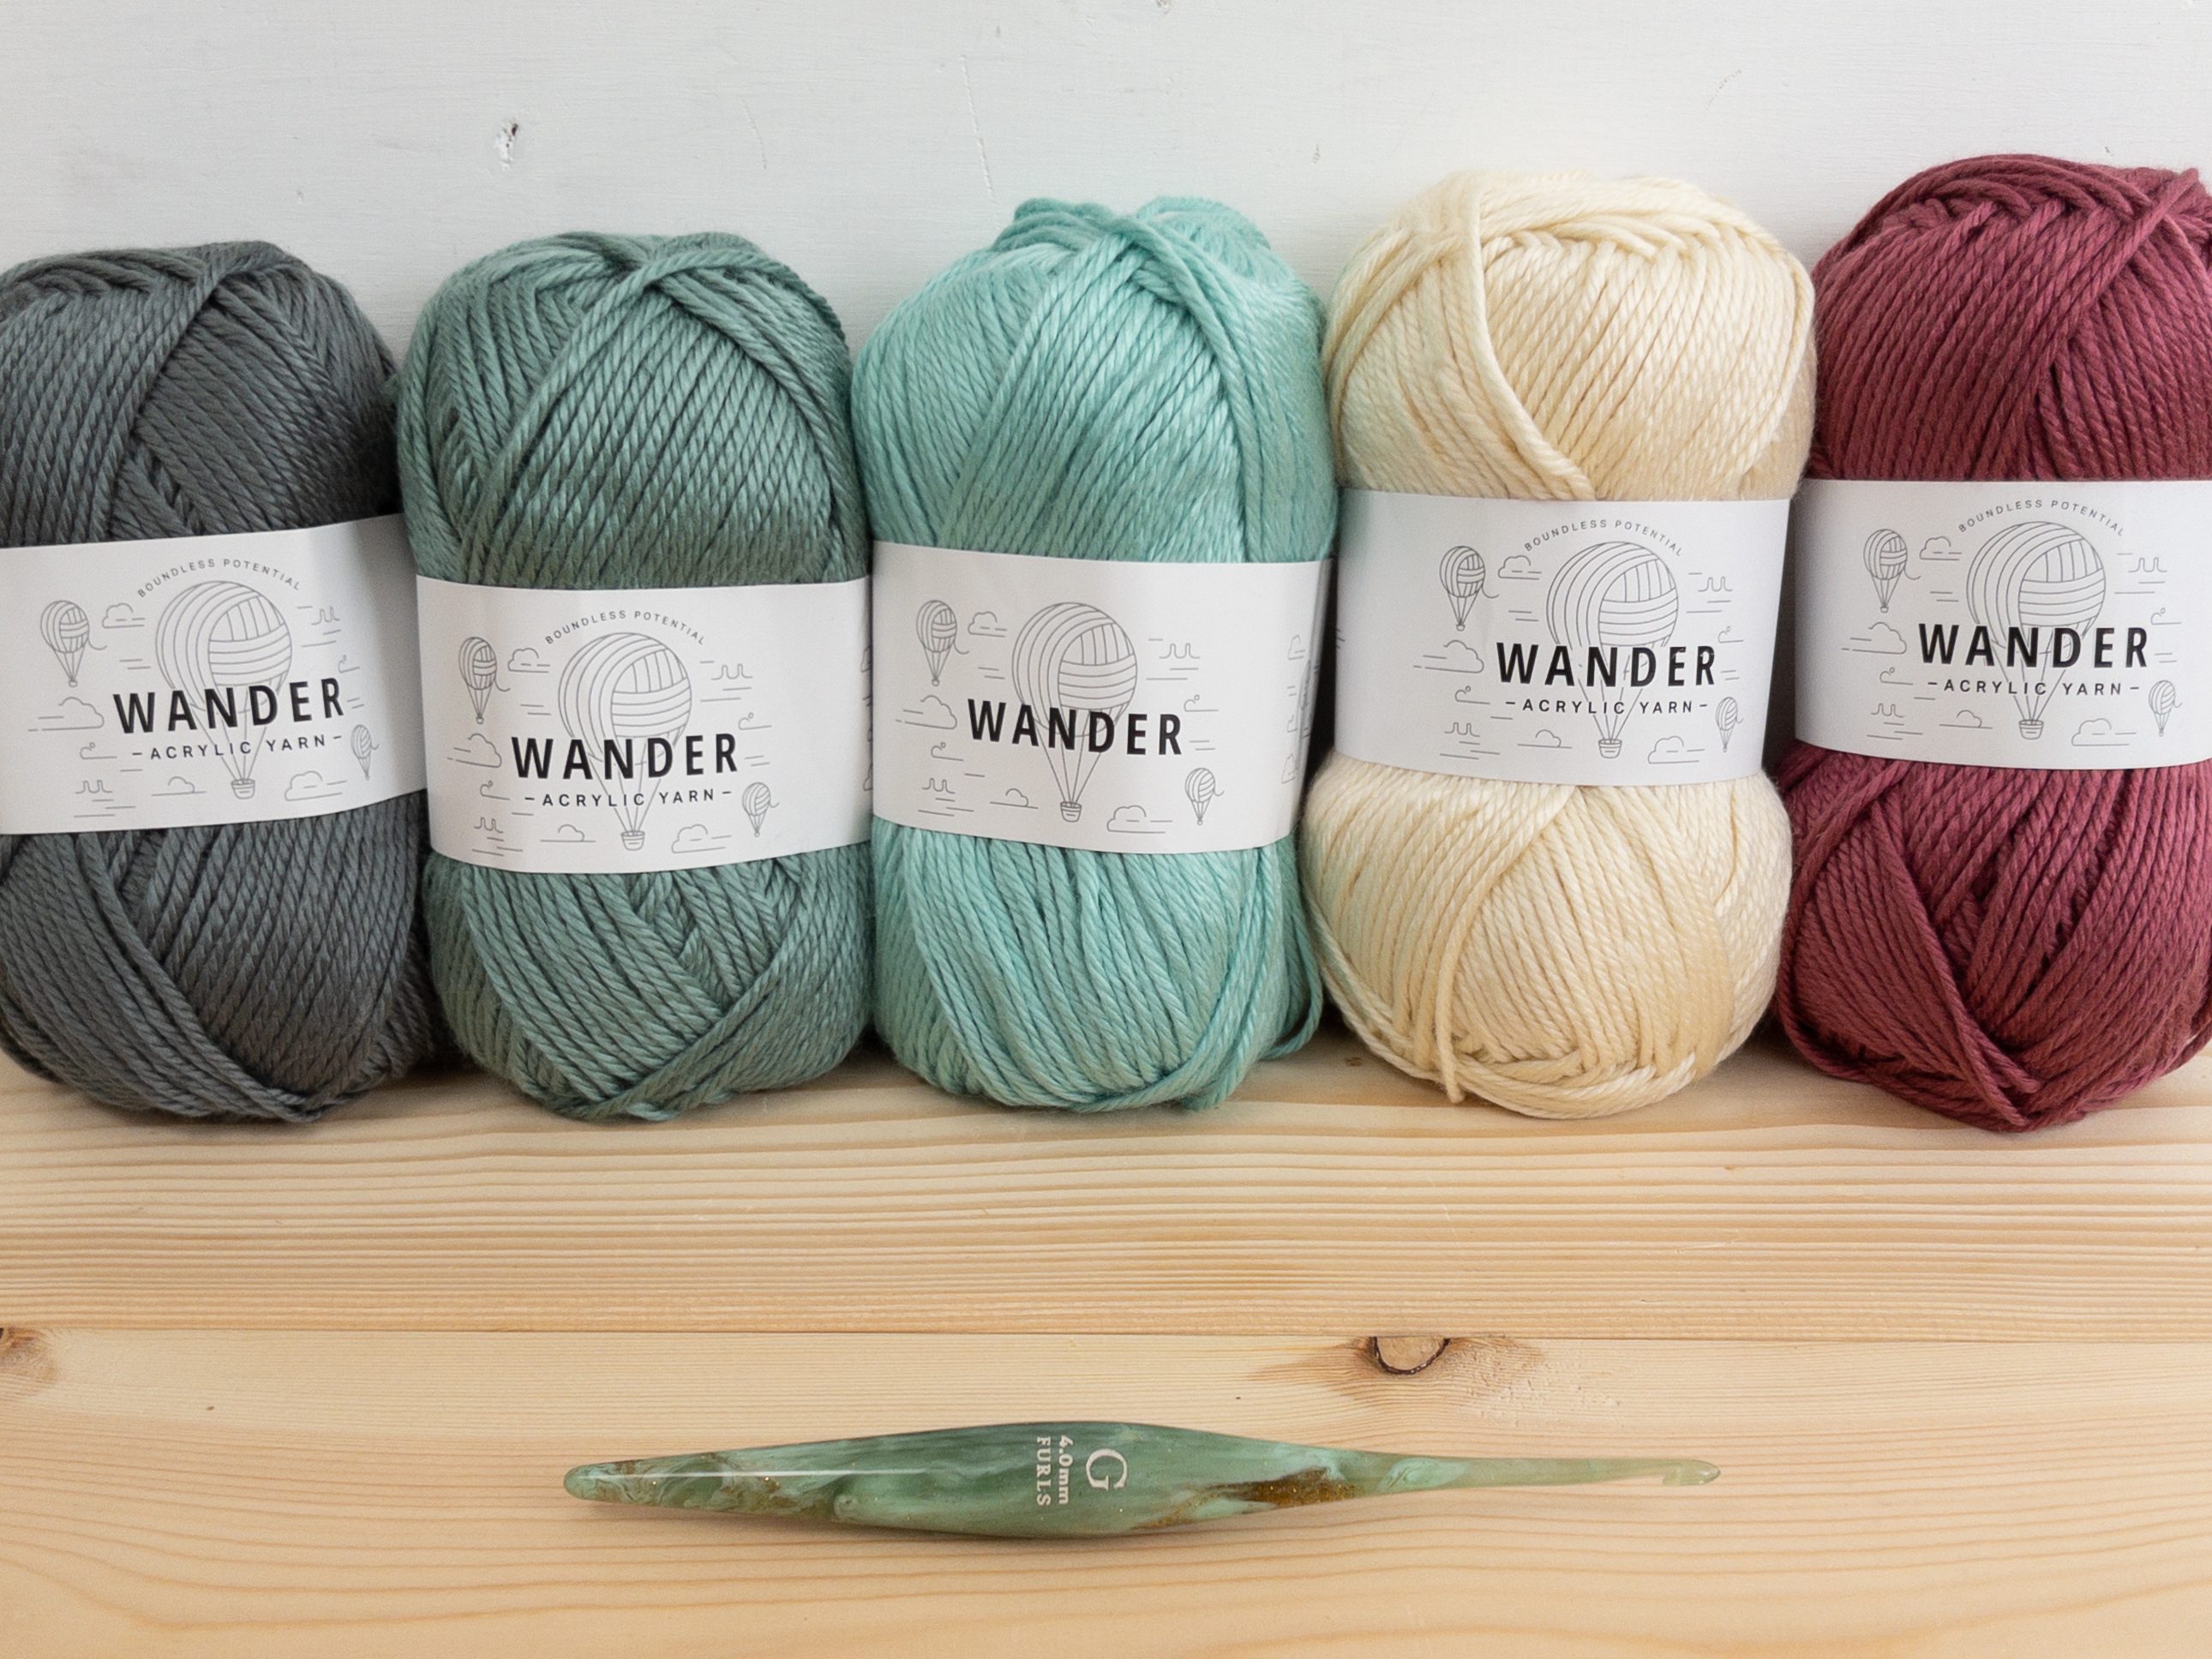
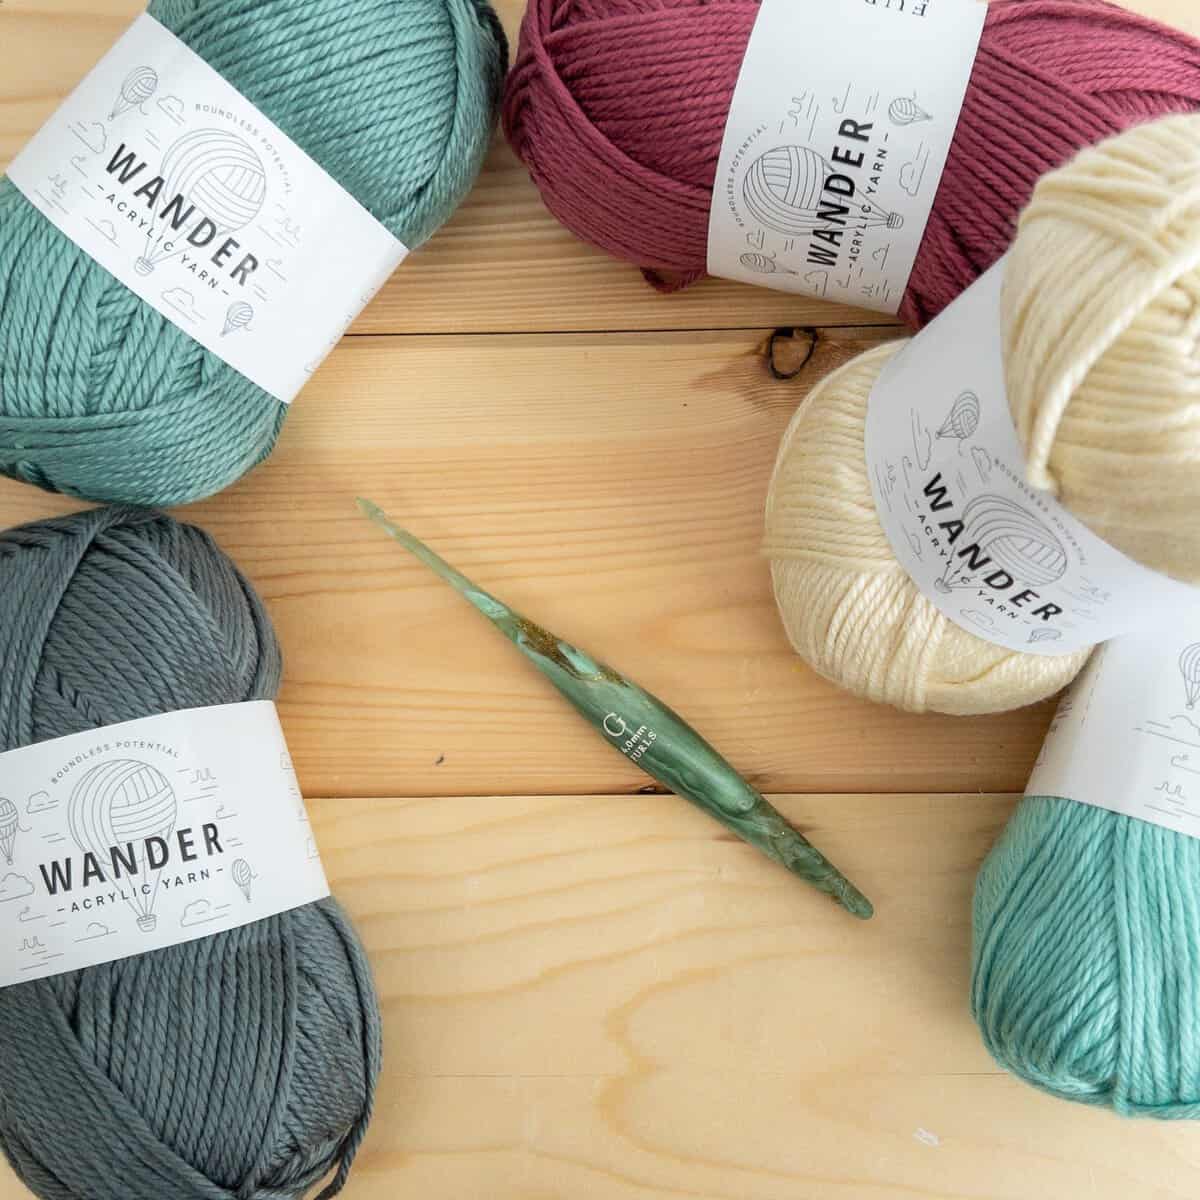
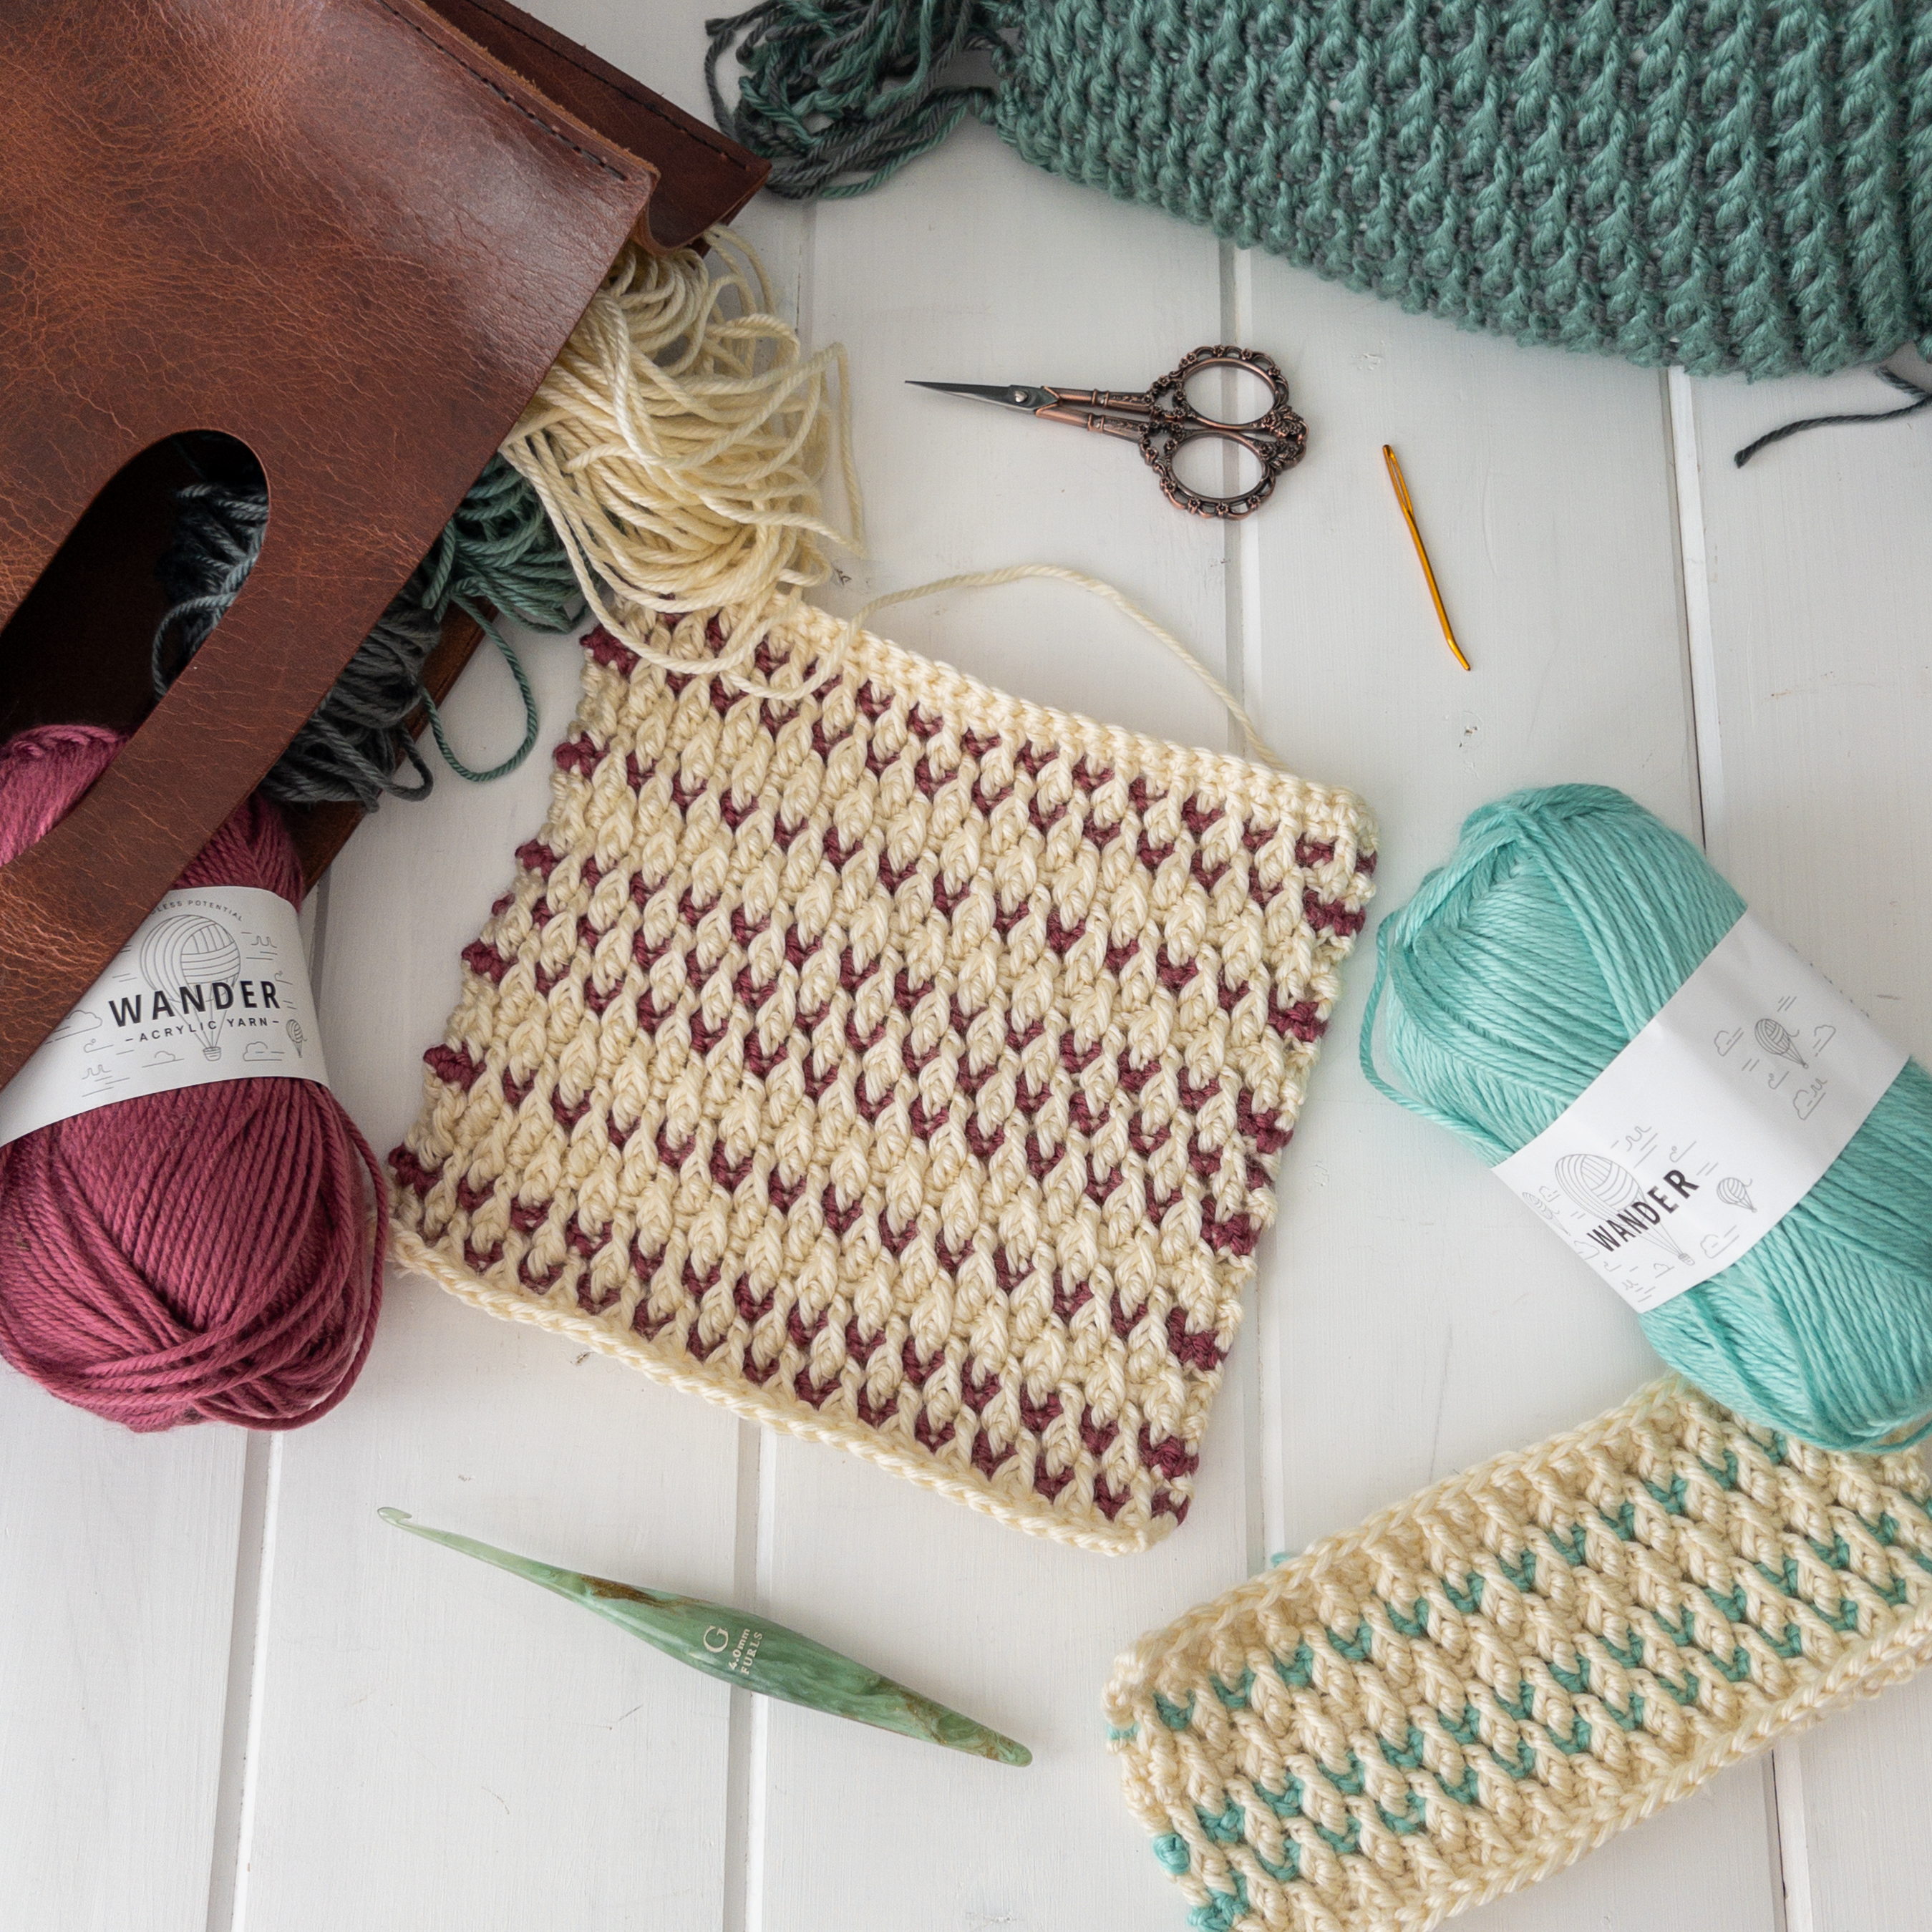
If you’ve been searching for a distinctive addition to your home décor, look no further than these two exclusive designs: Wandering the Alpines and Alpine Peaks and Valleys. With just five skeins of Wander Acrylic Yarn and a 4.0mm/G Capricorn Streamline Crochet Hook from Furls you will be able to create these cozy and stylish accents for any living space.
EASY VERSATILITY. BOUNDLESS POTENTIAL.
With its gorgeous silky sheen, plush body, and oh-so-soft touch, Wander feels like a splurge without breaking the bank.
FurlsCrochet.com
Wander Acrylic Yarn
FIBER INFO
Medium (4) Worsted weight yarn
100g (3.5oz), 120 yds (109m)/skein
To create these pillows, you will need
5 colours of Wander Acrylic Yarn by Furls:
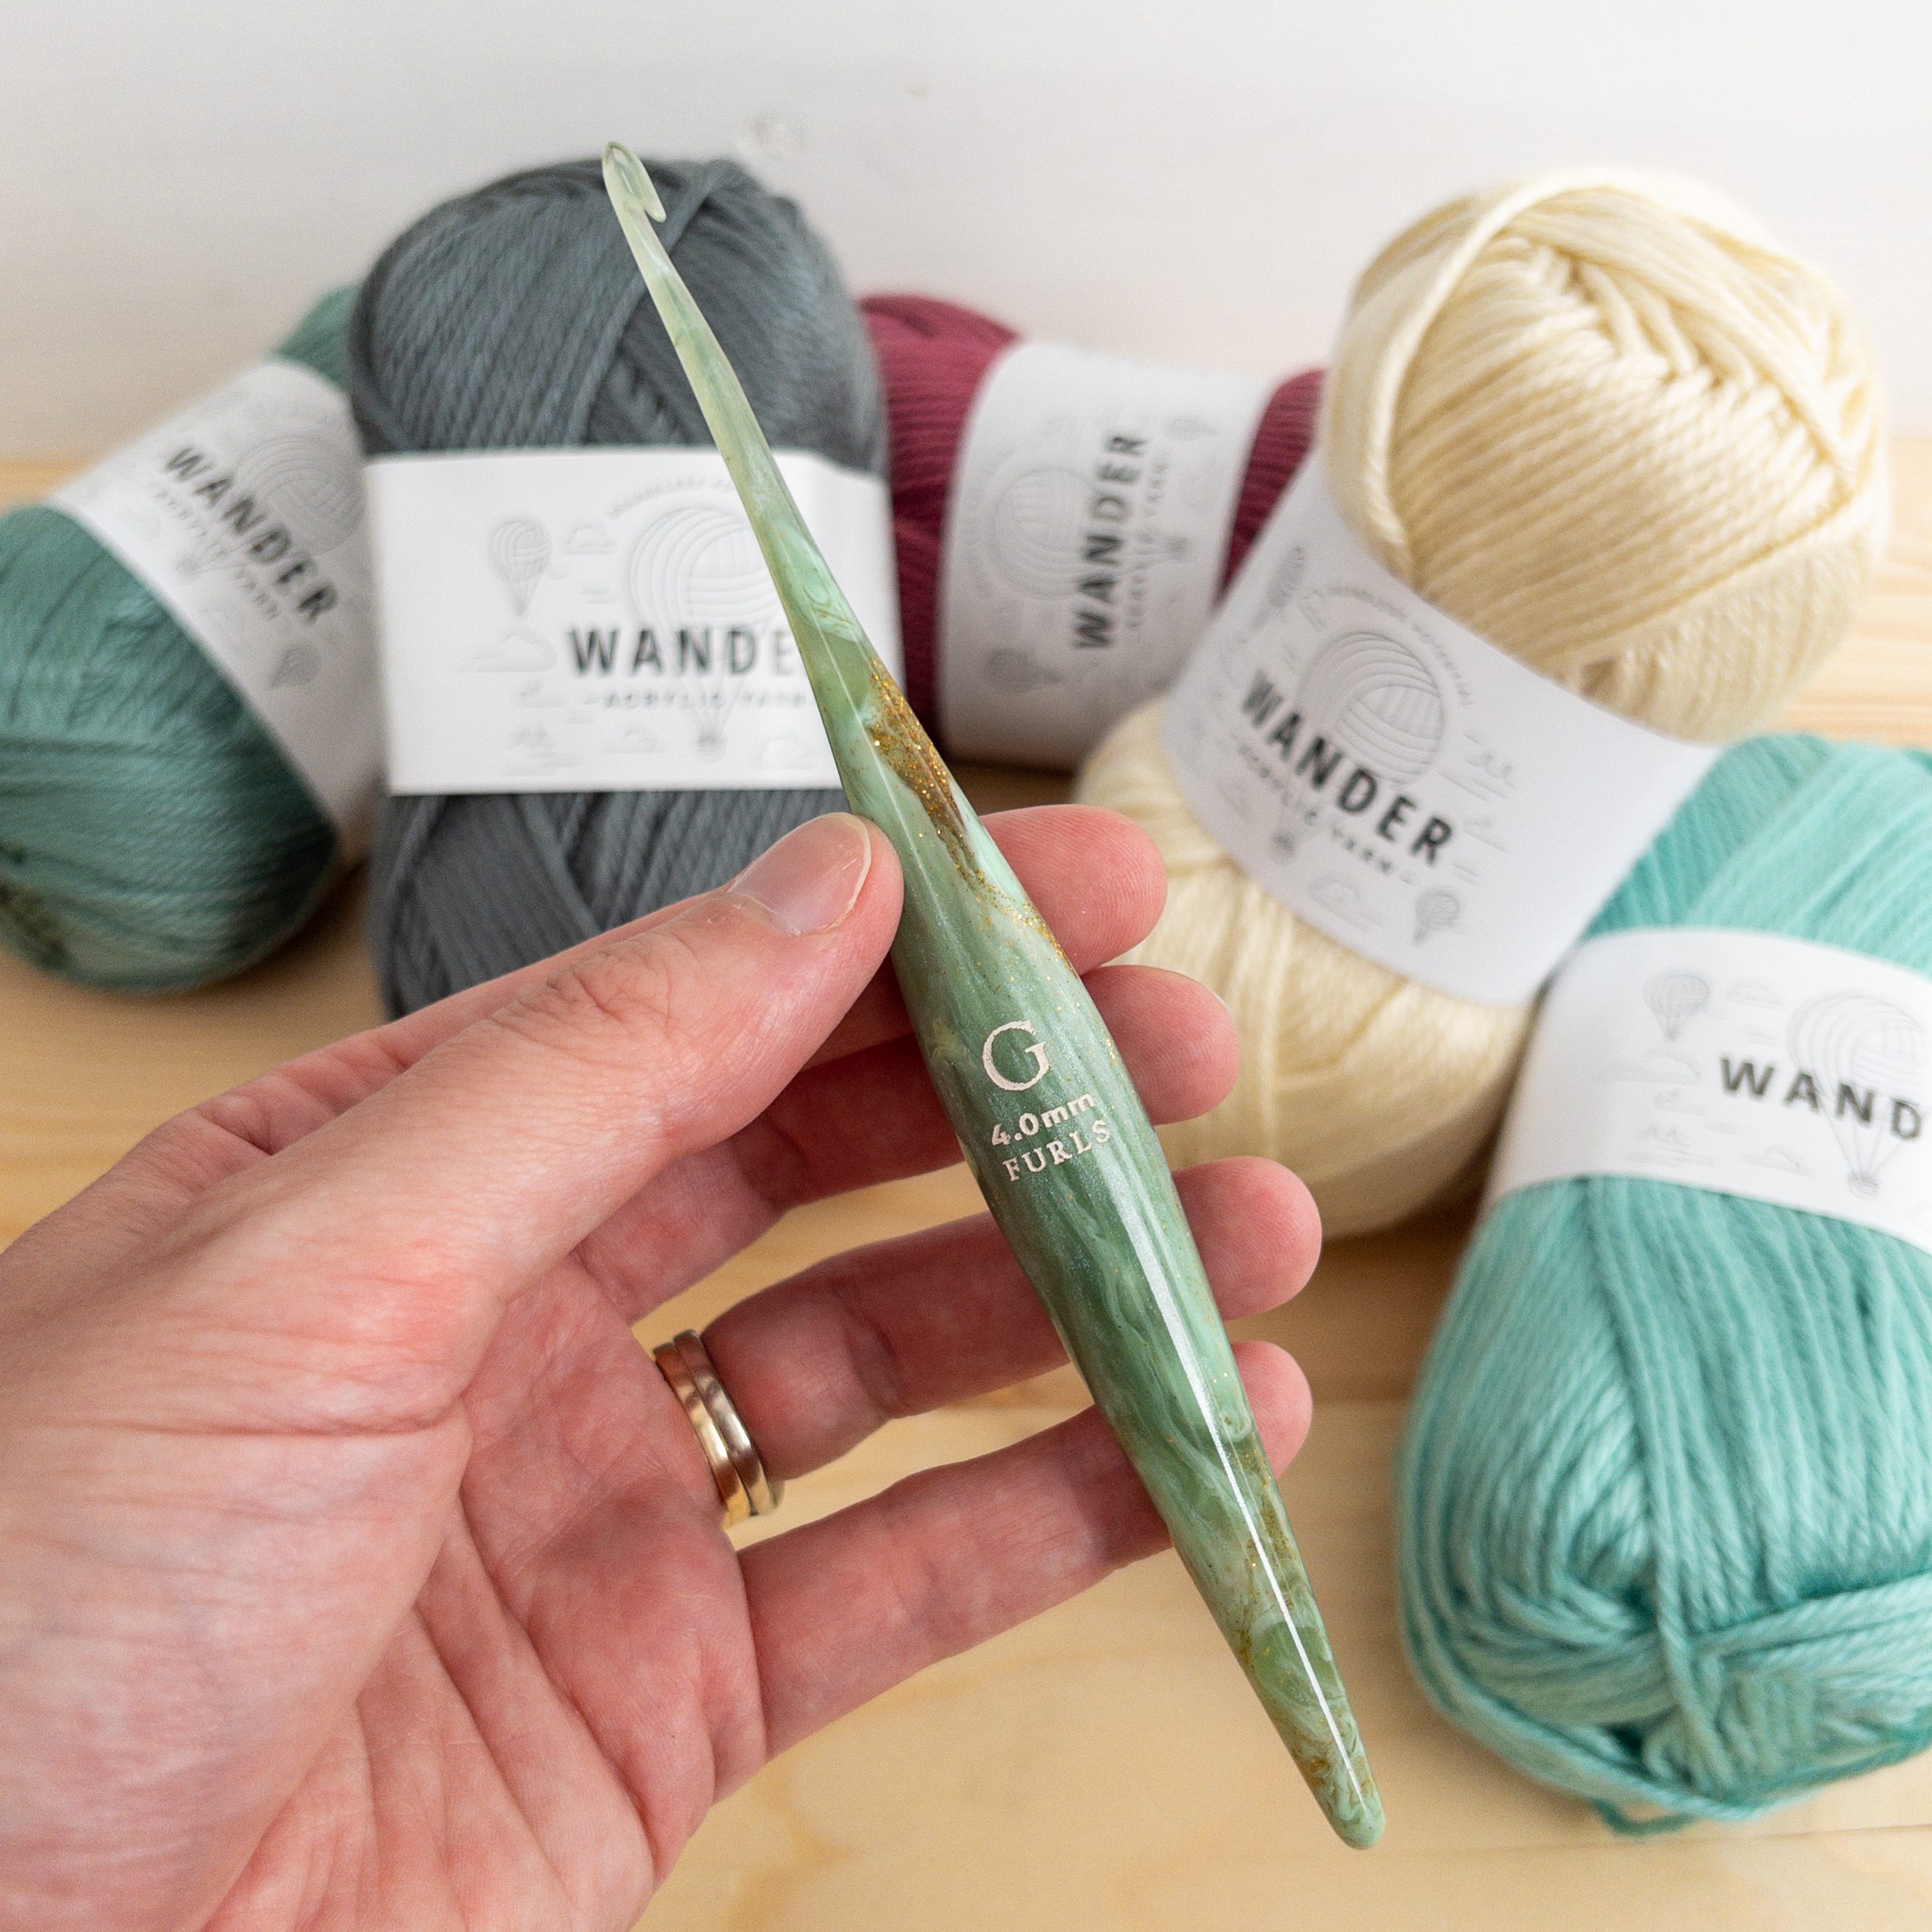
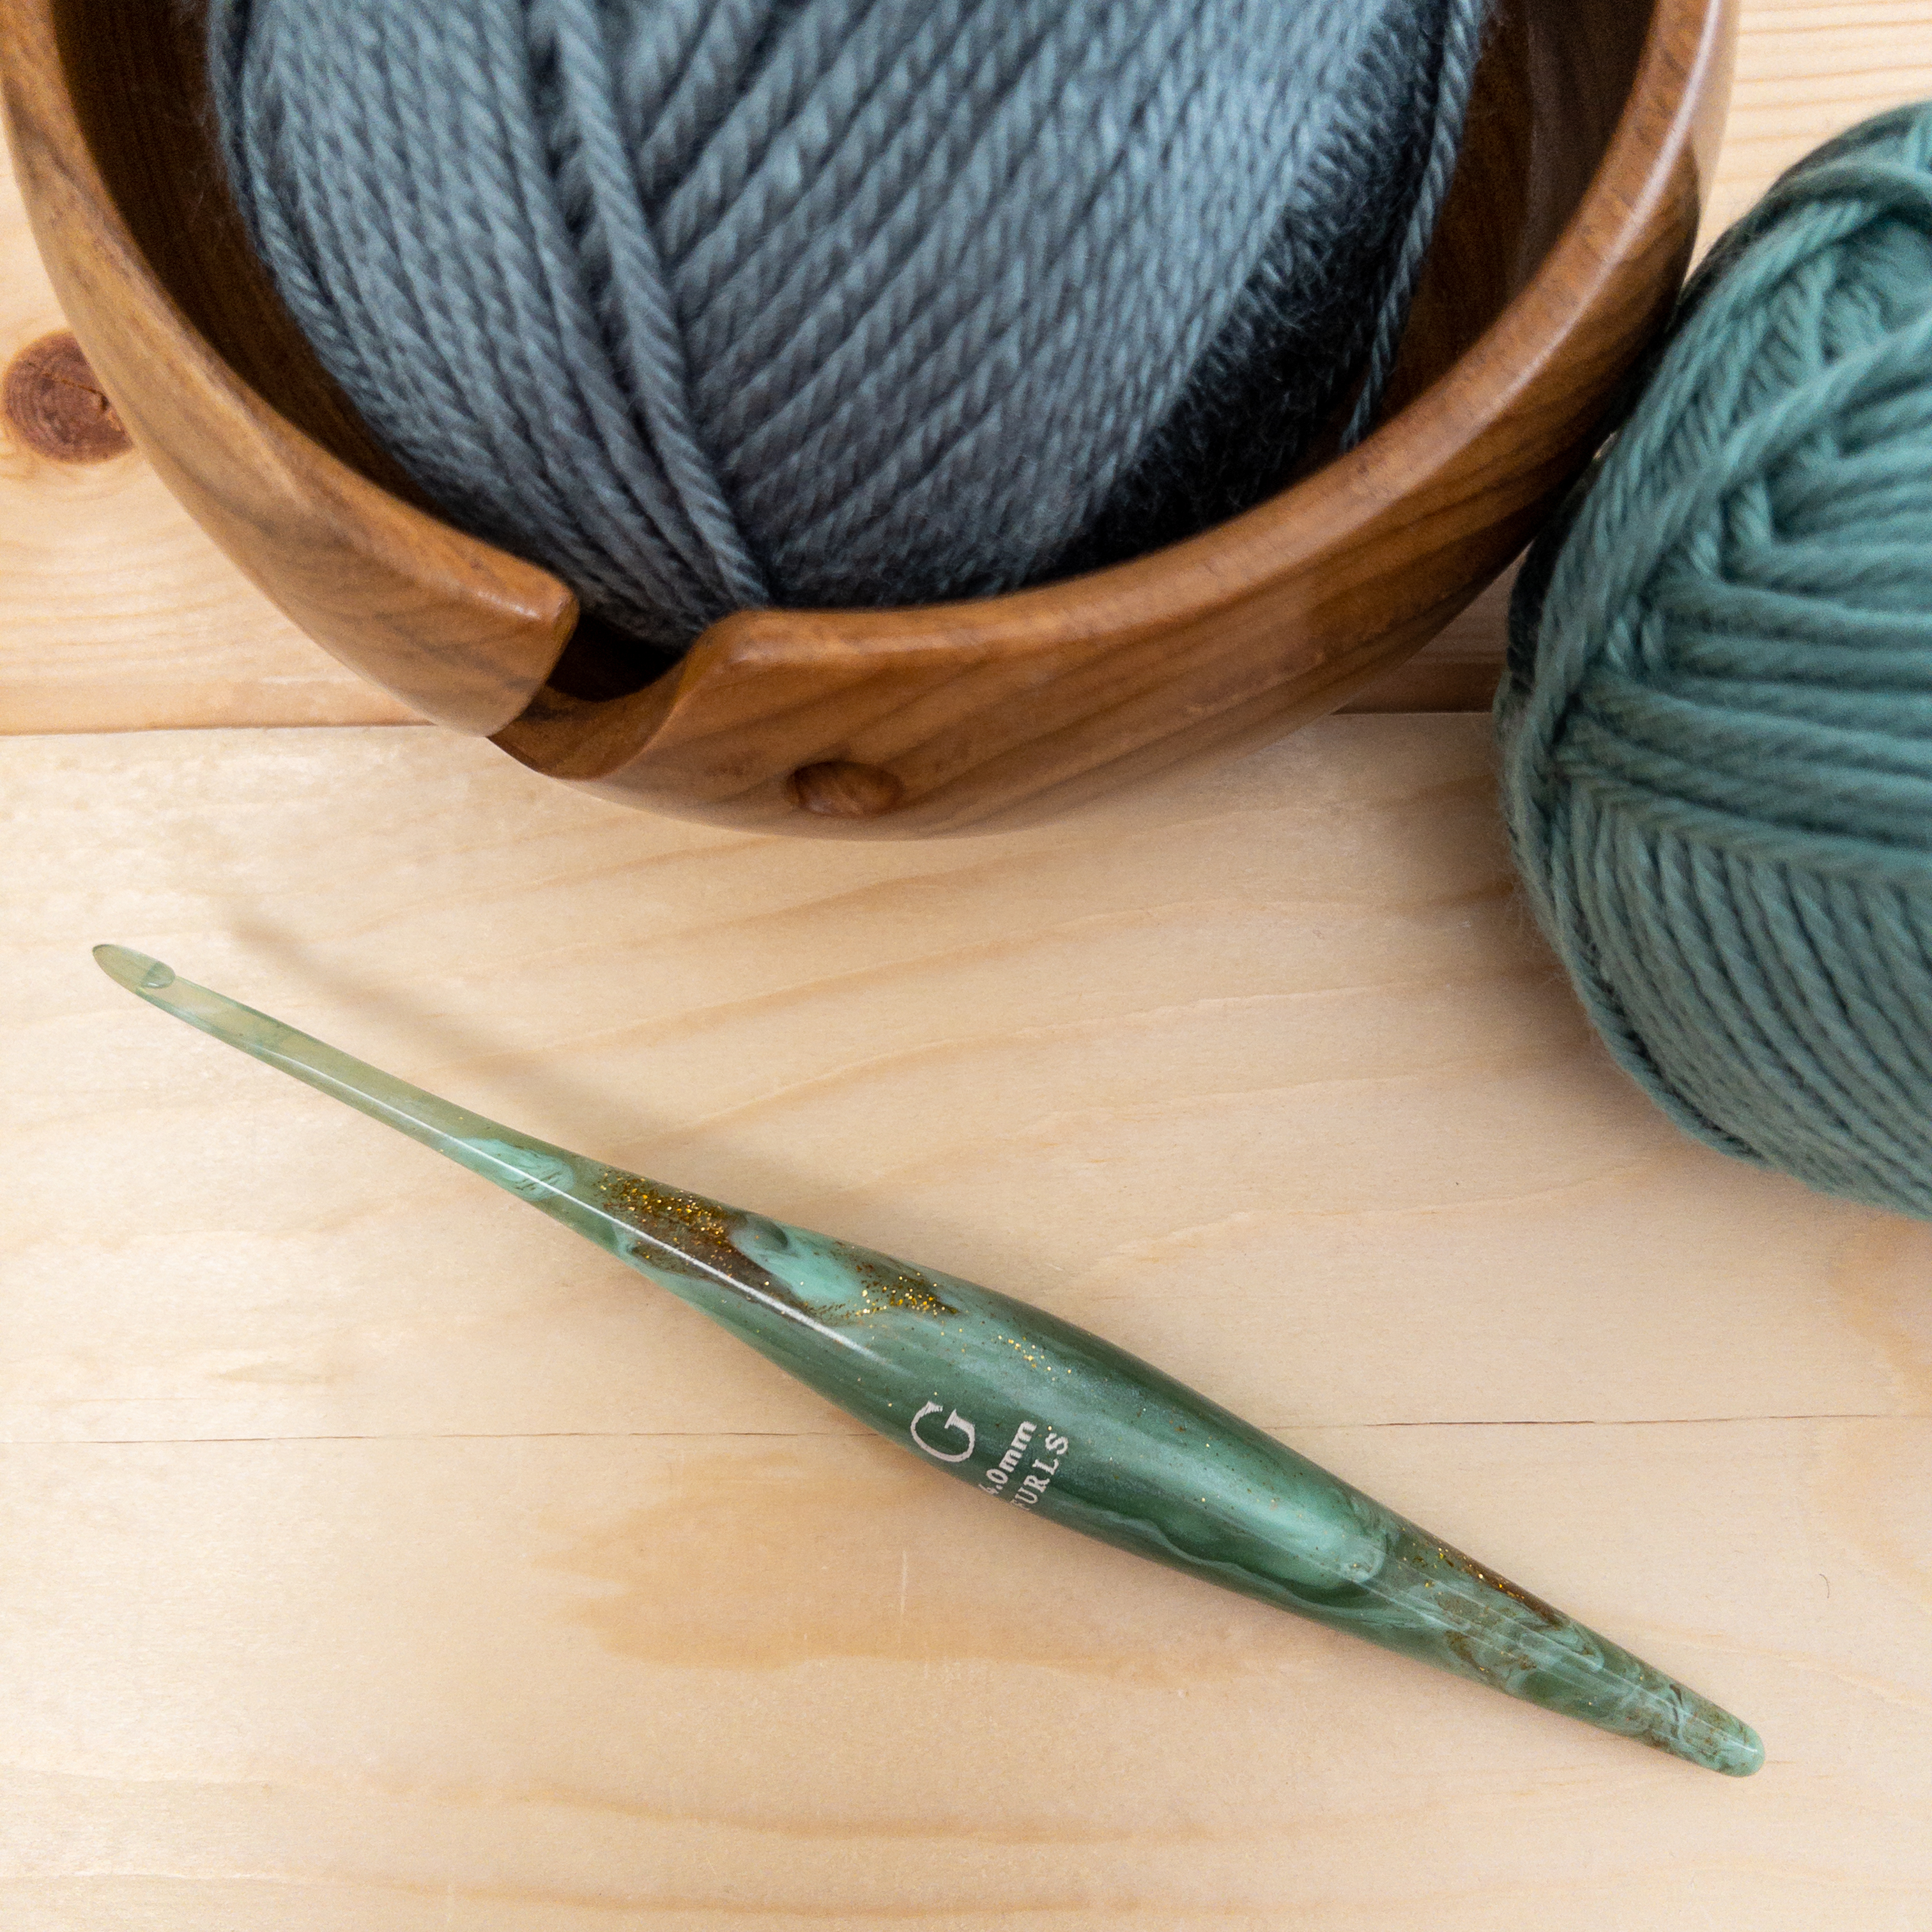
4.0mm/G Capricorn Streamline Furls Crochet Hook
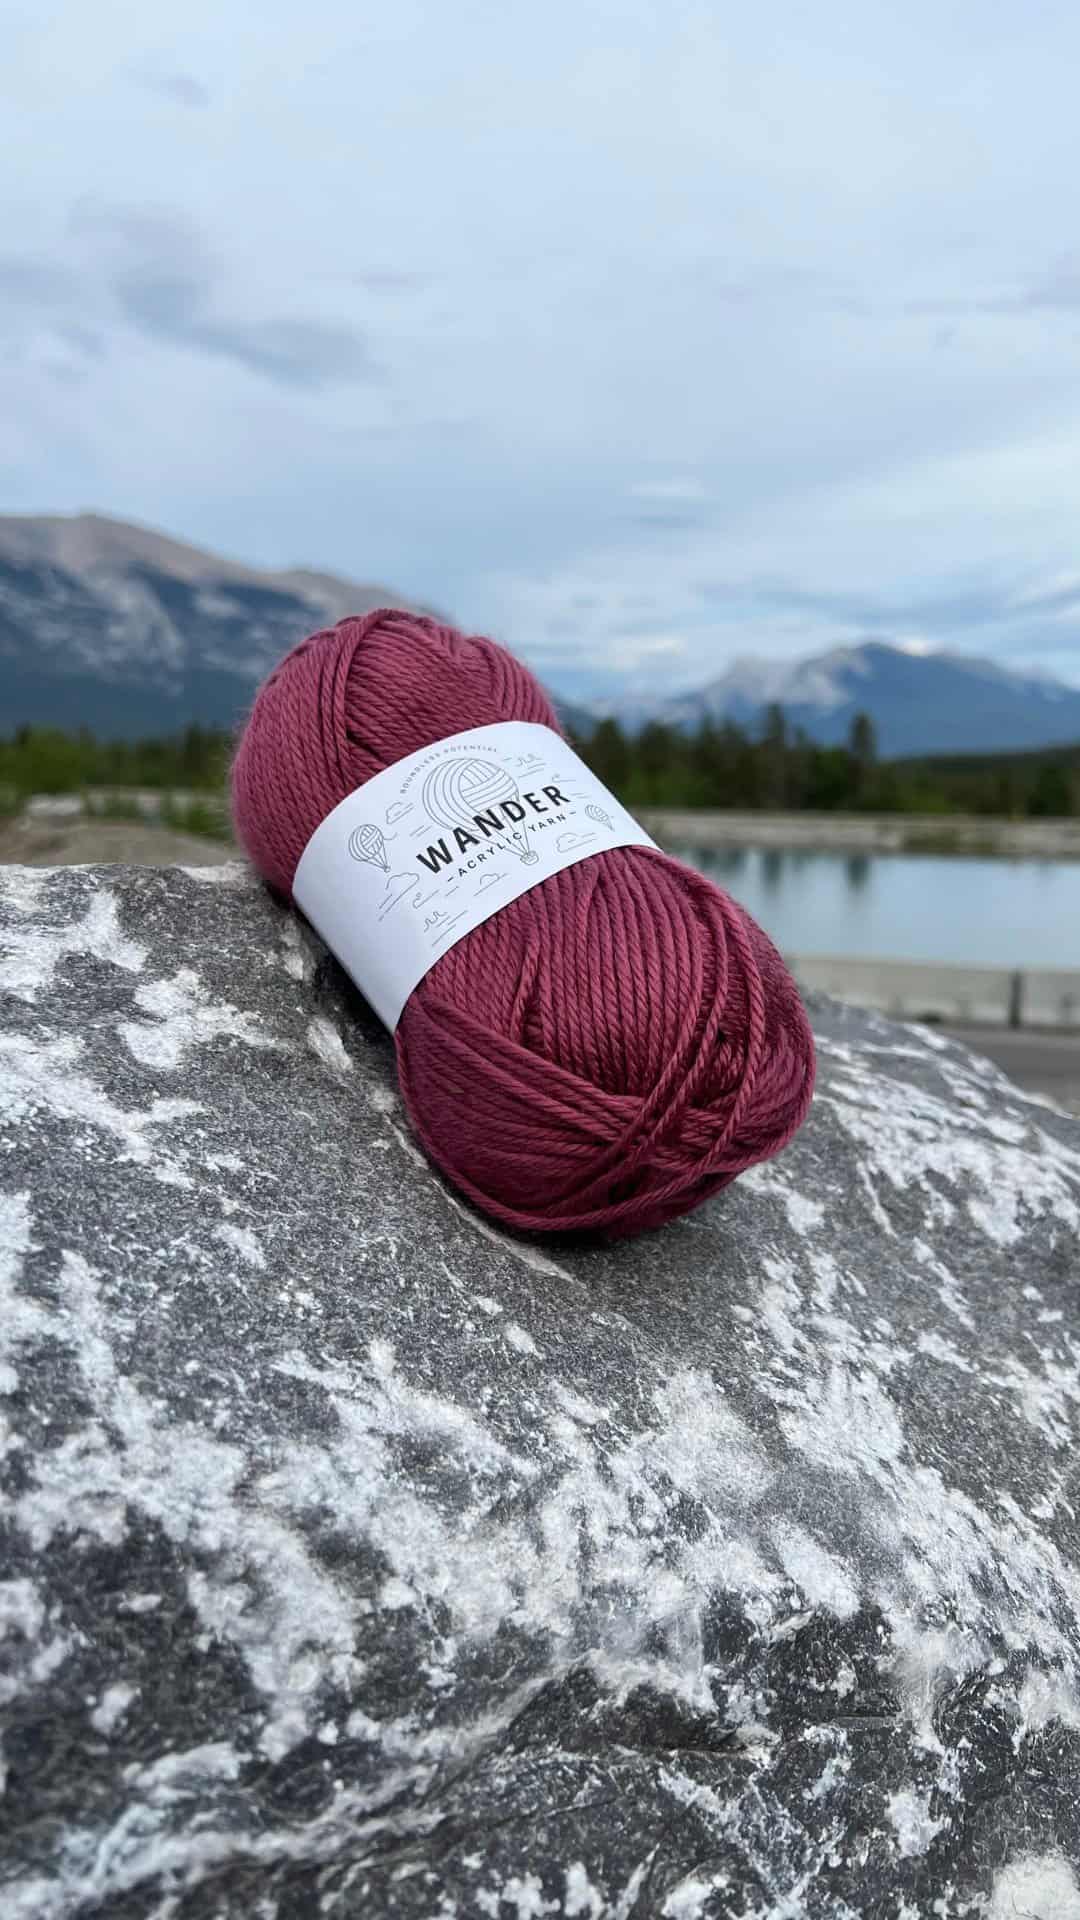
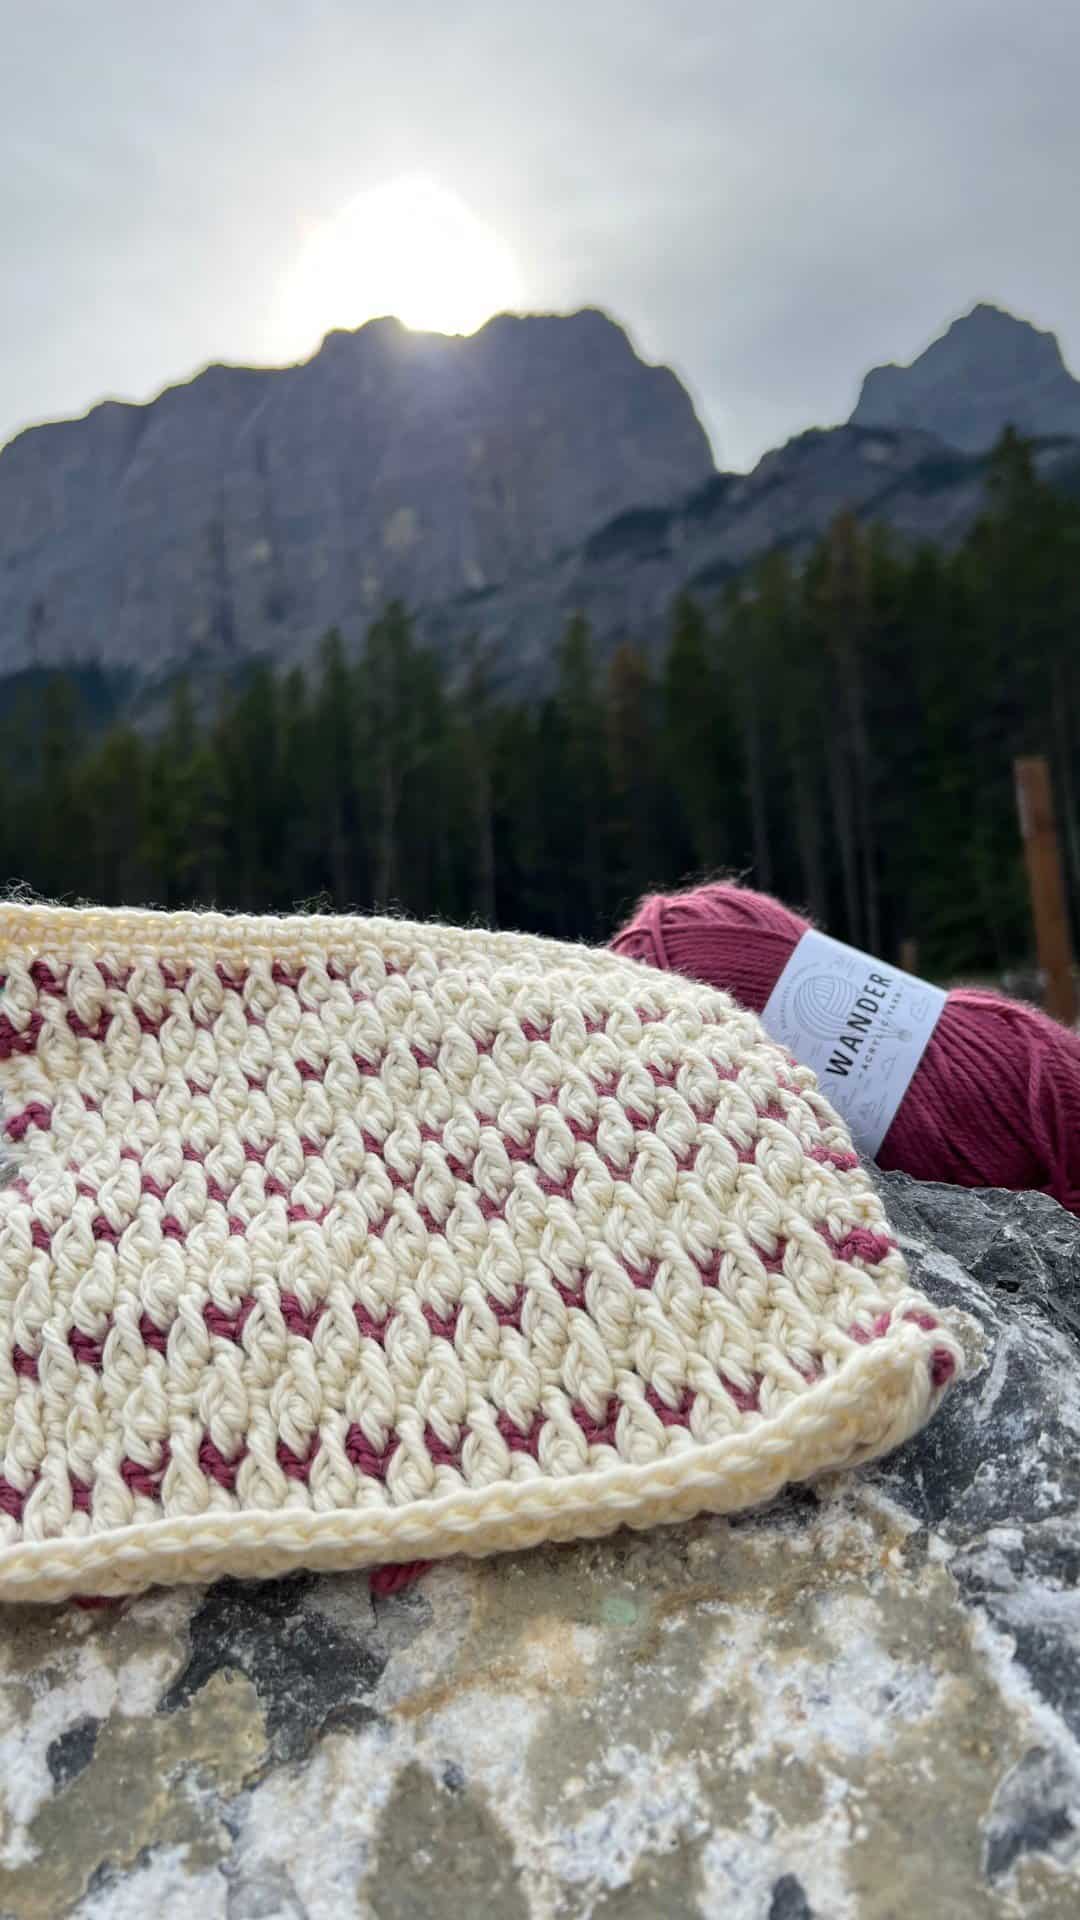
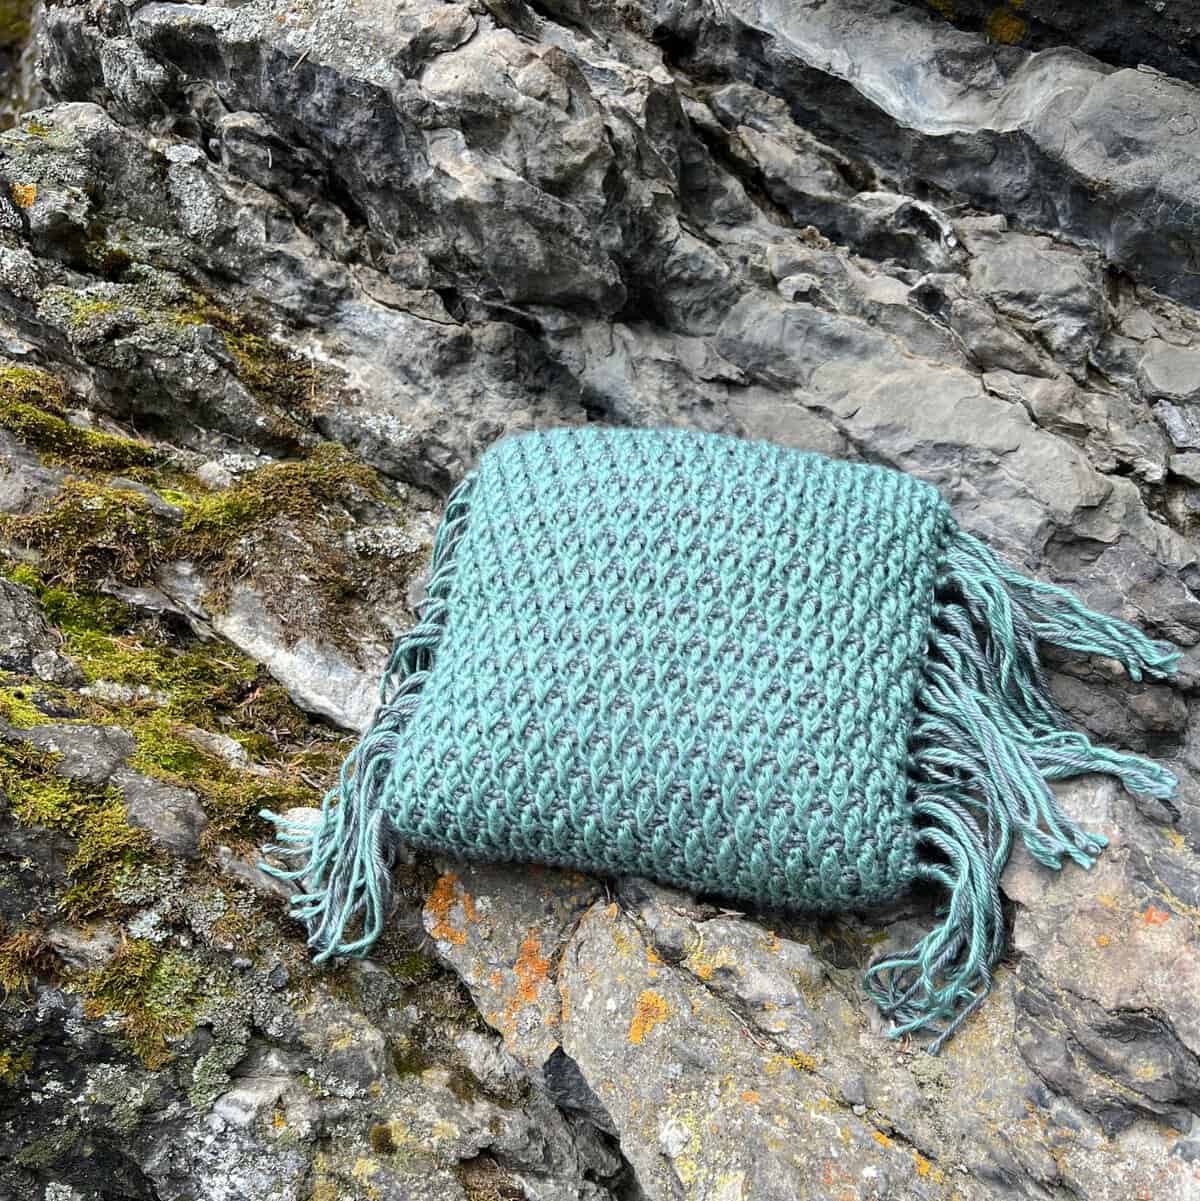
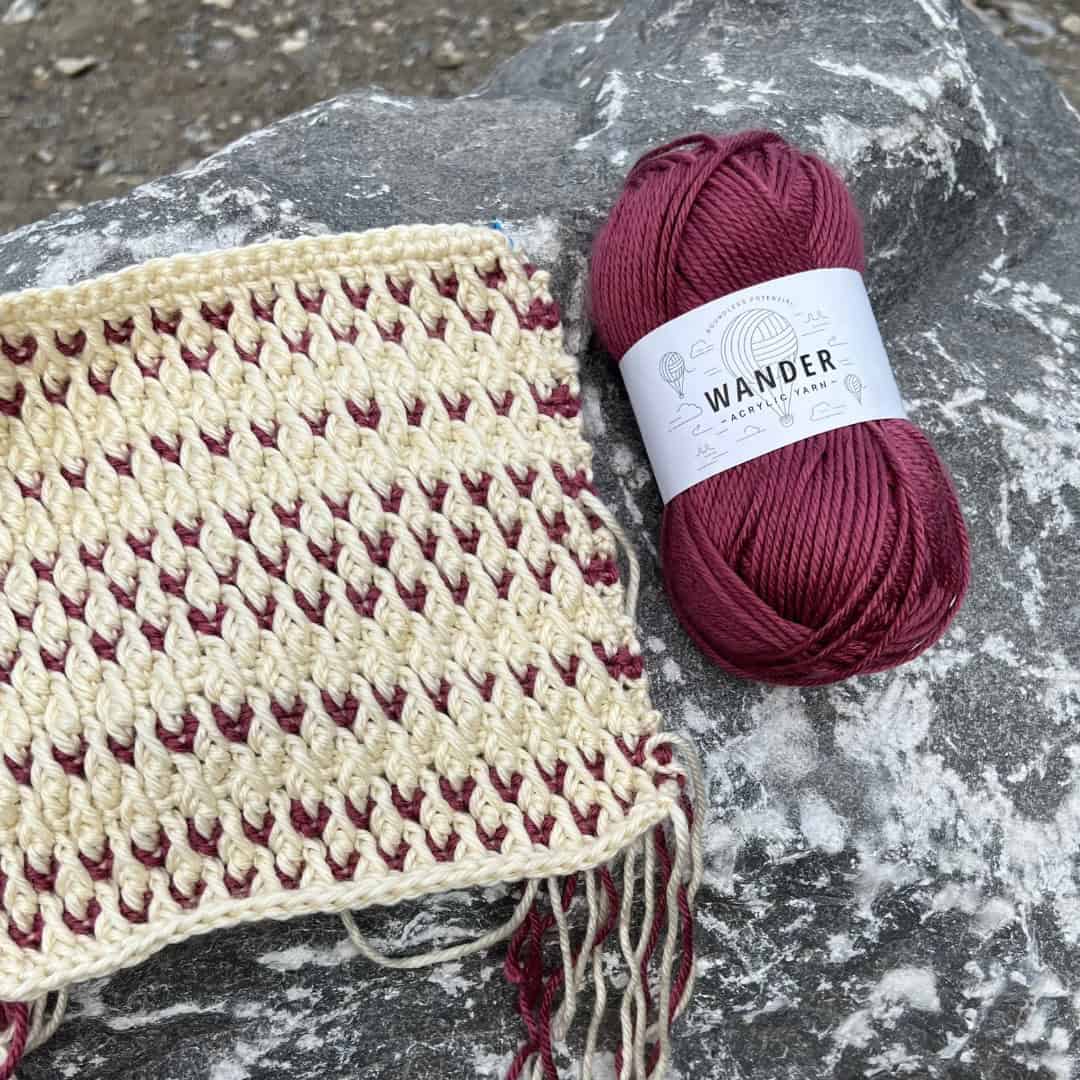
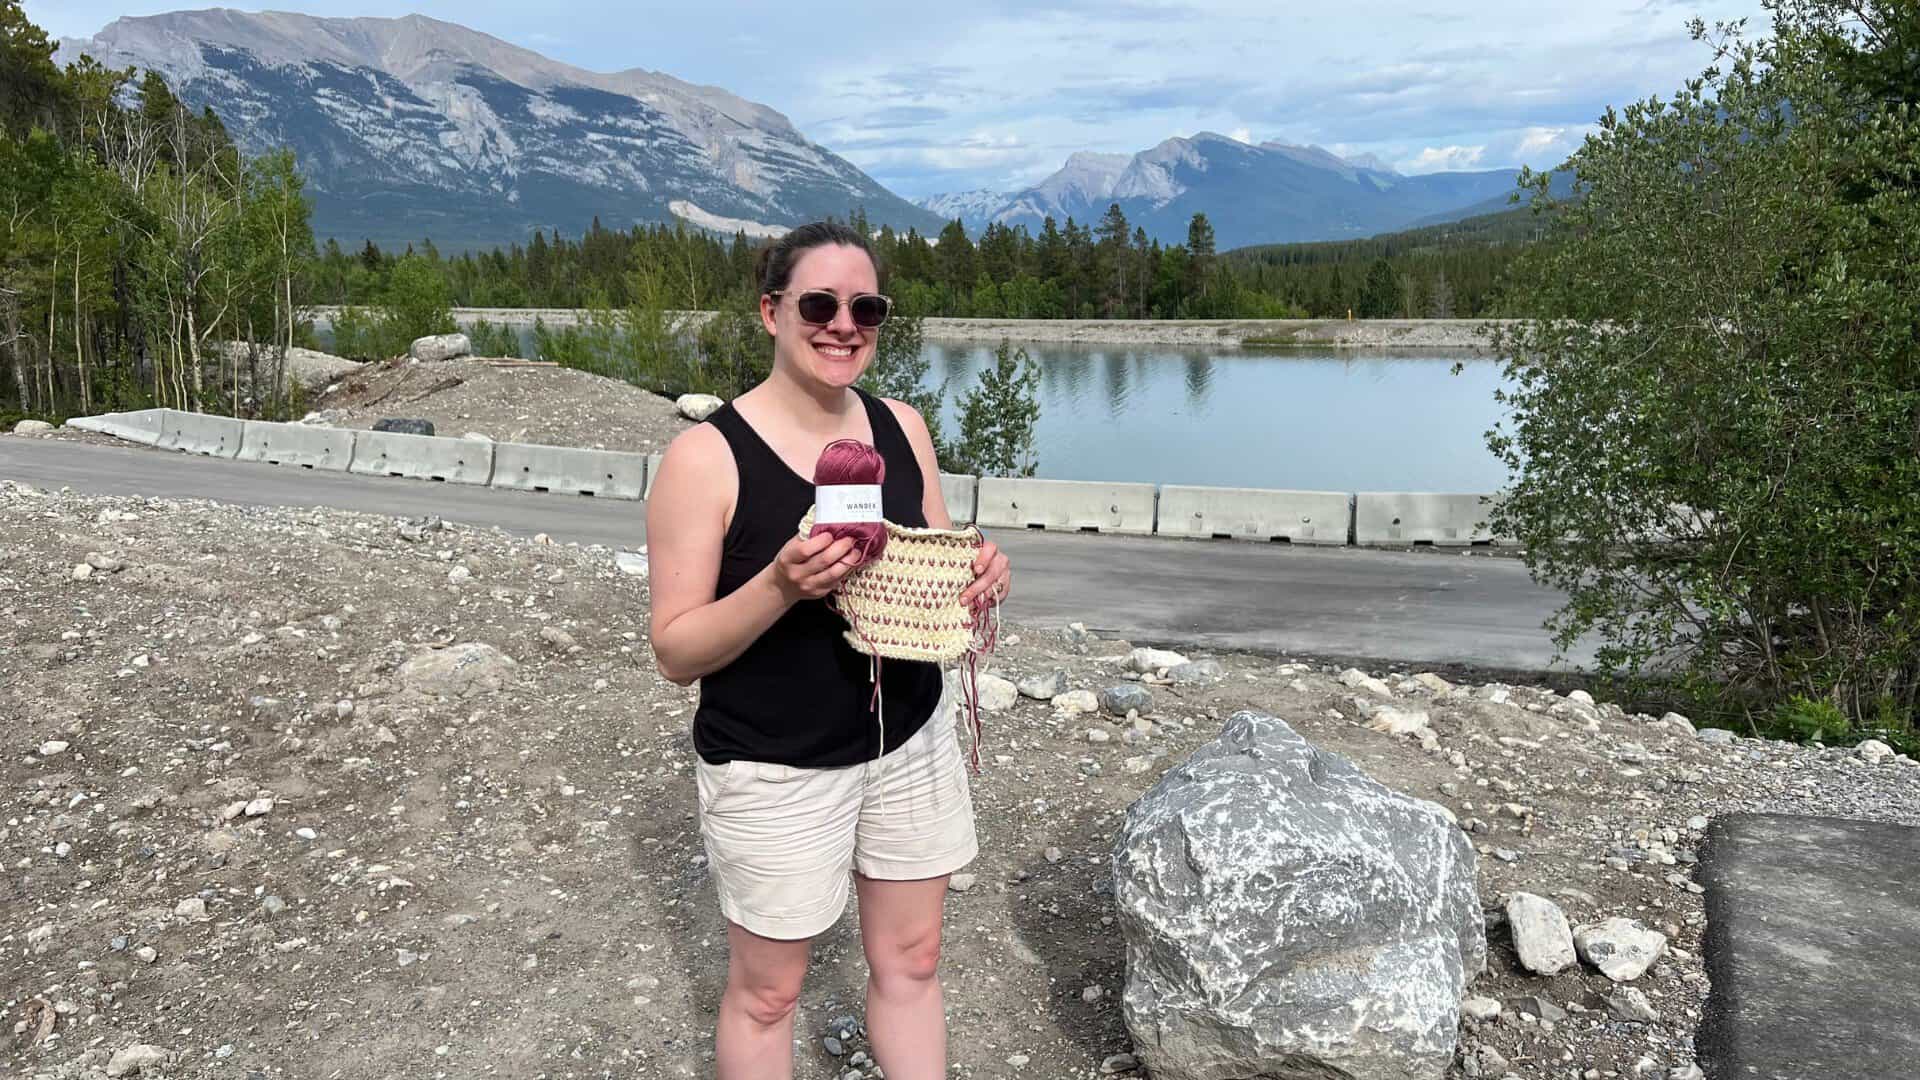
As you work on these pillows, you will see how the colors of the yarn come together to create a stunning and unique design, reminiscent of the mountains. In fact, I have included photos of the pillows in the Canadian Rocky Mountains to inspire you even more!
By the time you finish making these pillows, you will have a beautiful and cozy addition to your home décor. So, grab your hook and yarn, and let’s get started on this exciting crochet project together!
Stitch Abbreviations
Pattern using US Terms
ch – Chain
dc – Double Crochet
fdc – Foundation Double Crochet
FPdc – Front Post Double Crochet
rep – repeat
sc – Single Crochet
sk/skd – Skip/Skipped
tw sc – Twisted Single Crochet
Yo – Yarn Over
Special Stitches
Foundation Double Crochet (fdc):
Start with a slip knot and ch3, yo and insert your hook in the 3rd ch from hook, yo and pull up a loop (3 loops on hook), yo and pull through the first loop on hook (still 3 loops on hook). You have now created the first base chain.
Yo and pull through 2 loops on the hook (2 loops on hook), yo and pull through the 2 remaining loops on the hook.
You have now created the double crochet on top of the base chain. This counts as one stitch when counting stitches and is abbreviated as fdc.
Front Post Double Crochet (FPdc):
Yo, insert your hook from front to back to front around the post of the next stitch, yo, pull up a loop, yo, pull thru 2 loops on your hook, yo, pull thru remaining two loops on your hook.
Twisted Single Crochet (tw sc):
Insert your hook into the next stitch to the left, Yo, draw up a loop. Now with 2 loops on the hook, while making sure to keep them loose, rotate the whole crochet hook counterclockwise 360 degrees in a perpendicular plane, keeping the loops as your central pivot. Yo and draw through the 2 loops on the hook.
The first tw sc is now complete.
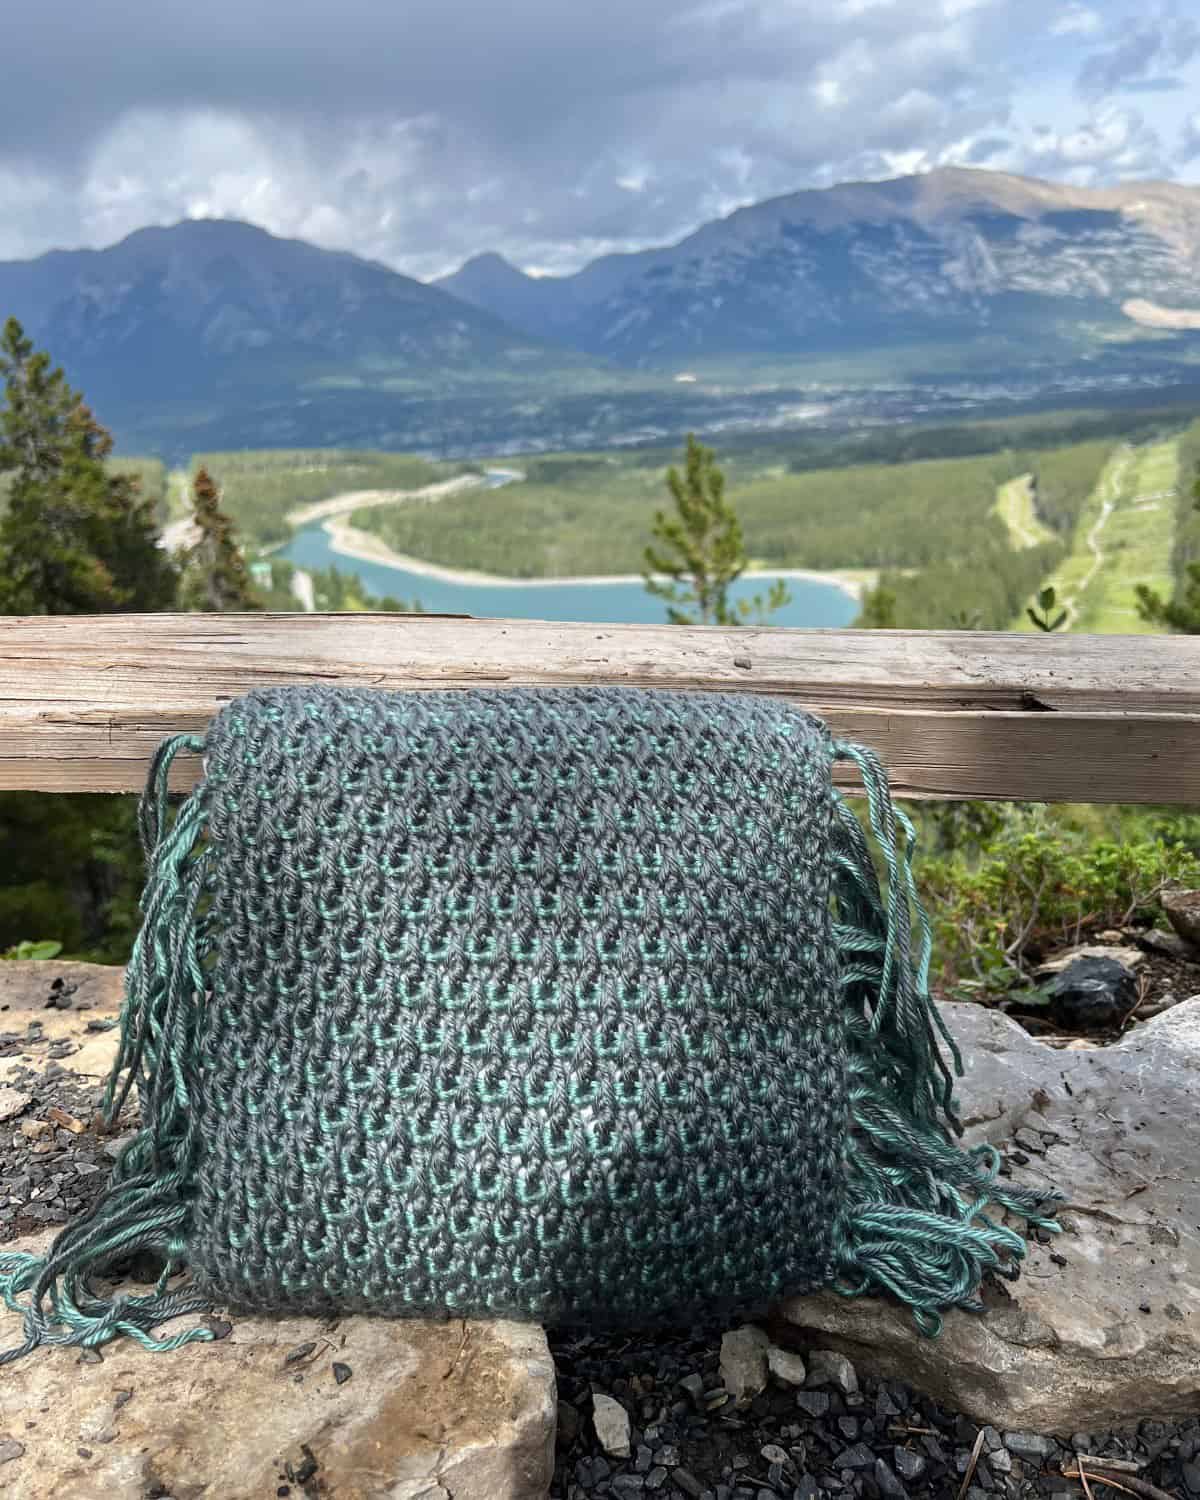
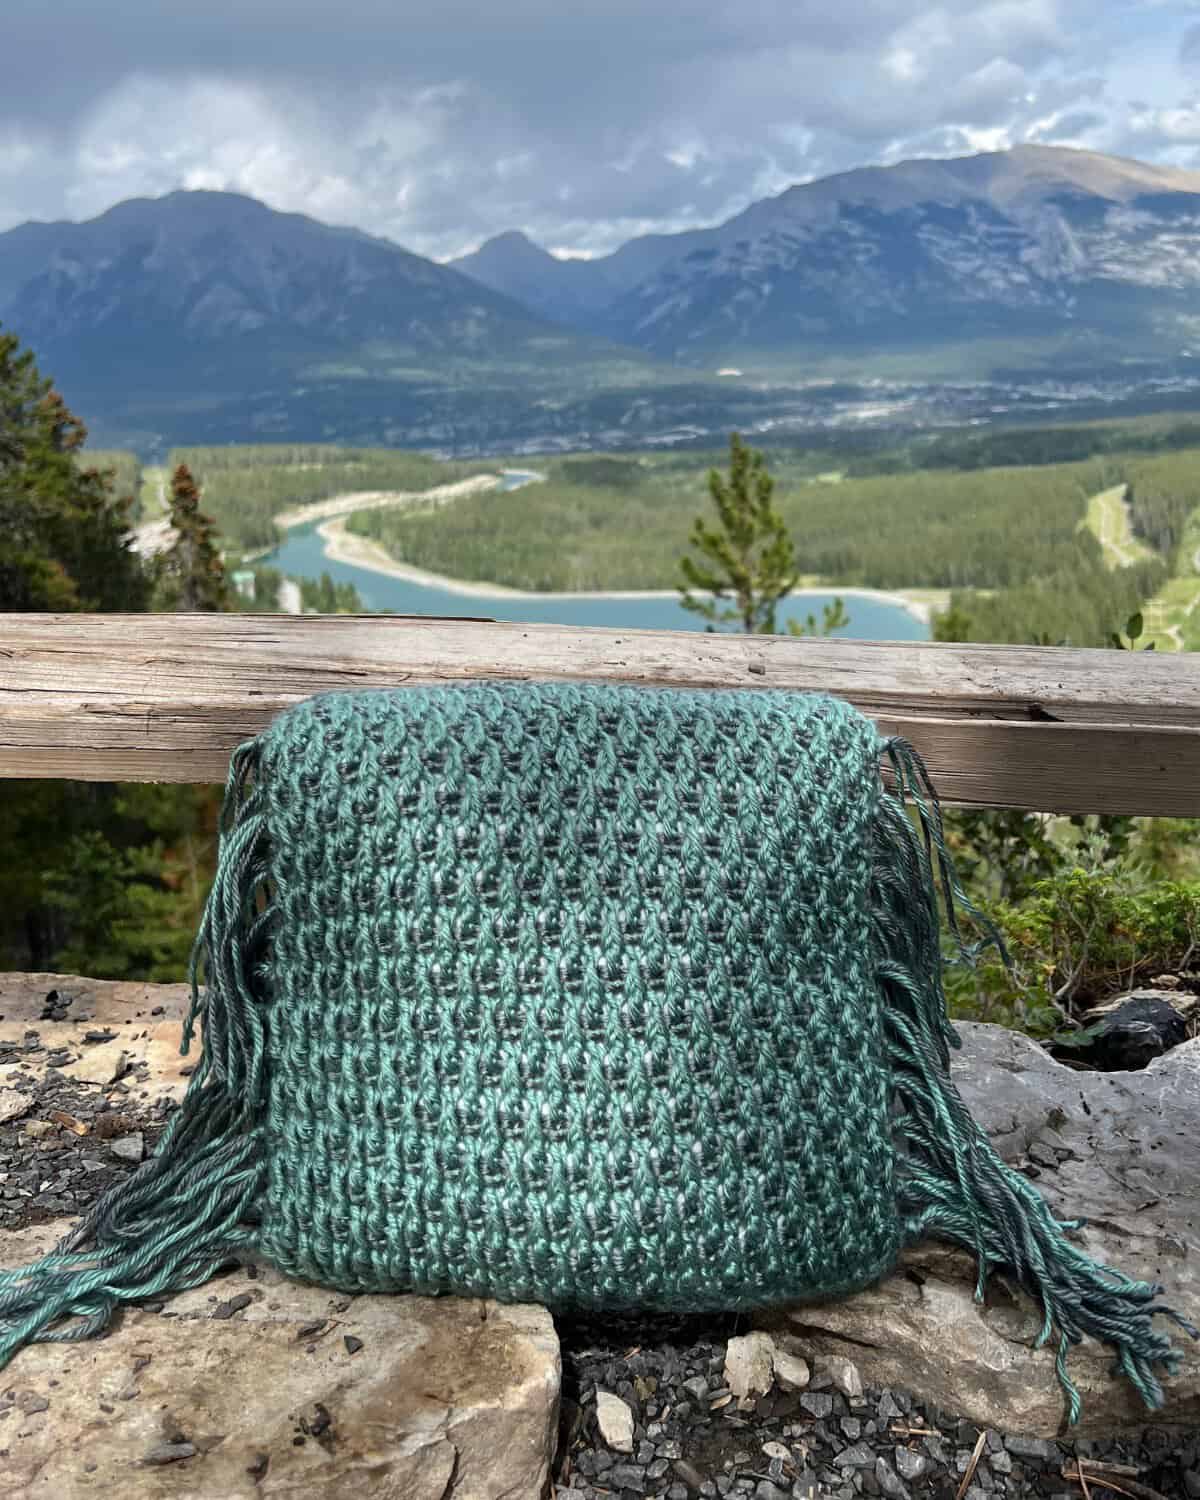
Wandering the Alpines Pillow
Materials
Medium (4) Worsted weight yarn
- Colour A – 120 yds (109m) / 1 Skein of Wander Acrylic Yarn – Agave
- Colour B – 120 yds (109m) / 1 Skein of Wander Acrylic Yarn – Foundry
4.0mm/G Crochet Hook – Capricorn Streamline Zodiac Crochet Hook by Furls
12″ x 12″ Pillow Form or Stuffing
Scissors
Stitch Markers
Tapestry Needle
Pattern
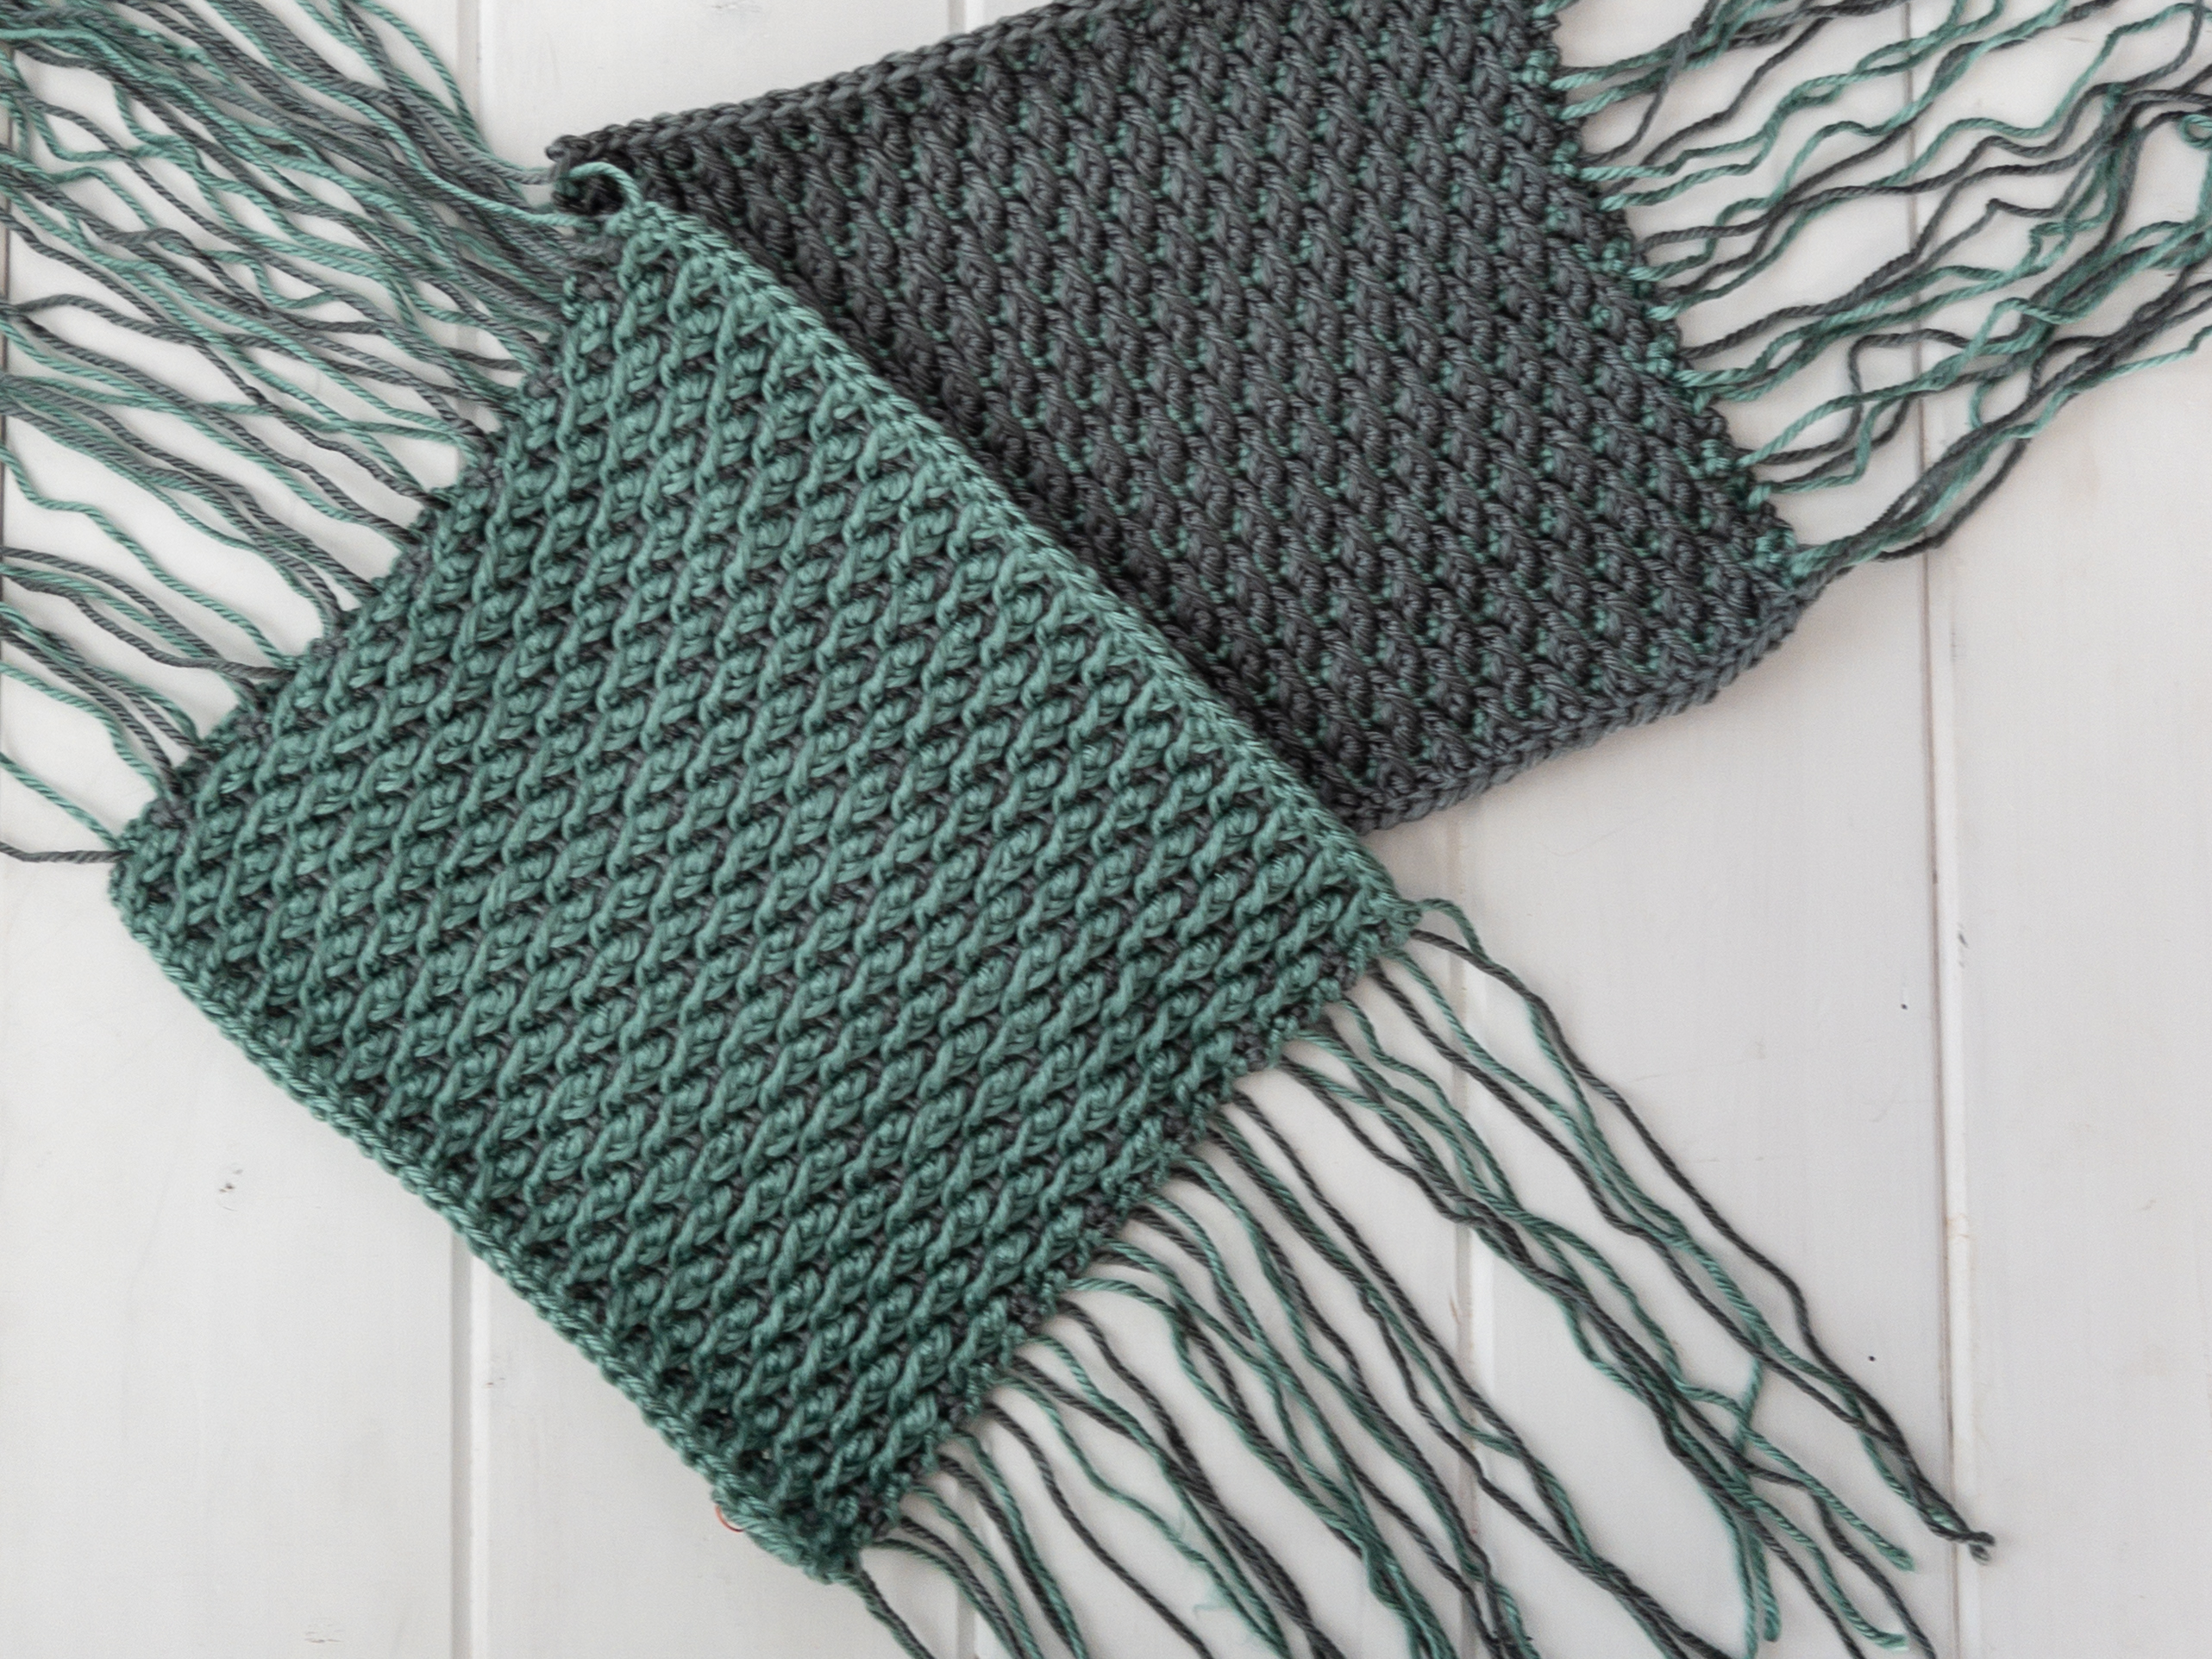
You will crochet 2 separate panels having reversed colours to one another. While working this pattern you will be switching colours every row which creates many many tails to worry about. Don’t you worry, this pattern uses these tails to create the fringe detail. When changing colour leave the tails approximately 6 inches long when cutting the working yarn as well as 6 inches when joining the new colour. You will end up with two 11″ x 11″ square panels to create your 12″ x 12″ pillow.
Square Panel #1
Row 1: Colour A – Fdc 35, turn.
Row 2: Colour B – Ch 1, sc 35 across, turn.
Row 3: Colour A – Ch 2, *FPdc in next dc 2 rows below, dc in next sc, rep from * across, turn.
Row 4: Colour B – Ch 1, sc in first st and in each st across, turn.
Row 5: Colour A – Ch 3, dc in next sc, *FPdc in next dc 2 rows below, dc in next sc, rep from * across, turn.
Row 6: Colour B – Ch 1, sc in first st and in each st across, turn.
Row 7: Colour A – Ch 2, *FPdc in next dc 2 rows below, dc in next sc, rep from * across, dc in last sc, turn.
Row 8 to Row 31: Repeat rows 4 through 7.
Tie Off, complete panel #2
Square Panel #2
Row 1: Colour B – Fdc 35, turn.
Row 2: Colour A – Ch 1, sc 35 across, turn.
Row 3: Colour B – Ch 2, *FPdc in next dc 2 rows below, dc in next sc, rep from * across, turn.
Row 4: Colour A – Ch 1, sc in first st and in each st across, turn.
Row 5: Colour B – Ch 3, dc in next sc, *FPdc in next dc 2 rows below, dc in next sc, rep from * across, turn.
Row 6: Colour A – Ch 1, sc in first st and in each st across, turn.
Row 7: Colour B – Ch 2, *FPdc in next dc 2 rows below, dc in next sc, rep from * across, dc in last sc, turn.
Row 8 to Row 31: Repeat rows 4 through 7.
Tie Off.
Joining the Panels
Place the two square panels together with wrong sides together. Using your crochet hook and either colour of yarn joining the fdc of panel 1 with the fdc of panel 2 using the twisted sc stitch.
To finish off the sides with all the ends you can use a tapestry needle and stitch along the edge, then tie the tails into groups. Or you can just tie the tails into groups without running a stitch along the edge. It is totally up to you which you prefer.
Choose however many tails you want in each tassel, use a simple overhand knot as close to the edge of the row as you can to create the look of tassels. I used 2 ends from panel #1 with 2 ends from panel #2 creating a tassel with 4 ends. With the very bottom ones I used 3 and 3 being a total of 6 ends in the tassels.
Next you will stuff your pillow or insert your pillow form.
After this you will join the last row of each panel together with the same twisted sc stitch.
To finish off the pillow make sure any left over ends are woven in.
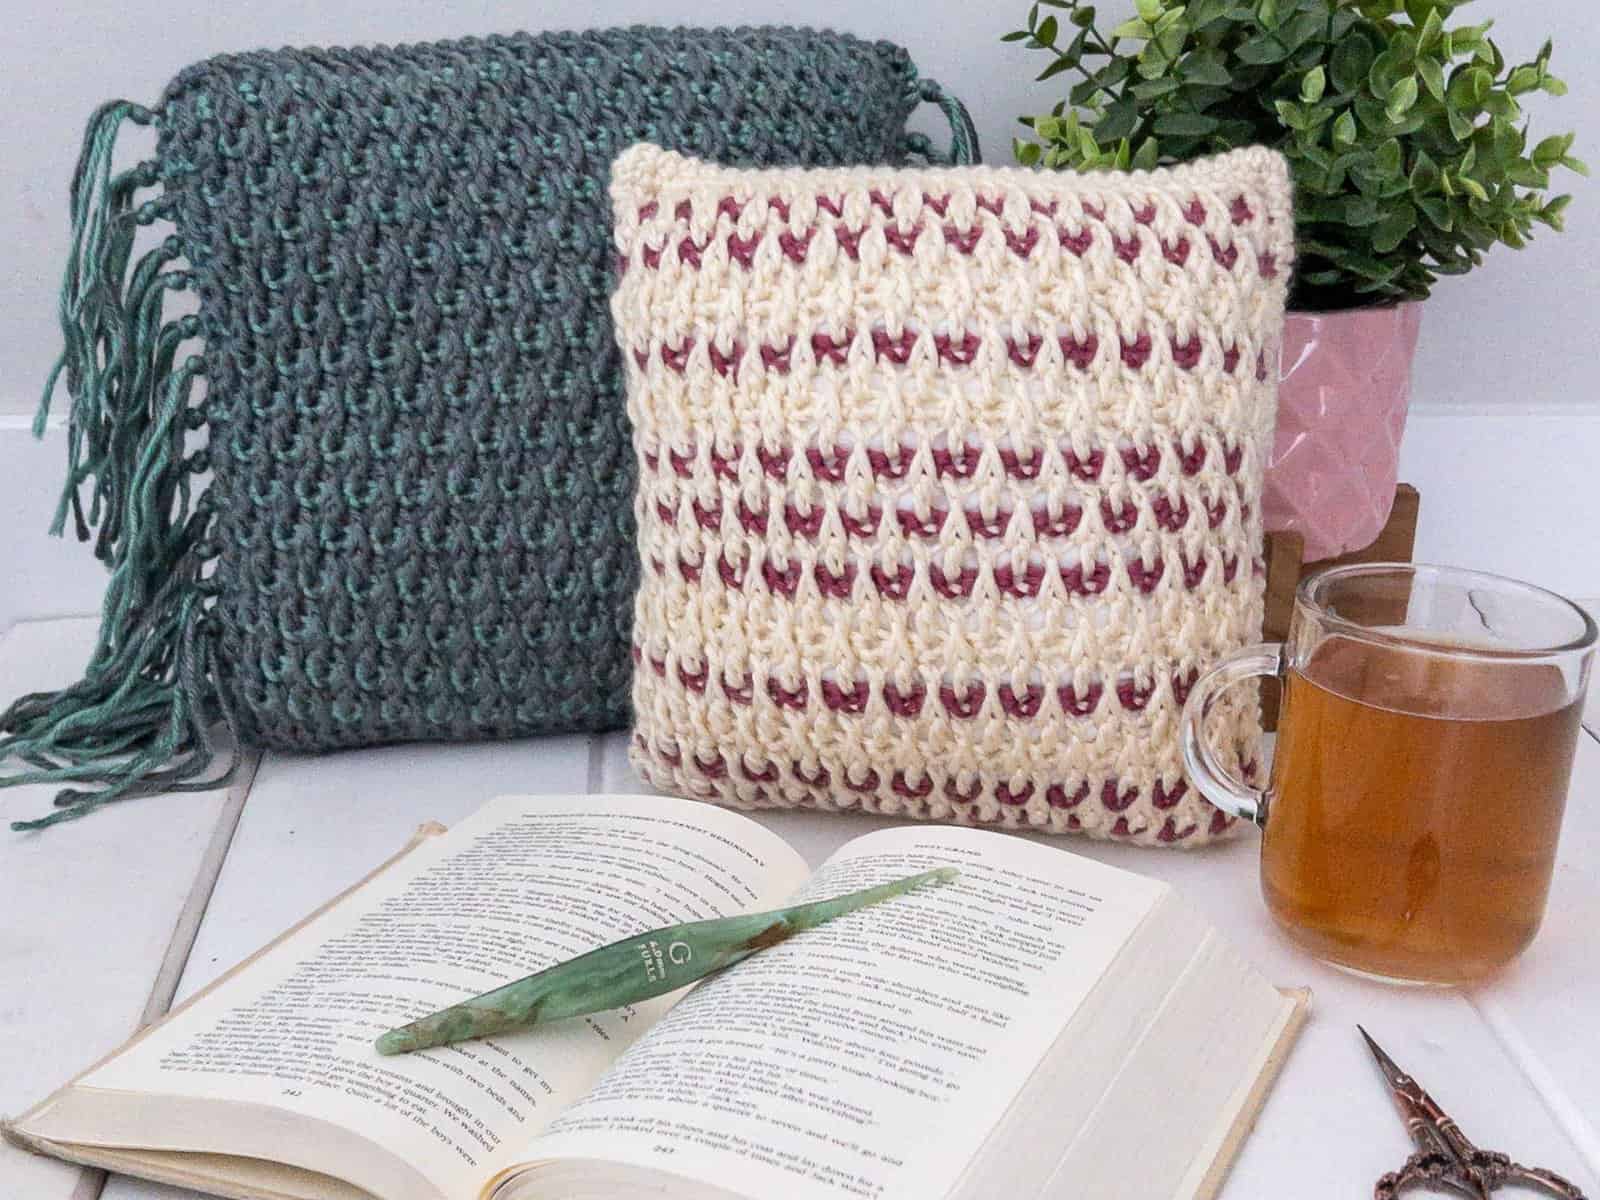
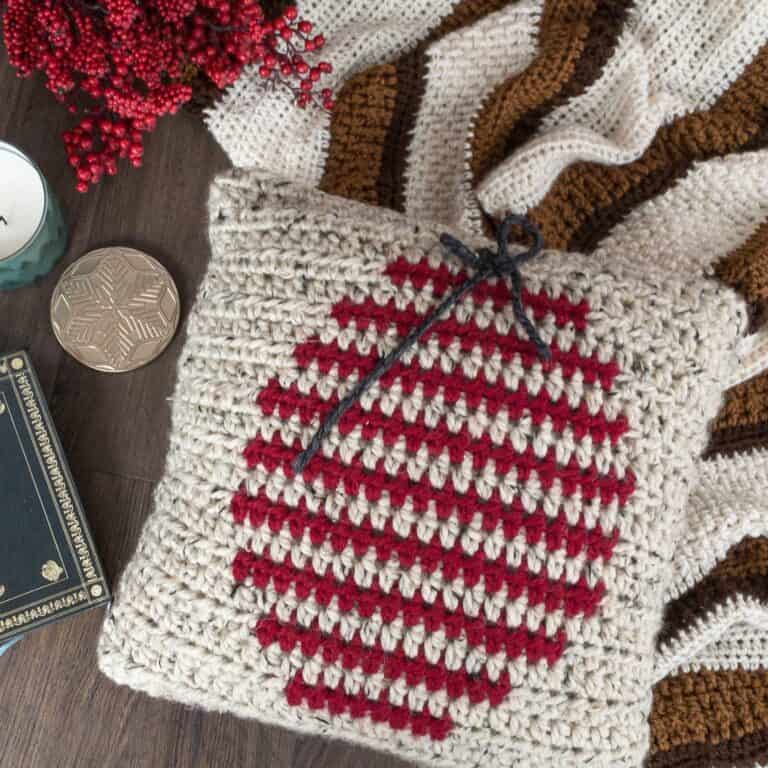
Alpine Peaks & Valleys Pillow
Materials
Medium (4) Worsted weight yarn
- Colour A – 120 yds (109m) / 1 Skein of Wander Acrylic Yarn -Snow
- Colour B – 15yds (14m) / 1 Skein of Wander Acrylic Yarn – Dragonfruit
- Colour C – 15 yds (14m) / 1 Skein of Wander Acrylic Yarn -Peninsula
4.0mm/G Crochet Hook – Capricorn Streamline Zodiac Crochet Hook by Furls
10″ x 10″ Pillow Form or Stuffing
Scissors
Stitch Markers
Tapestry Needle
Pattern
You will crochet 2 separate panels having reversed colours to one another. While working this pattern you will be switching colours on specific rows to create the look of peaks and valleys within the alpine stitch. You will end up with two 9″ x 9″ square panels to create your 10″ x 10″ pillow.
Panel #1
Row 1: Colour A – Fdc 29, turn.
Row 2: Colour B – Ch 1, sc 29 across, turn.
Row 3: Colour A – Ch 2, *FPdc in next dc 2 rows below, dc in next sc, rep from * across, turn.
Row 4: Colour B – Ch 1, sc in first st and in each st across, turn.
Row 5: Colour A – Ch 3, dc in next sc, *FPdc in next dc 2 rows below, dc in next sc, rep from * across, turn.
Row 6: Colour A – Ch 1, sc in first st and in each st across, turn.
Row 7: Colour A – Ch 2, *FPdc in next dc 2 rows below, dc in next sc, rep from * across, dc in last sc, turn.
Row 8: Colour B – Ch 1, sc in first st and in each st across, turn.
Row 9: Colour A – Ch 3, dc in next sc, *FPdc in next dc 2 rows below, dc in next sc, rep from * across, turn.
Row 10: Colour A – Ch 1, sc in first st and in each st across, turn.
Row 11: Colour A – Ch 2, *FPdc in next dc 2 rows below, dc in next sc, rep from* across, dc in last sc, turn.
Row 12: Colour B – Ch 1, sc in first st and in each st across, turn.
Row 13: Colour A – Ch 3, dc in next sc, *FPdc in next dc 2 rows below, dc in next sc, rep from * across, turn.
Row 14: Colour B – Ch 1, sc in first st and in each st across, turn.
Row 15: Colour A – Ch 2, *FPdc in next dc 2 rows below, dc in next sc, rep from * across, dc in last sc, turn.
Row 16: Colour B – Ch 1, sc in first st and in each st across, turn.
Row 17: Colour A – Ch 3, dc in next sc, *FPdc in next dc 2 rows below, dc in next sc, rep from * across, turn.
Row 18: Colour A – Ch 1, sc in first st and in each st across, turn.
Row 19: Colour A – Ch 2, *FPdc in next dc 2 rows below, dc in next sc, rep from * across, dc in last sc, turn.
Row 20: Colour B – Ch 1, sc in first st and in each st across, turn.
Row 21: Colour A – Ch 3, dc in next sc, *FPdc in next dc 2 rows below, dc in next sc, rep from * across, turn.
Row 22: Colour A – Ch 1, sc in first st and in each st across, turn.
Row 23: Colour A – Ch 2, *FPdc in next dc 2 rows below, dc in next sc, rep from * across, dc in last sc, turn.
Row 24: Colour B – Ch 1, sc in first st and in each st across, turn.
Row 25: Colour A – Ch 3, dc in next sc, *FPdc in next dc 2 rows below, dc in next sc, rep from * across, turn.
Row 26: Colour B – Ch 1, sc in first st and in each st across, turn.
Row 27: Colour A – Ch 2, *FPdc in next dc 2 rows below, dc in next sc, rep from * across, dc in last sc, turn.
Row 28: Colour A – Ch 1, sc across, tie off.
Repeat to make second panel but replacing Colour B with Colour C
Joining the Panels
After weaving in all your ends place the two square panels with wrong sides together. Using your crochet hook and colour A yarn join all the way around the edge using the twisted sc stitch.
Be sure to stuff your pillow or insert your pillow form before finishing up the 4th side of the edging.
To finish off the pillow make sure any left over ends are woven in.
Take your time and enjoy the process. The end result will be worth it!
Best way to stay up to date is to Subscribe!
Join my Newsletter to hear about all things Crafty Bones

Leave a Reply