Gnome Crochet Pattern
Some links in this post are affiliate links, so I may earn a small commission if you make a purchase. It’s a great way to support Crafty Bones, and it doesn’t cost you anything extra! You can find more details in our Privacy Policy.
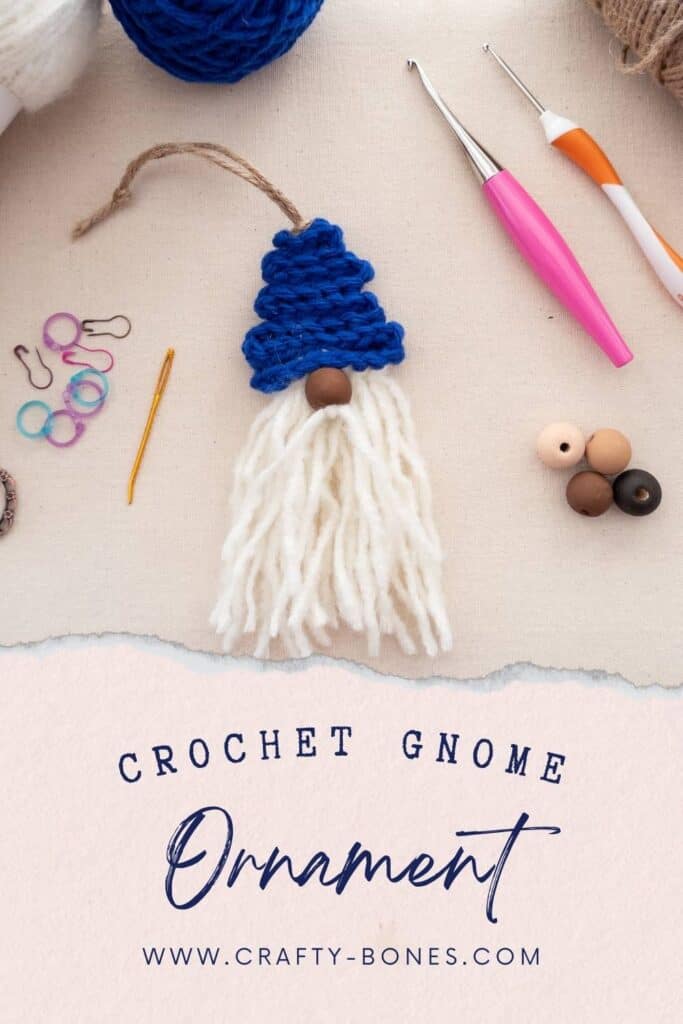
Looking for a fun and festive way to add a personal touch to your holiday decor or gifts? This gnome crochet pattern is the perfect DIY project for creating adorable crochet ornaments or gift toppers that will wow your friends and family. Designed to be quick and simple, this pattern is great for last-minute Christmas crafts or those seeking unique handmade holiday decorations. Whether you’re an experienced crocheter or a beginner looking for an easy project, these charming gnomes are sure to bring joy to your holiday season. Dive into the pattern below and start crafting the ultimate DIY Christmas gift today!
How to Get the Gnome Crochet Pattern
Materials Needed
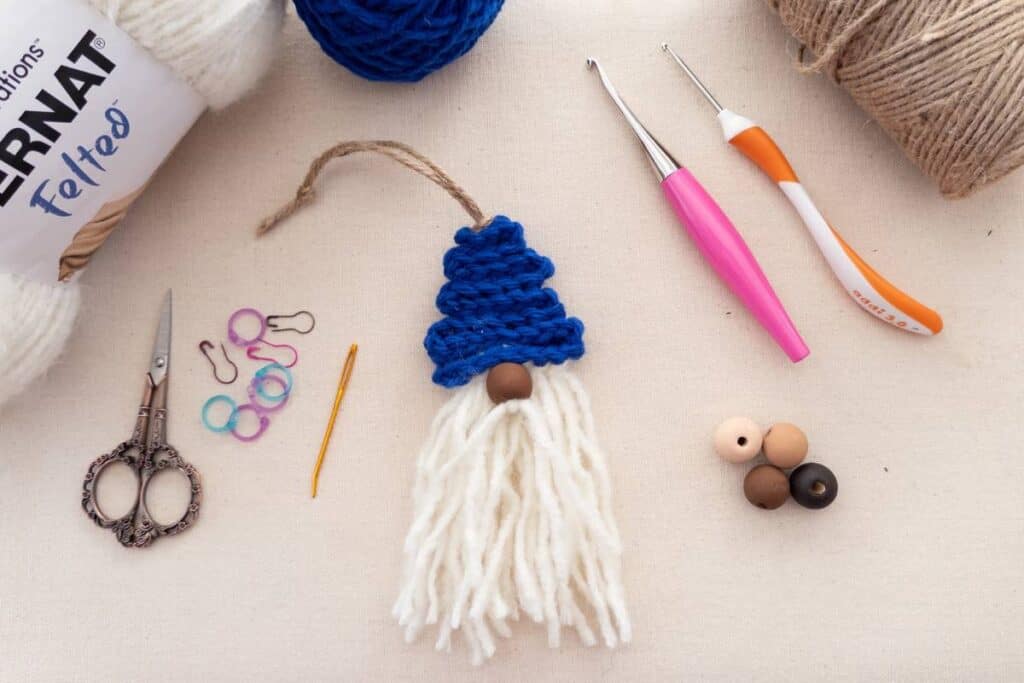
Get the Ad Free PDF HERE
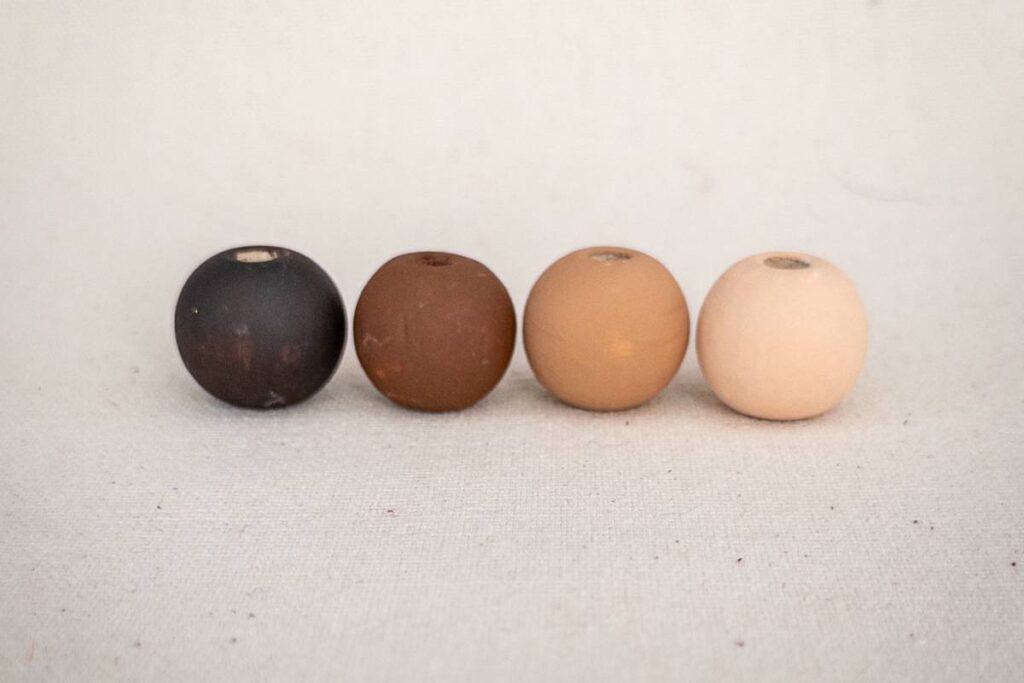
Abbreviations
Video Tutorial
Get the ad Free PDF on Ravelry
Gnome Pattern
Hat section
Use Size 6/Super Bulky Yarn and your 4.5mm(G+/7) crochet hook
FSC 50, fasten off.
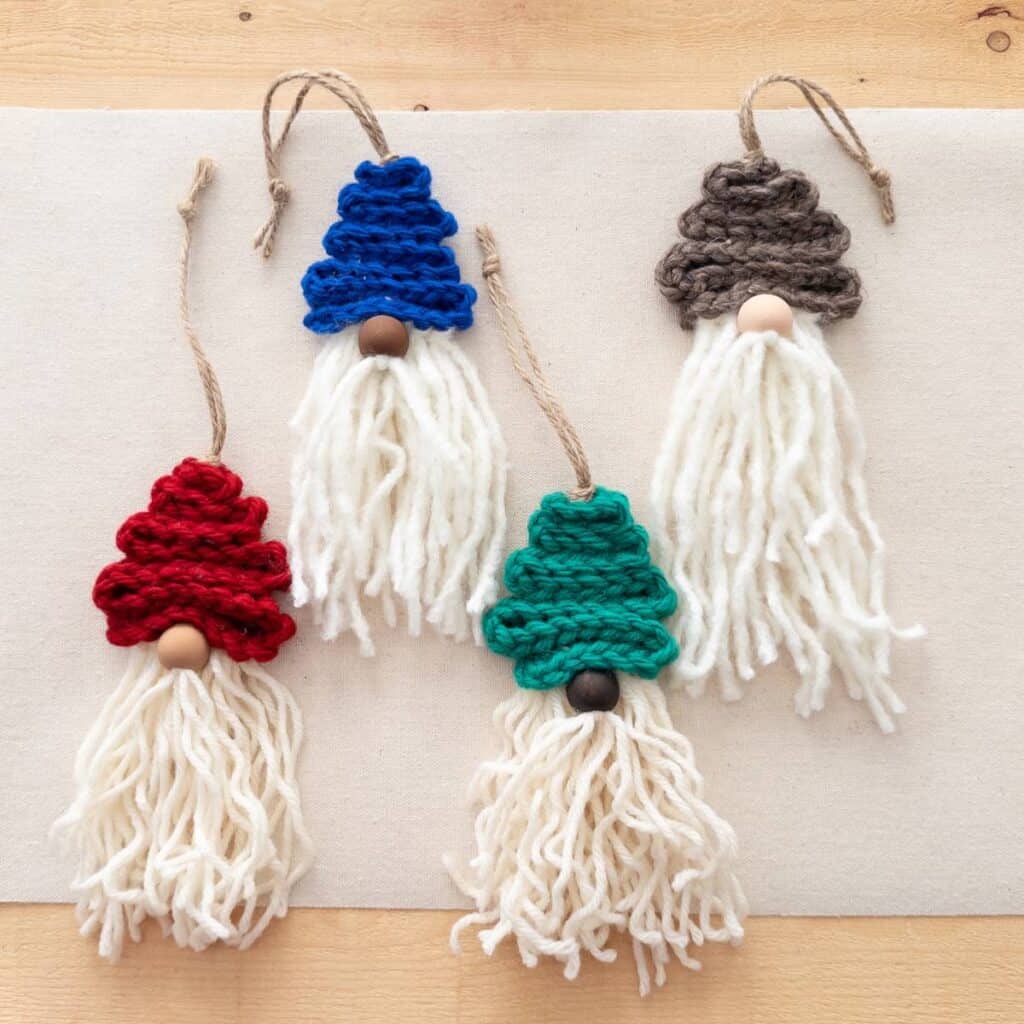
Beard Section
Using your chosen yarn cut strands measuring 12 inches / 30.5 cm long.
- Size 4 / Worsted weight
- cut 20 Strands
- (3 strands per section)
- cut 20 Strands
- Size 6 / Super Bulky weight
- cut 14 Strands
- (2 strands per section)
- cut 14 Strands
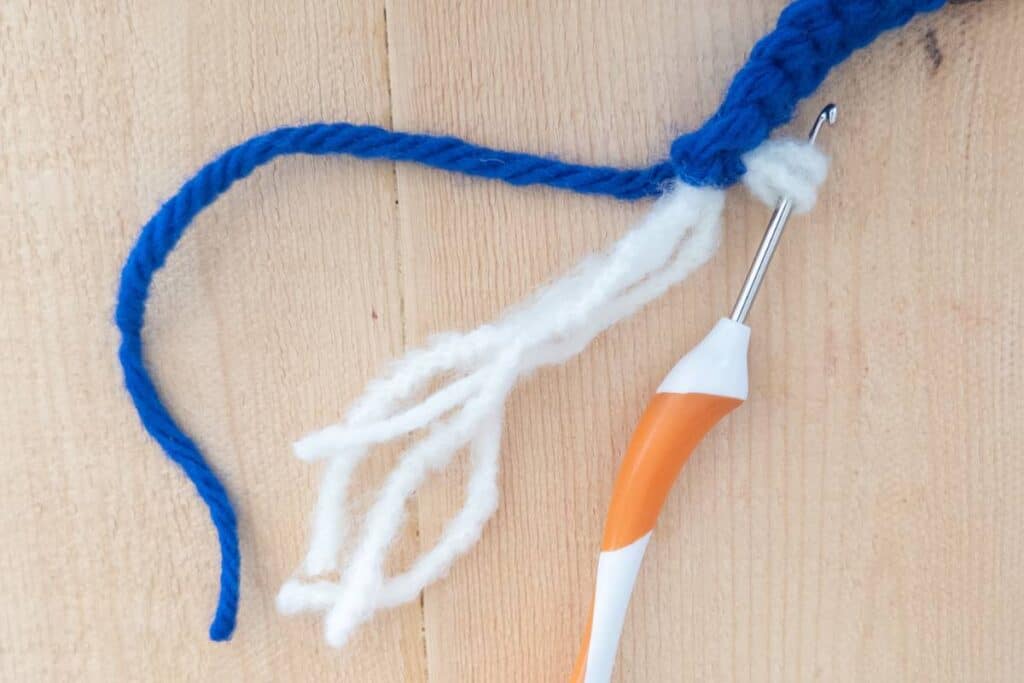
To add the beard to the fsc strand you will use a lark’s head knot. With the help of your smaller crochet hook tie the 2 or 3 strands, depending on yarn you are using, around the post part of the first 6 fsc. (Watch the video for tips on how to do this.)
You will have 2 remaining strand left over from the beard section which will be used for attaching the bead.
Now take your stitch markers or anything you have that will work to mark the following fsc’s
4, 12, 22, 28, 35, 40, 45, 49
Line up the 4th and 12th fsc by folding the fsc strand. Take the tail from the beginning of the fsc and using a tapestry needle tack the beginning for the fsc to the 15th or 16th fsc. You can now weave in any remaining ends left on the fsc.
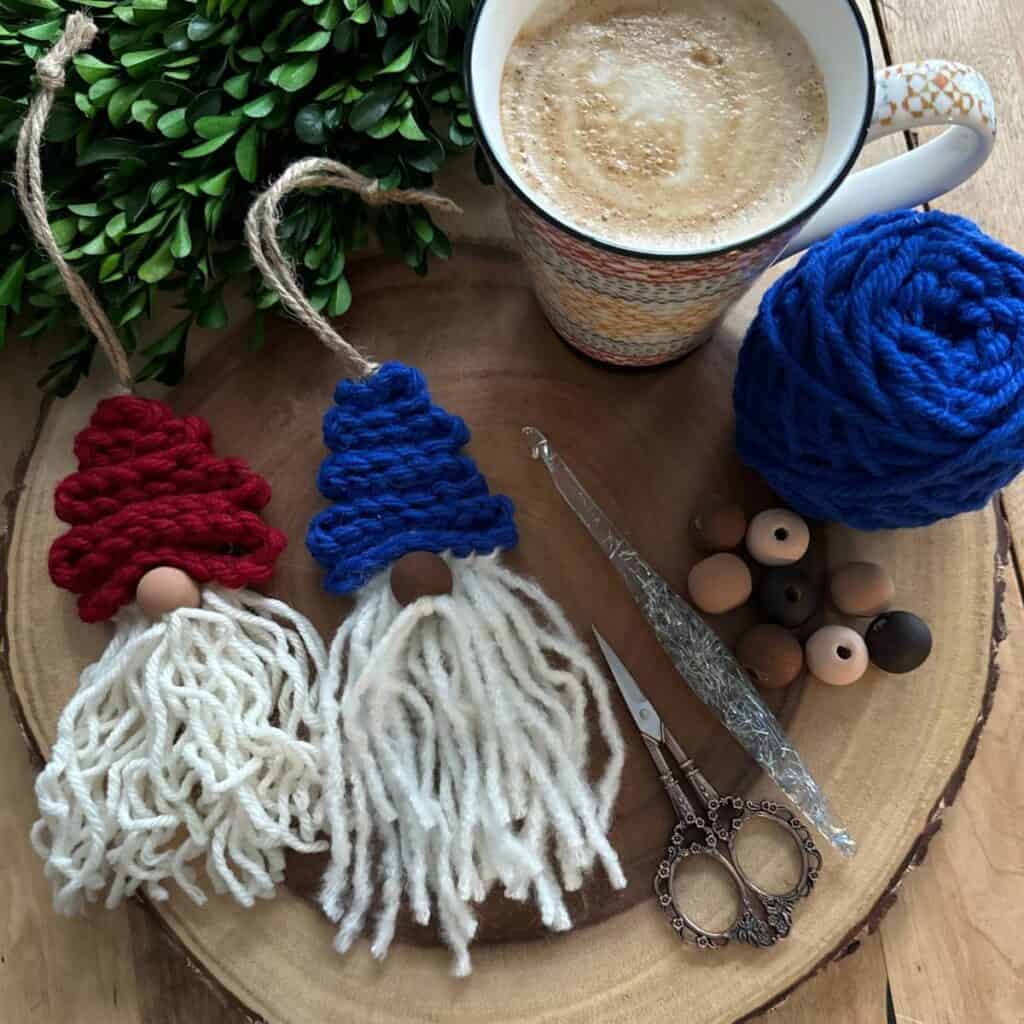
Nose section
Cut a strand of twine measuring 20 inches / 51 cm long.
Line up all the remaining stitch markers to the first two you lined up. You will do so by creating a zig zag with the fsc’s. Using a tapestry or large eye needle thread the twine from fsc 4 up through all the stitches that contain a stitch marker. Be sure to not pull the twine all the way through. You will want to leave a little more than half at the bottom.
Move the tapestry or large eye needle to the other end of the twine and thread it through the stitches to the side of all the stitch markers as shown in the diagram by the blue dotted line.
Even out the two sides of the twine while ensuring to leave the “loop end” of the twine loose enough to add on the bead nose.
Take your crochet hook or anything small enough to go through the bead and grab the twine. Add your bead nose onto your crochet hook. Hook onto the loop end of the twine and pull it through the bead.
Next you will take the two left over beard strands and tie of square knot around the loop of the twine at the base of the bead.
Once the knot if secured you can pull the twine at the top of the hat tight to snug everything up.
Final Touches
While keeping everything tight and in place tie an overhand knot using both of the twine strands right at the top of the hat section. Once this is done you can tie a second overhand knot at the end of the twine stands to create a loop for hanging.
Trim off the ends of your twine, and clean up any uneven beard strands.
I chose to shorten the four strands coming from the knot below the bead to make the illusion of a mustache.
This is an original pattern by Crafty Bones ©2023. Distribution of this document in whole or in part in any way is not allowed. You may sell finished work with this pattern but please kindly include pattern credit to Leanna Haughian of Crafty Bones or link back to Crafty-Bones.comFeel free to tag me in any work on social media @Crafty.Bones or use the hashtags
#makewithCraftyBones #GnomietheGnome
Best way to stay up to date is to Subscribe!
Join my Newsletter to hear about all things Crafty Bones

Hi my family member I want to say that this post is awesome nice written and come with approximately all significant infos I would like to peer extra posts like this