Danielle Beanie
Some links in this post are affiliate links, so I may earn a small commission if you make a purchase. It’s a great way to support Crafty Bones, and it doesn’t cost you anything extra! You can find more details in our Privacy Policy.
Crochet Pattern
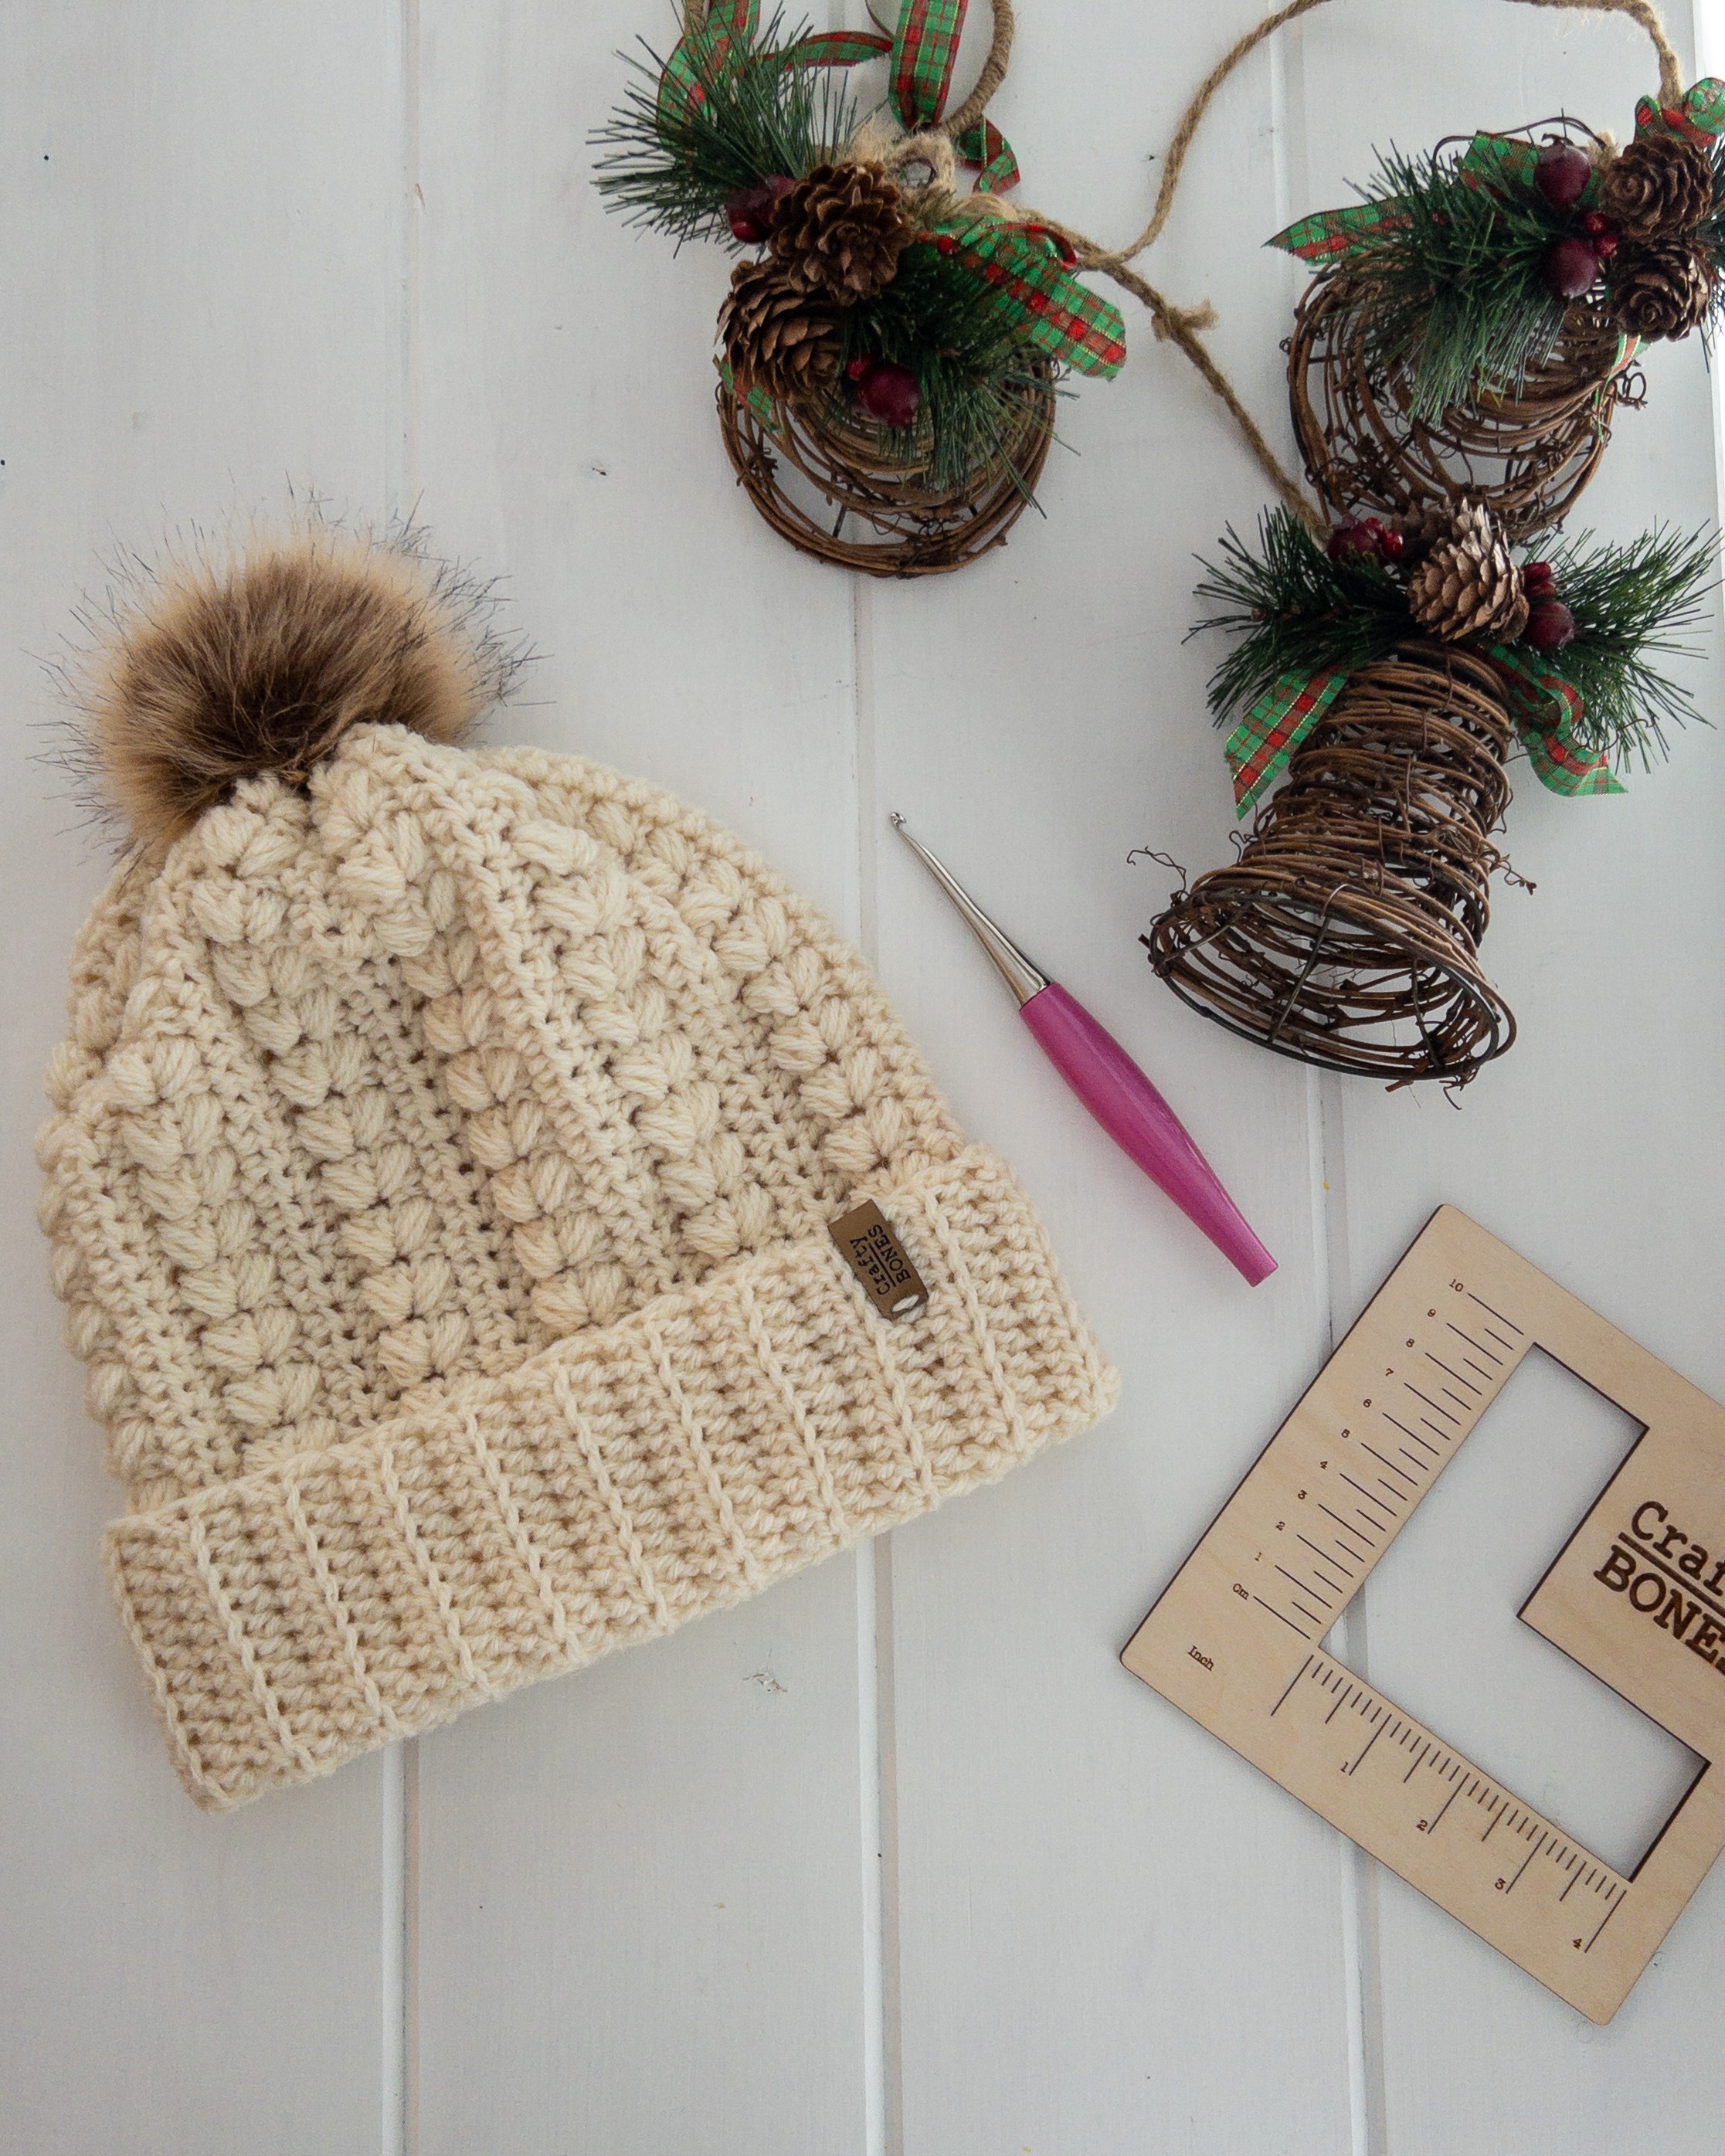
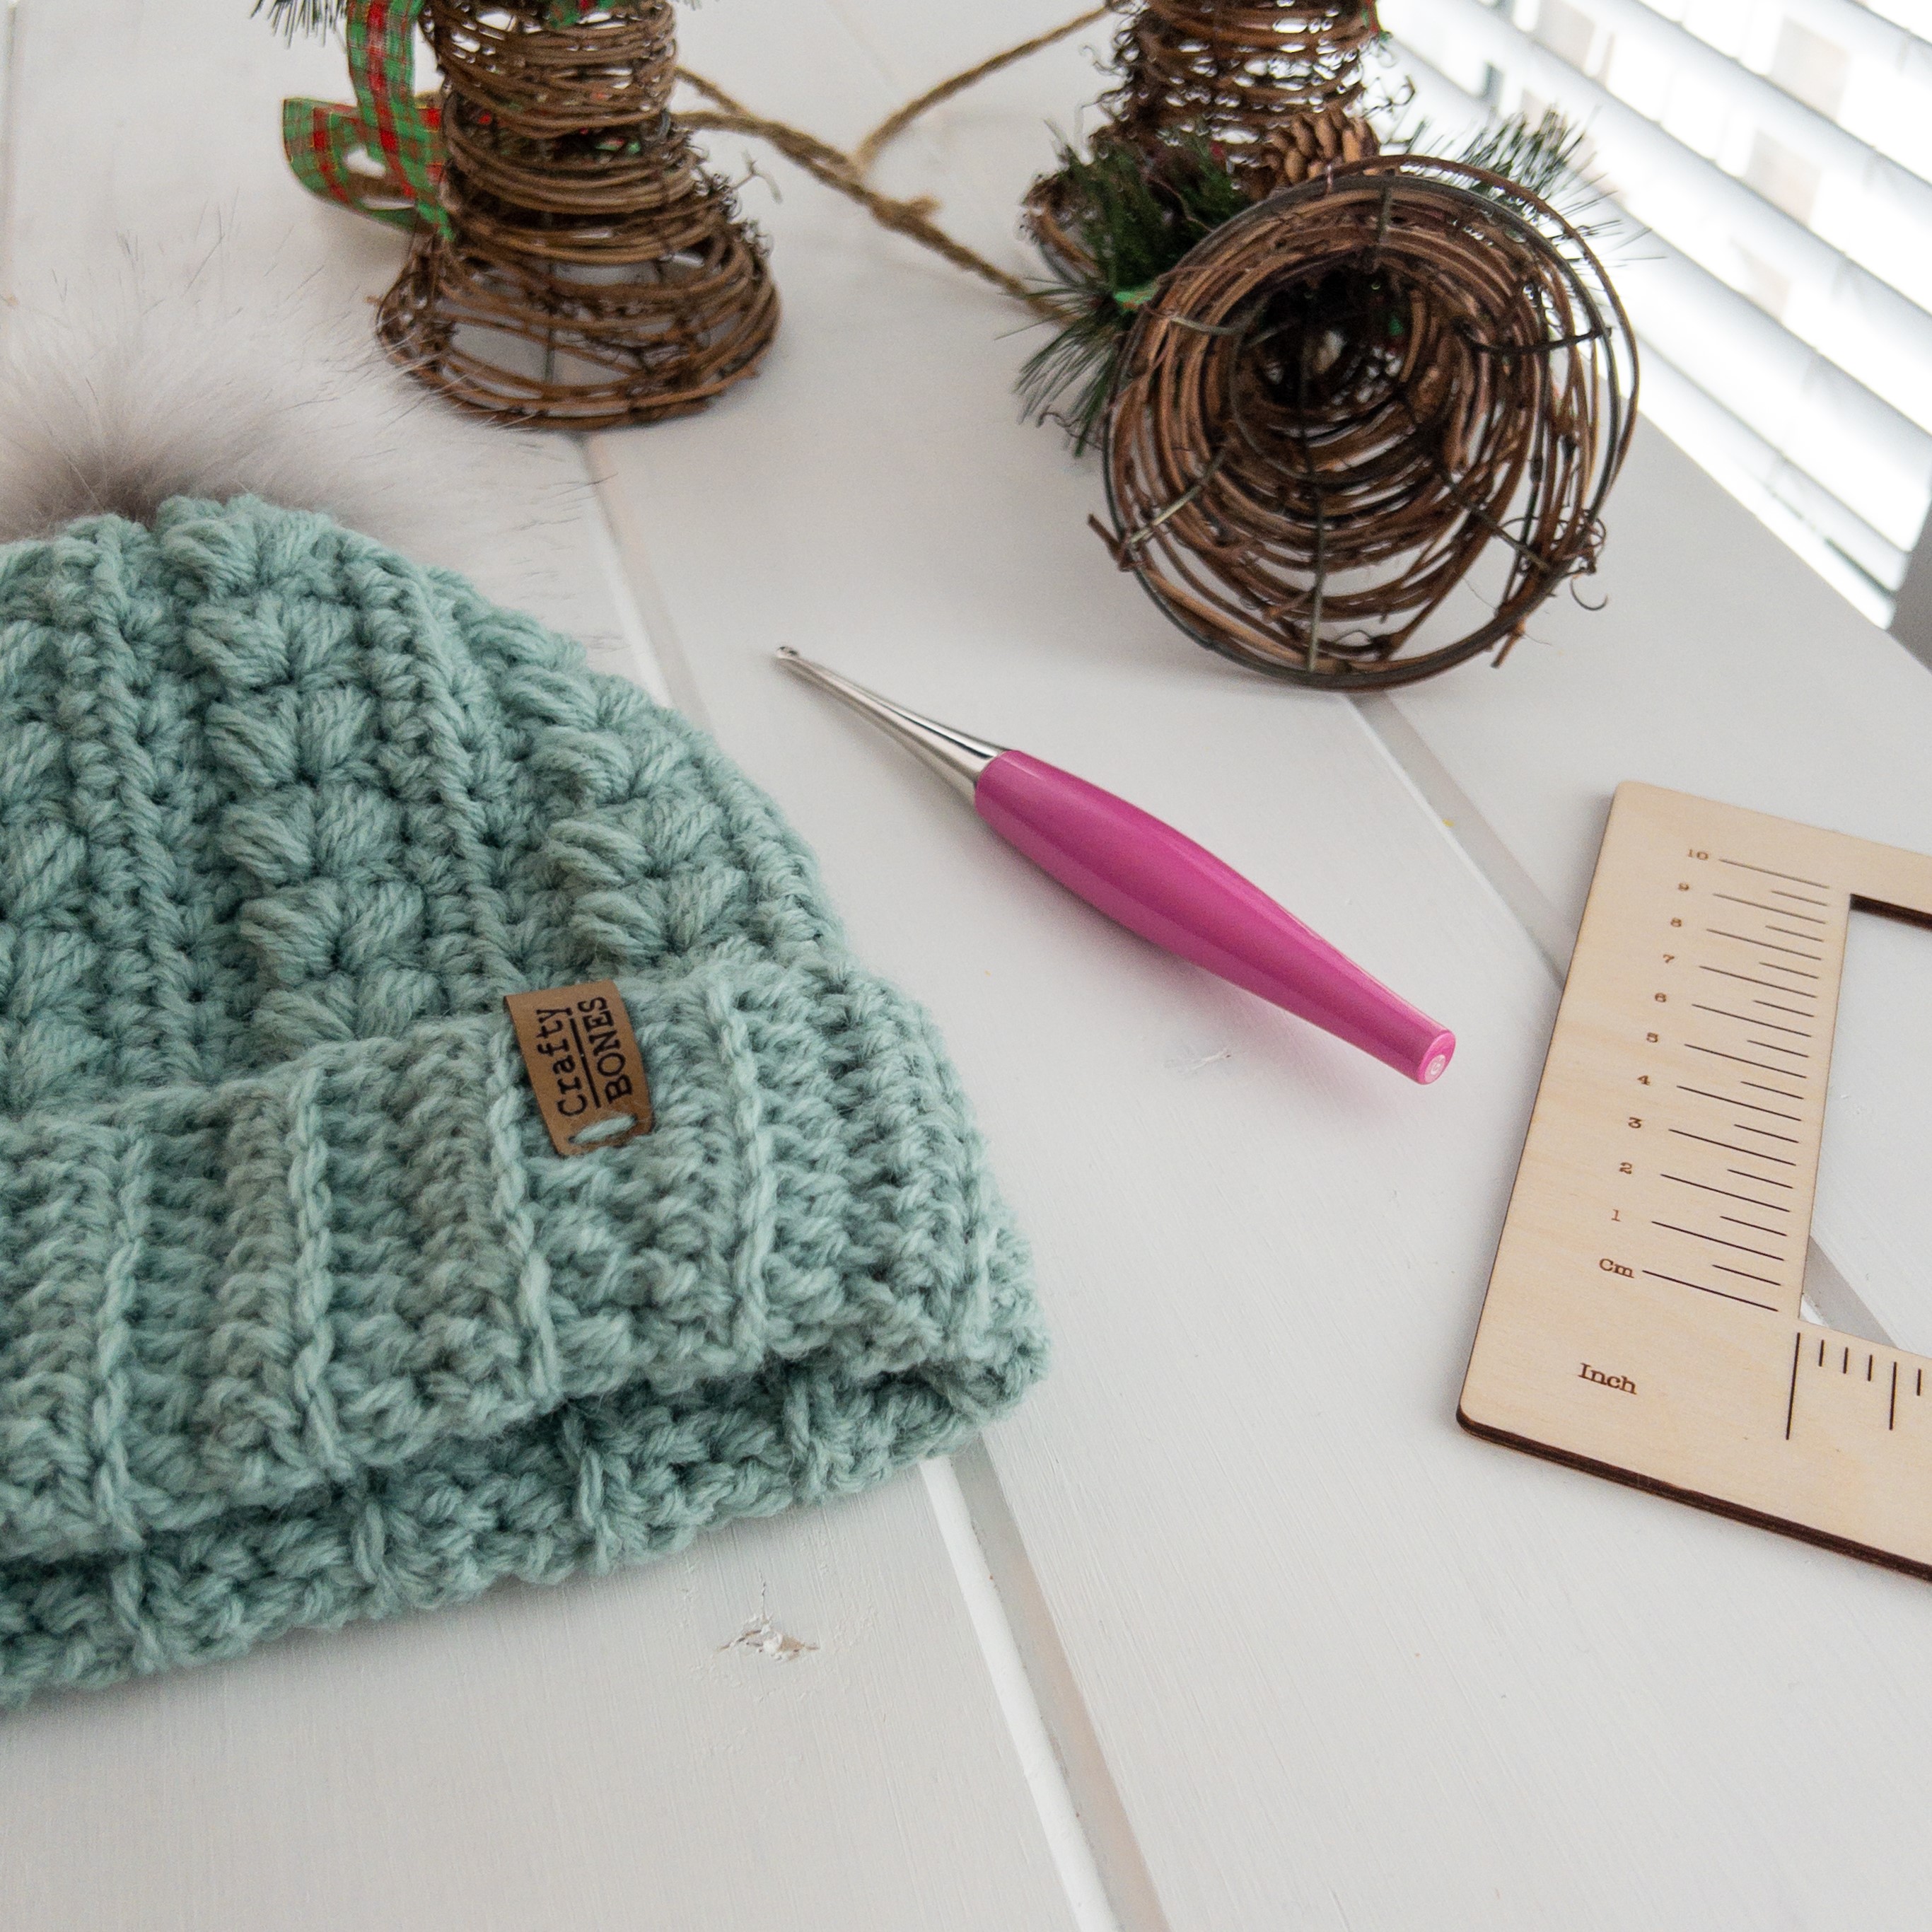
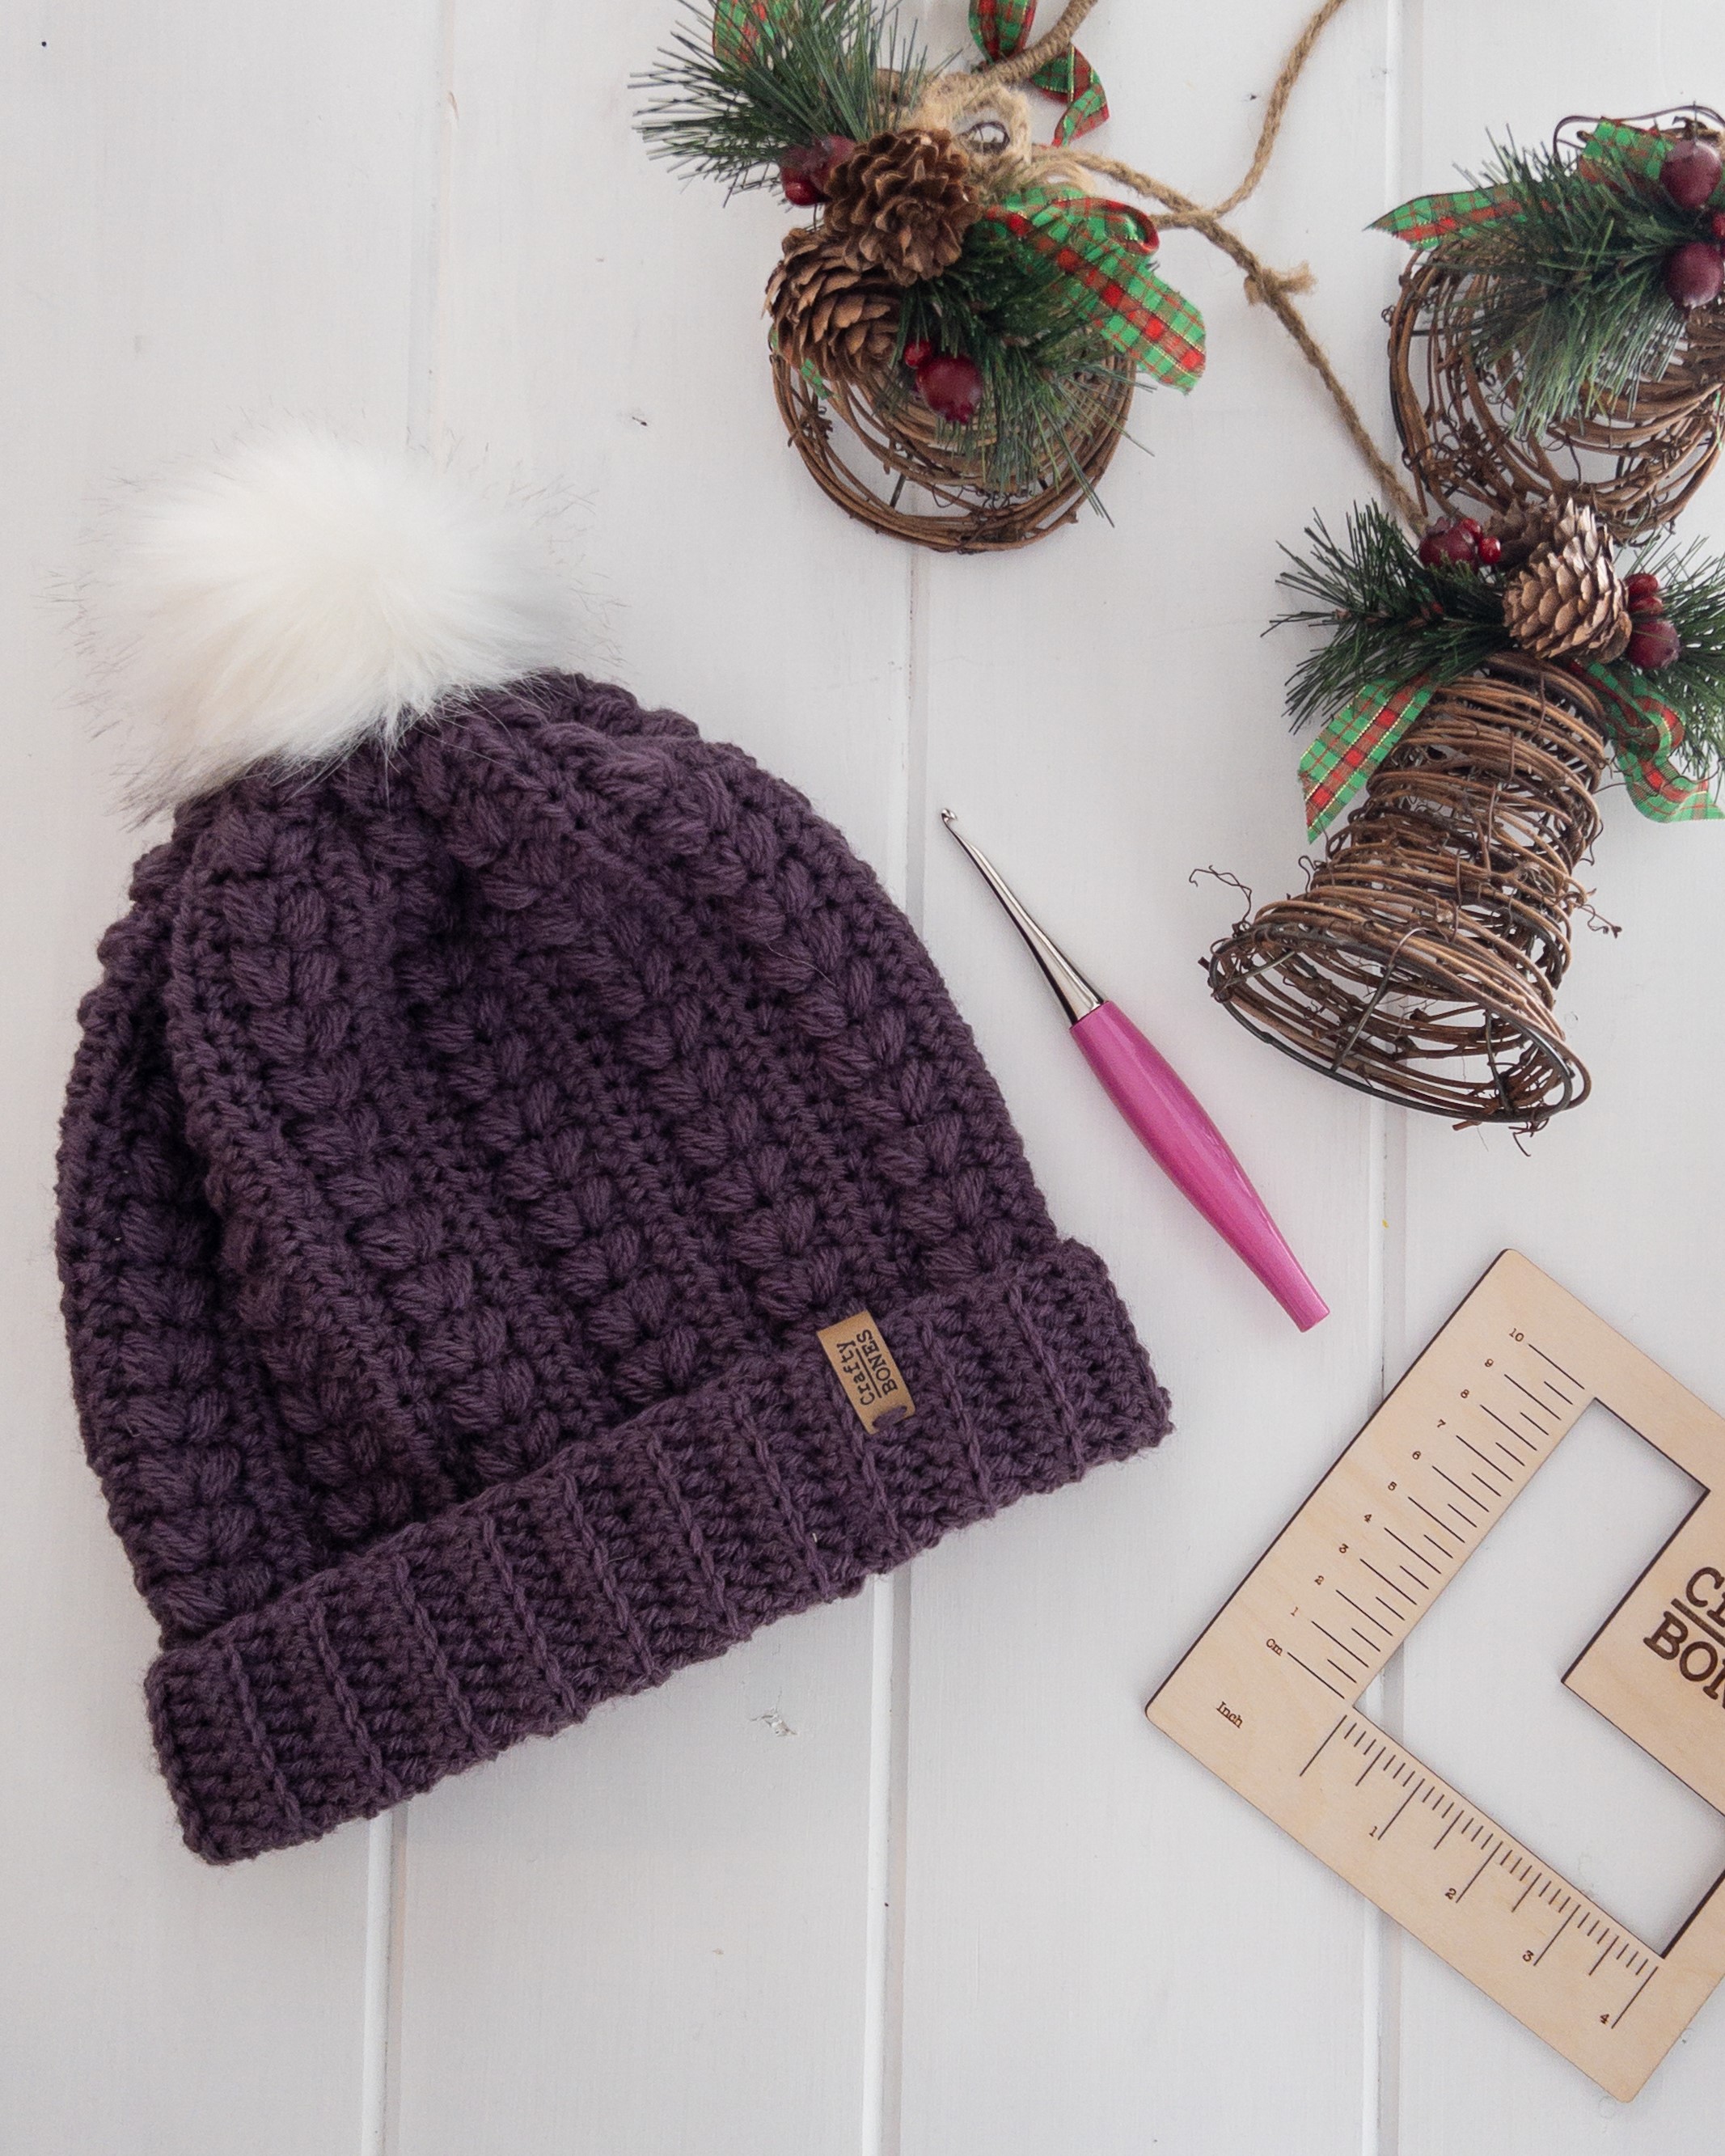
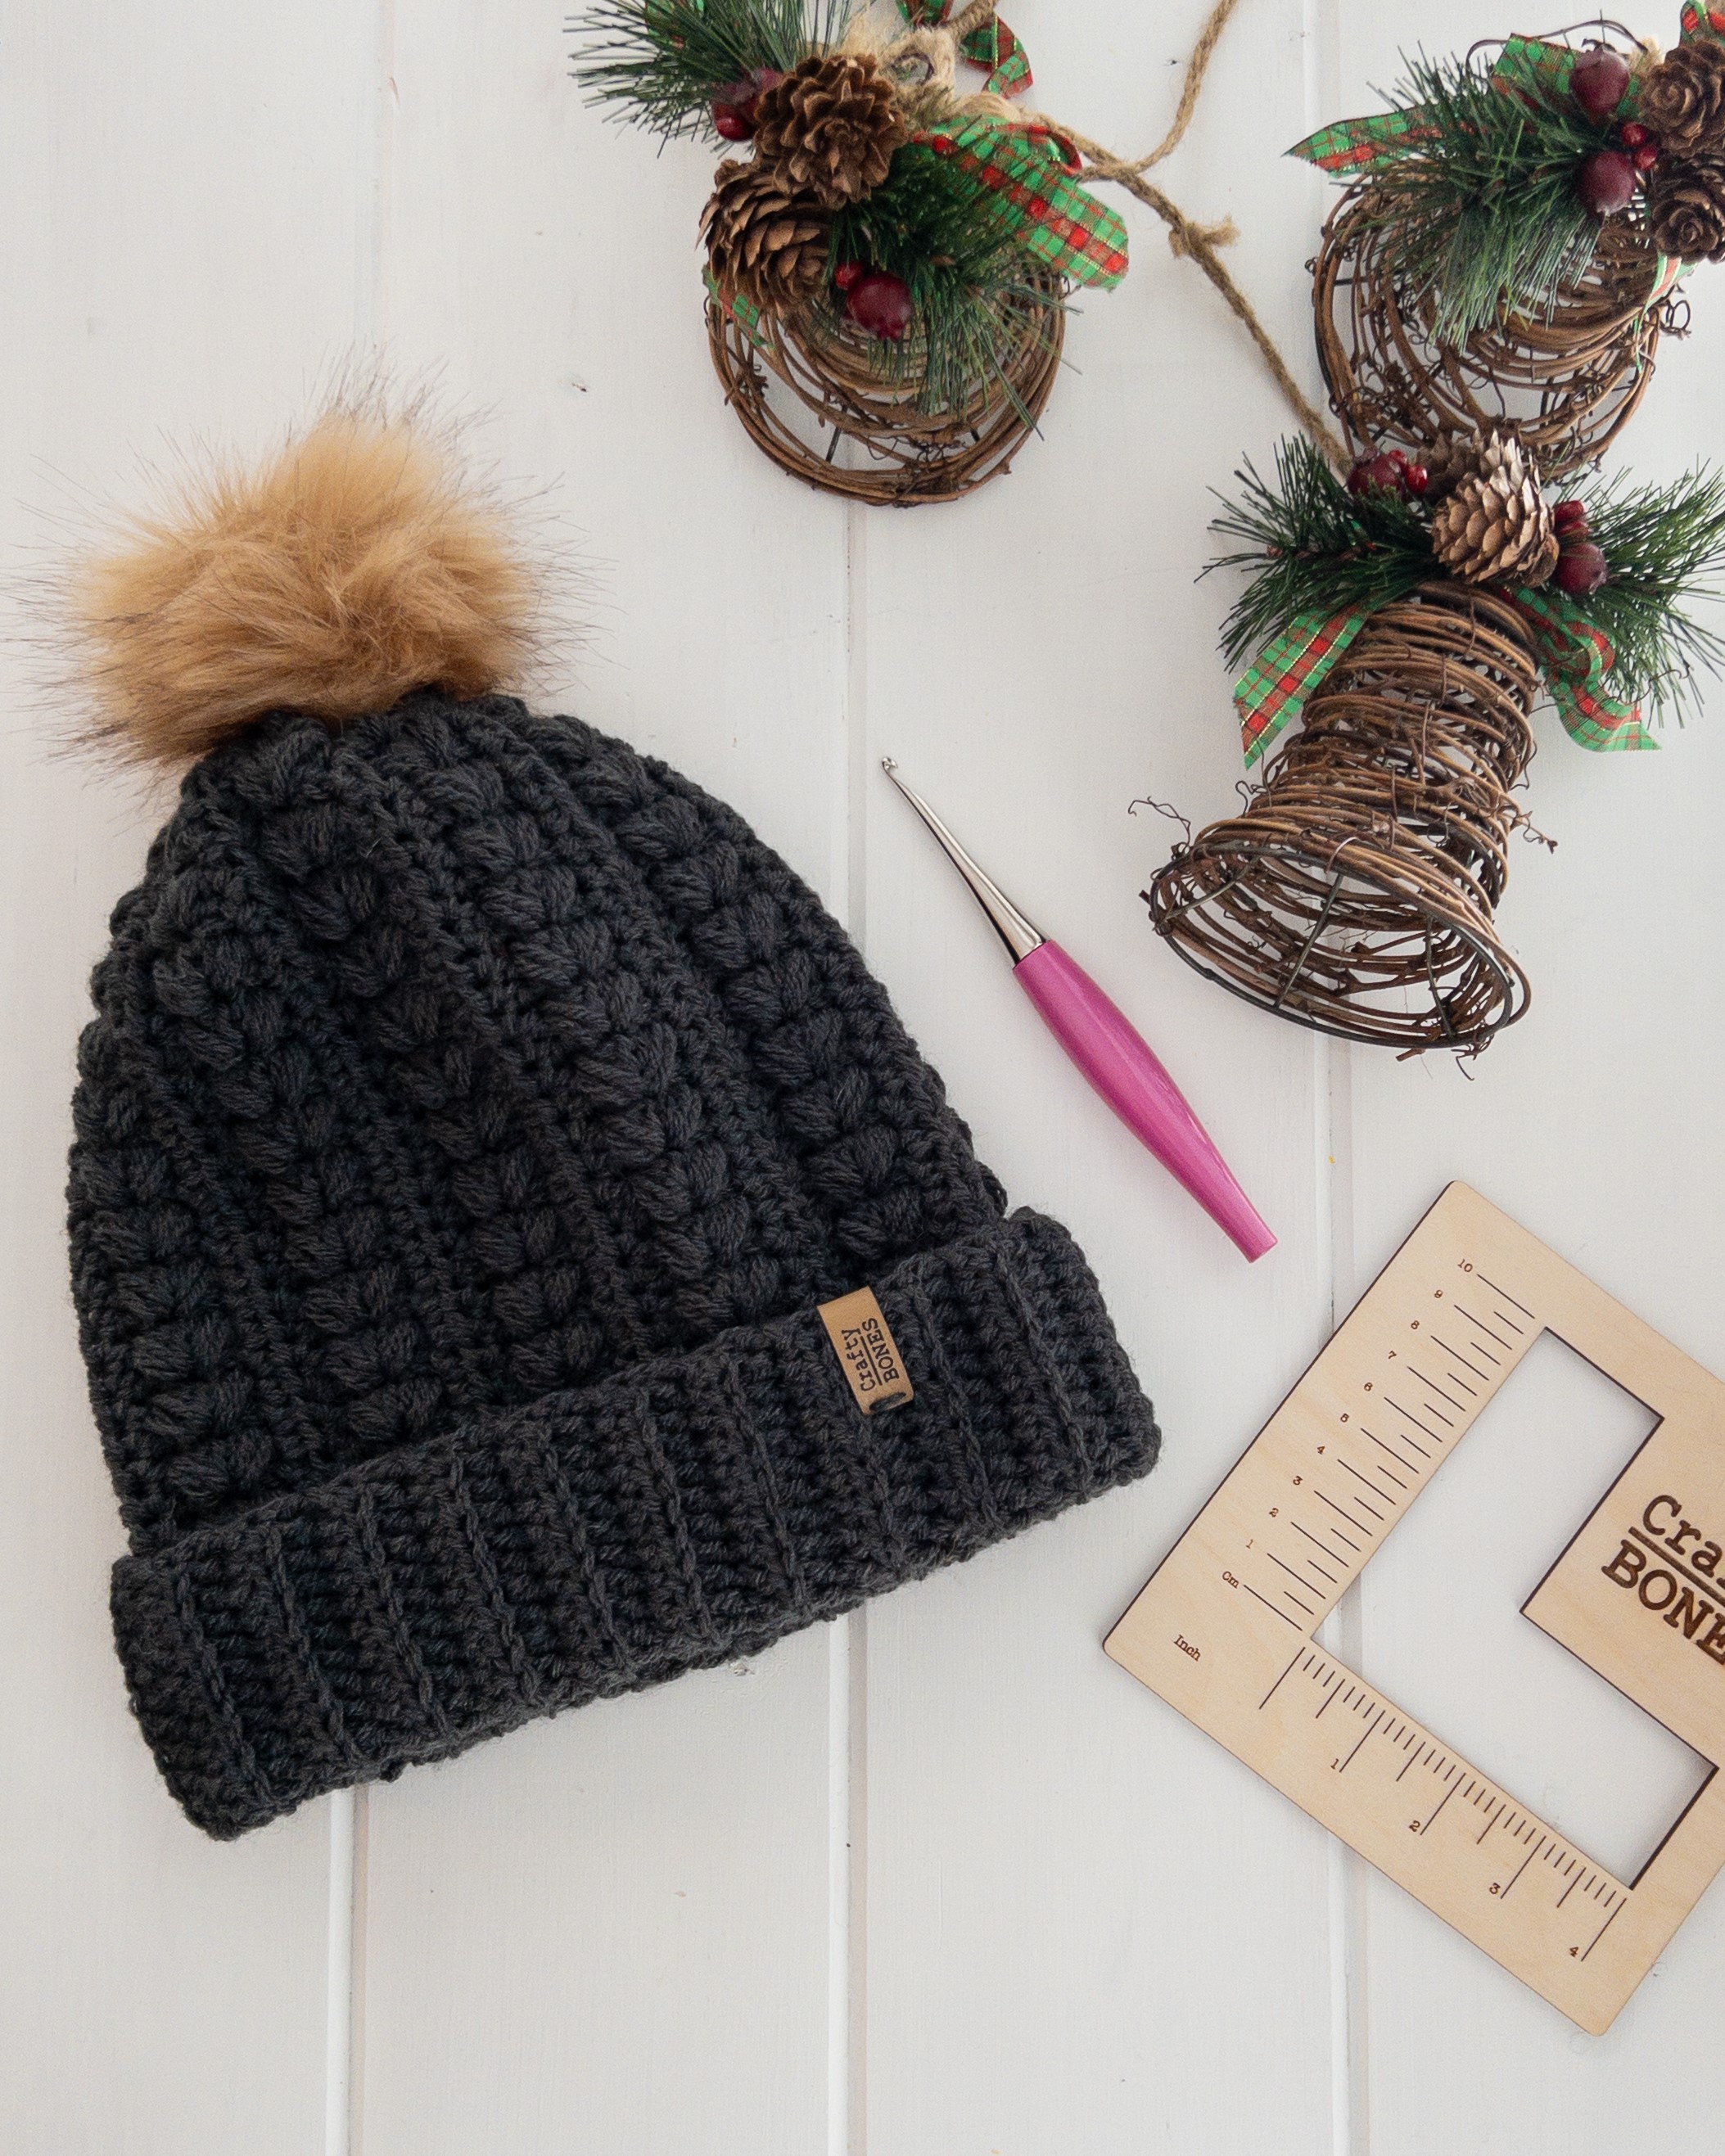
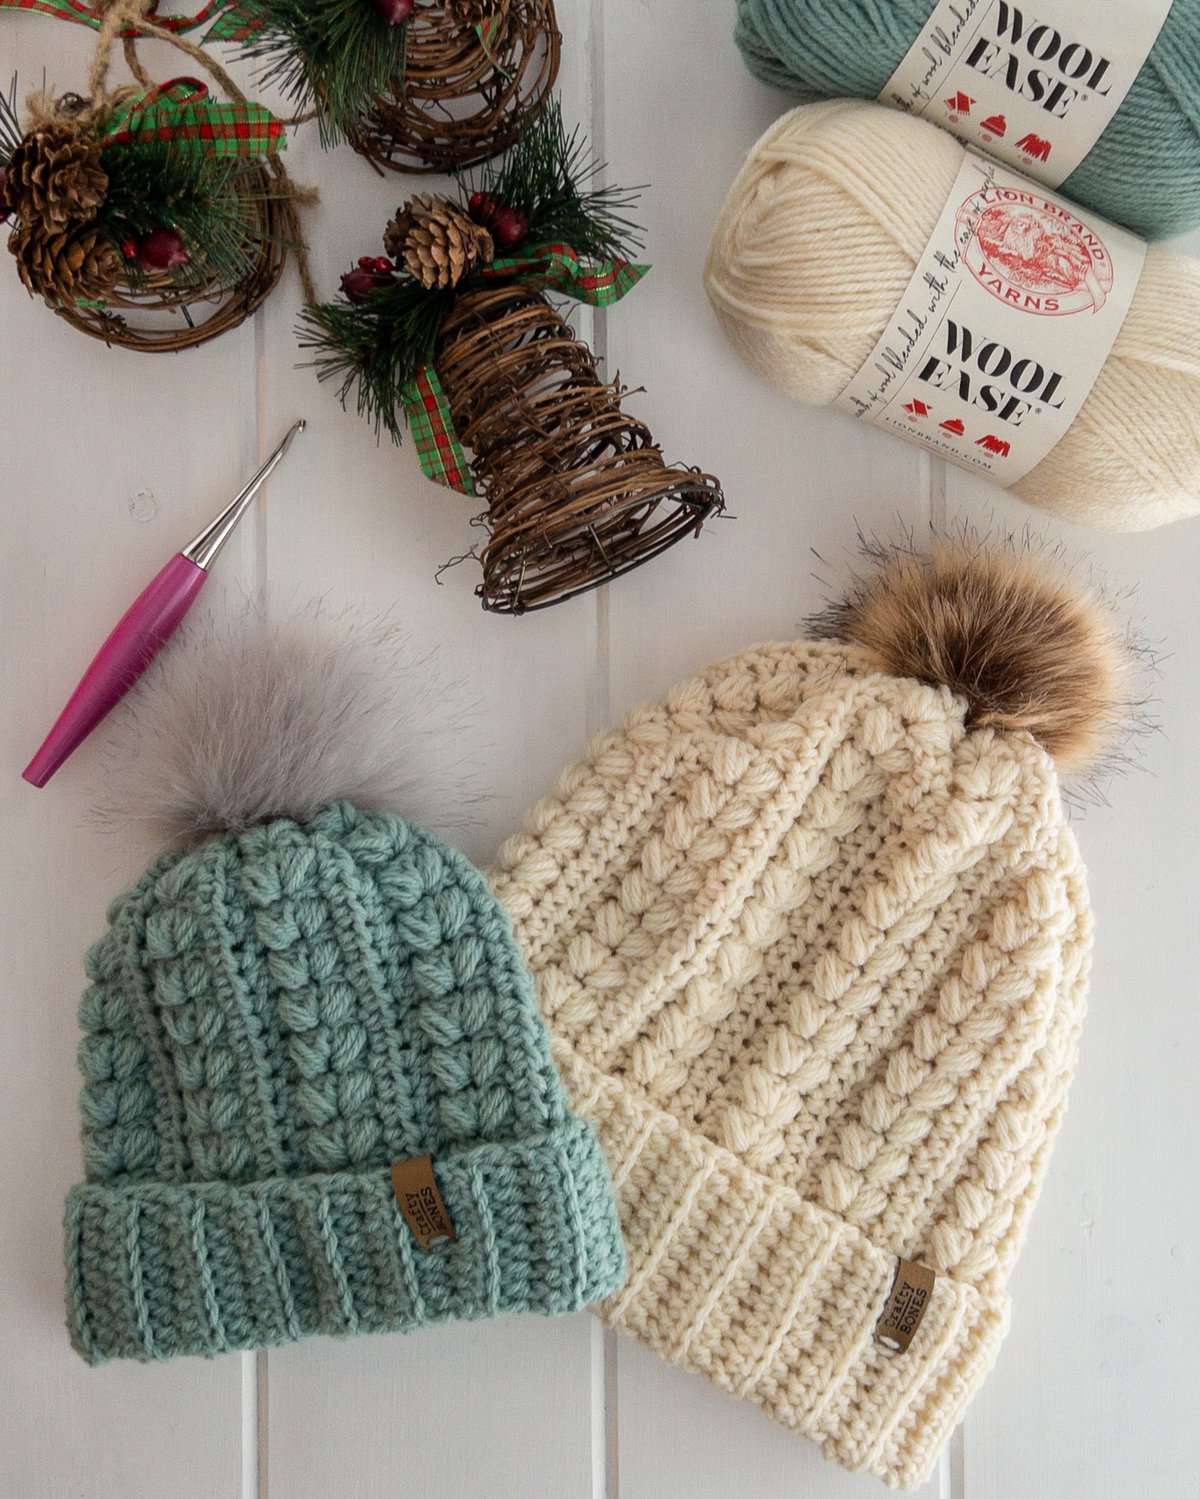
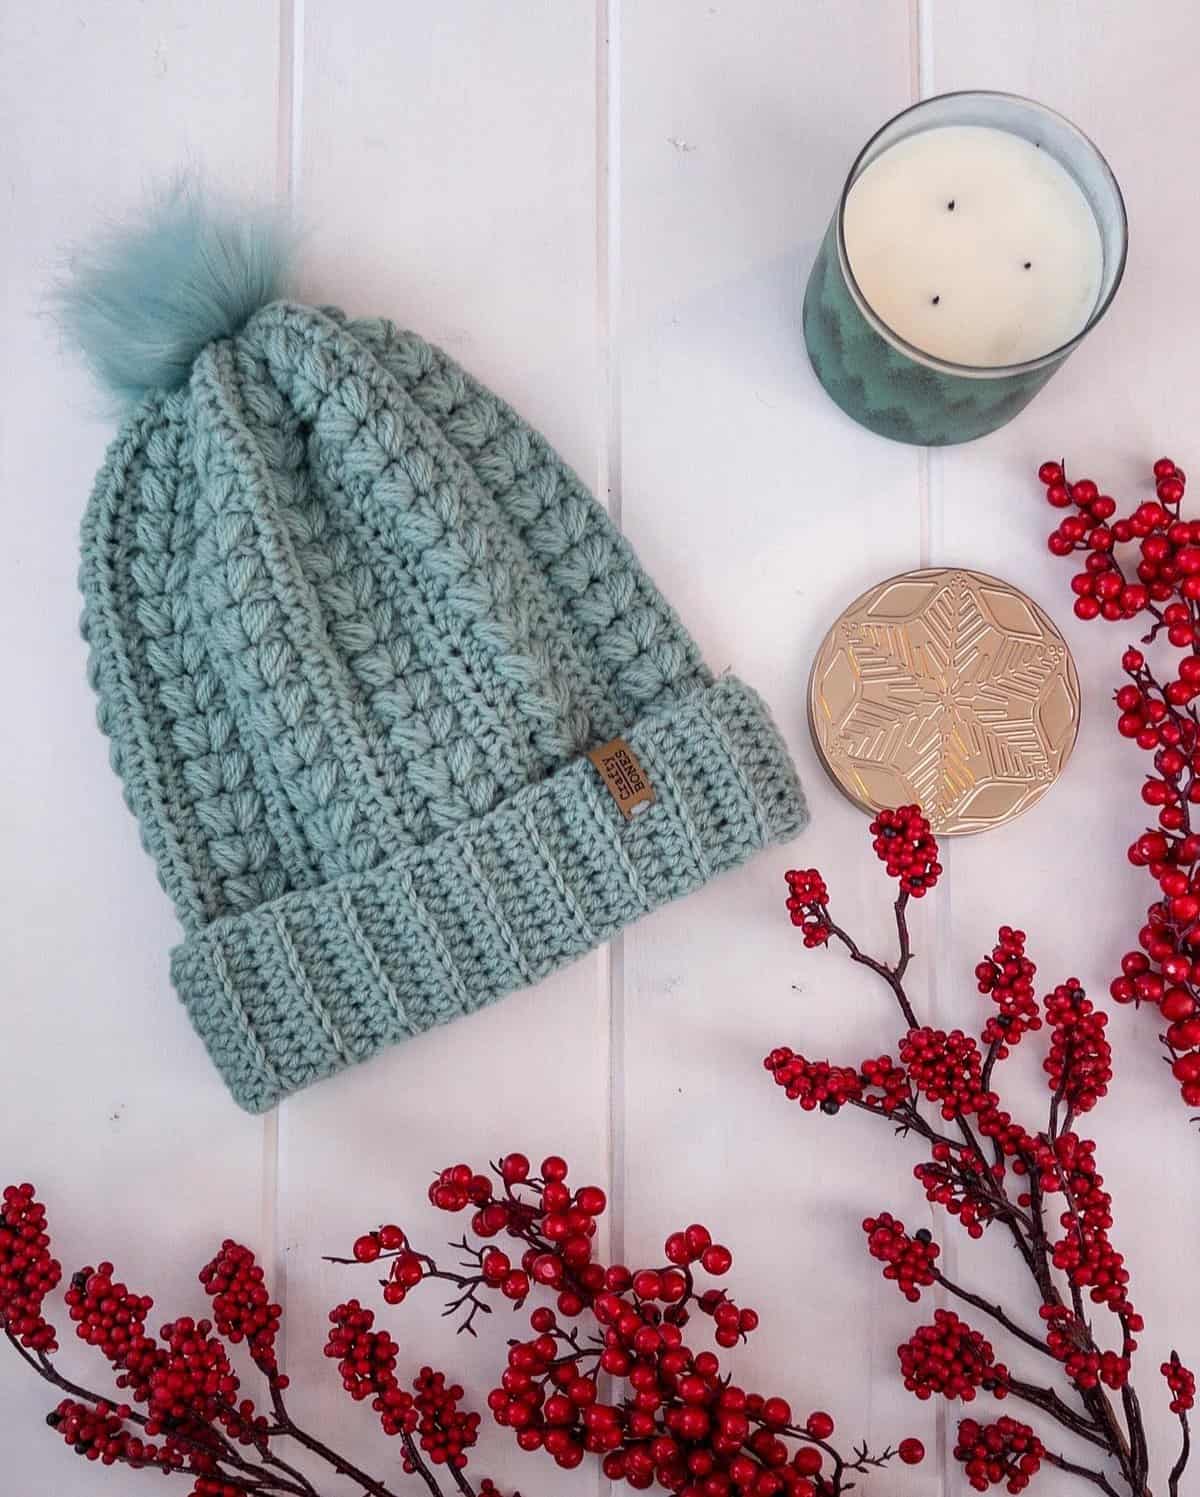
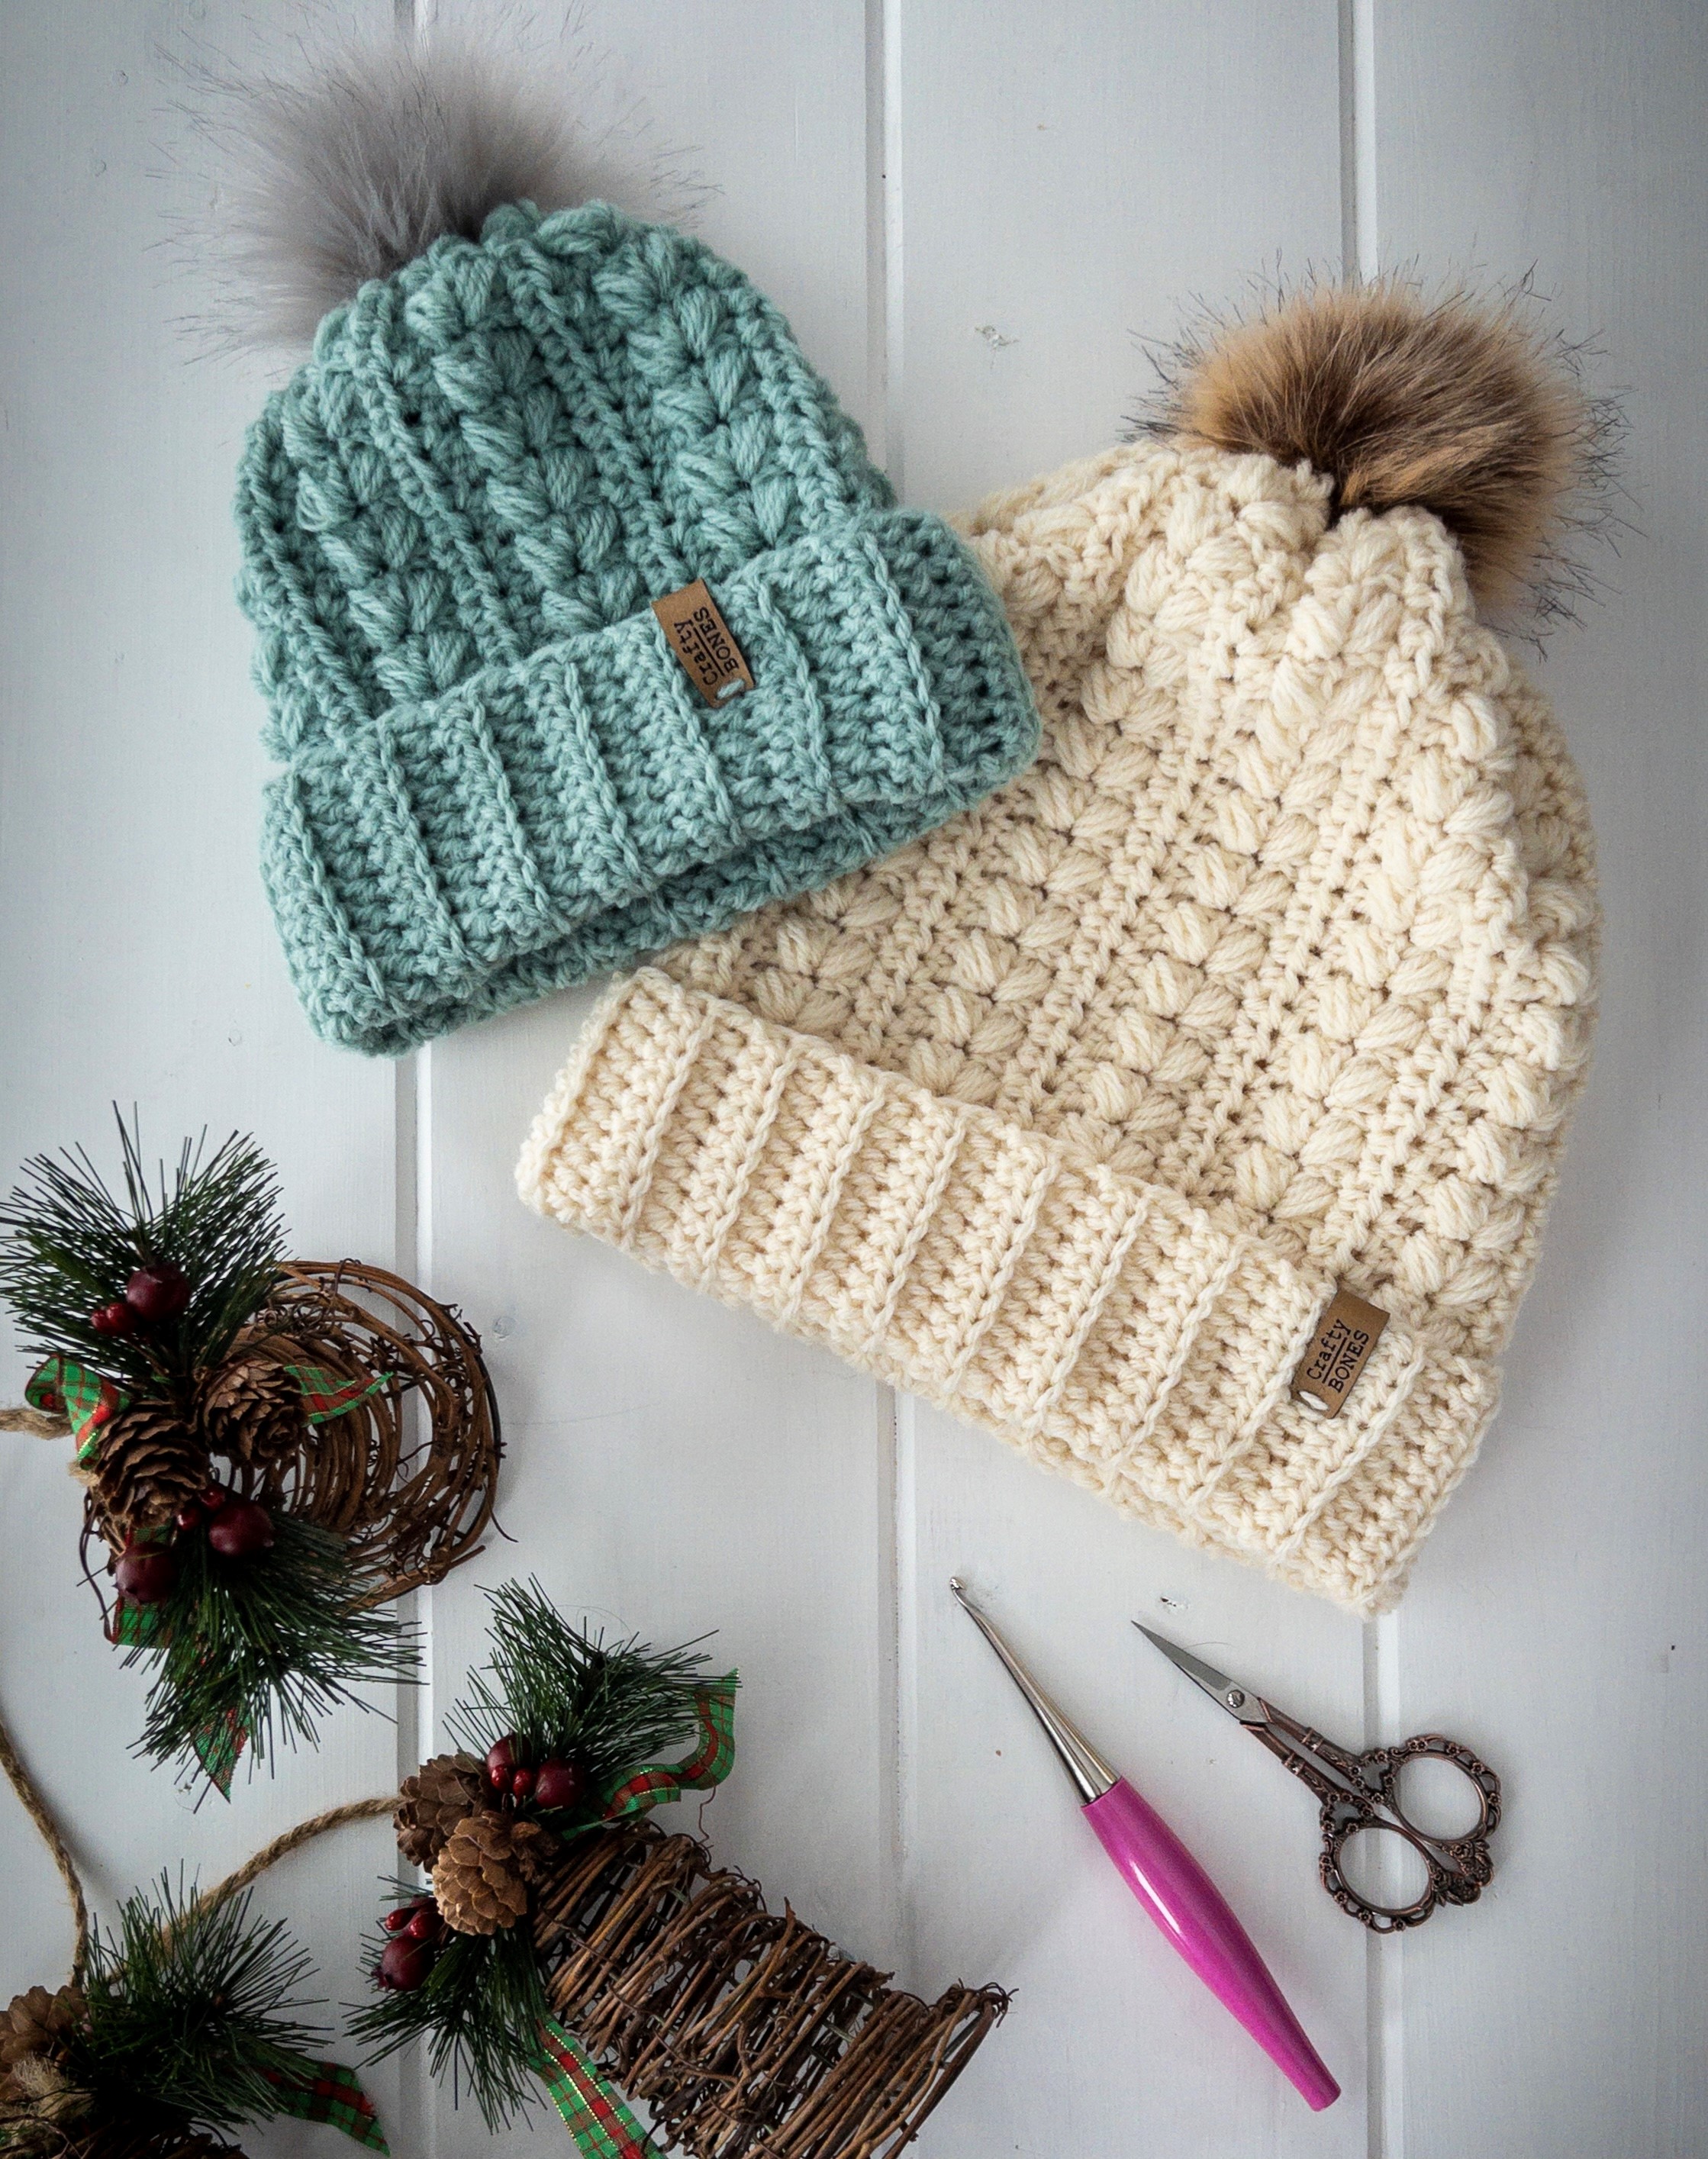
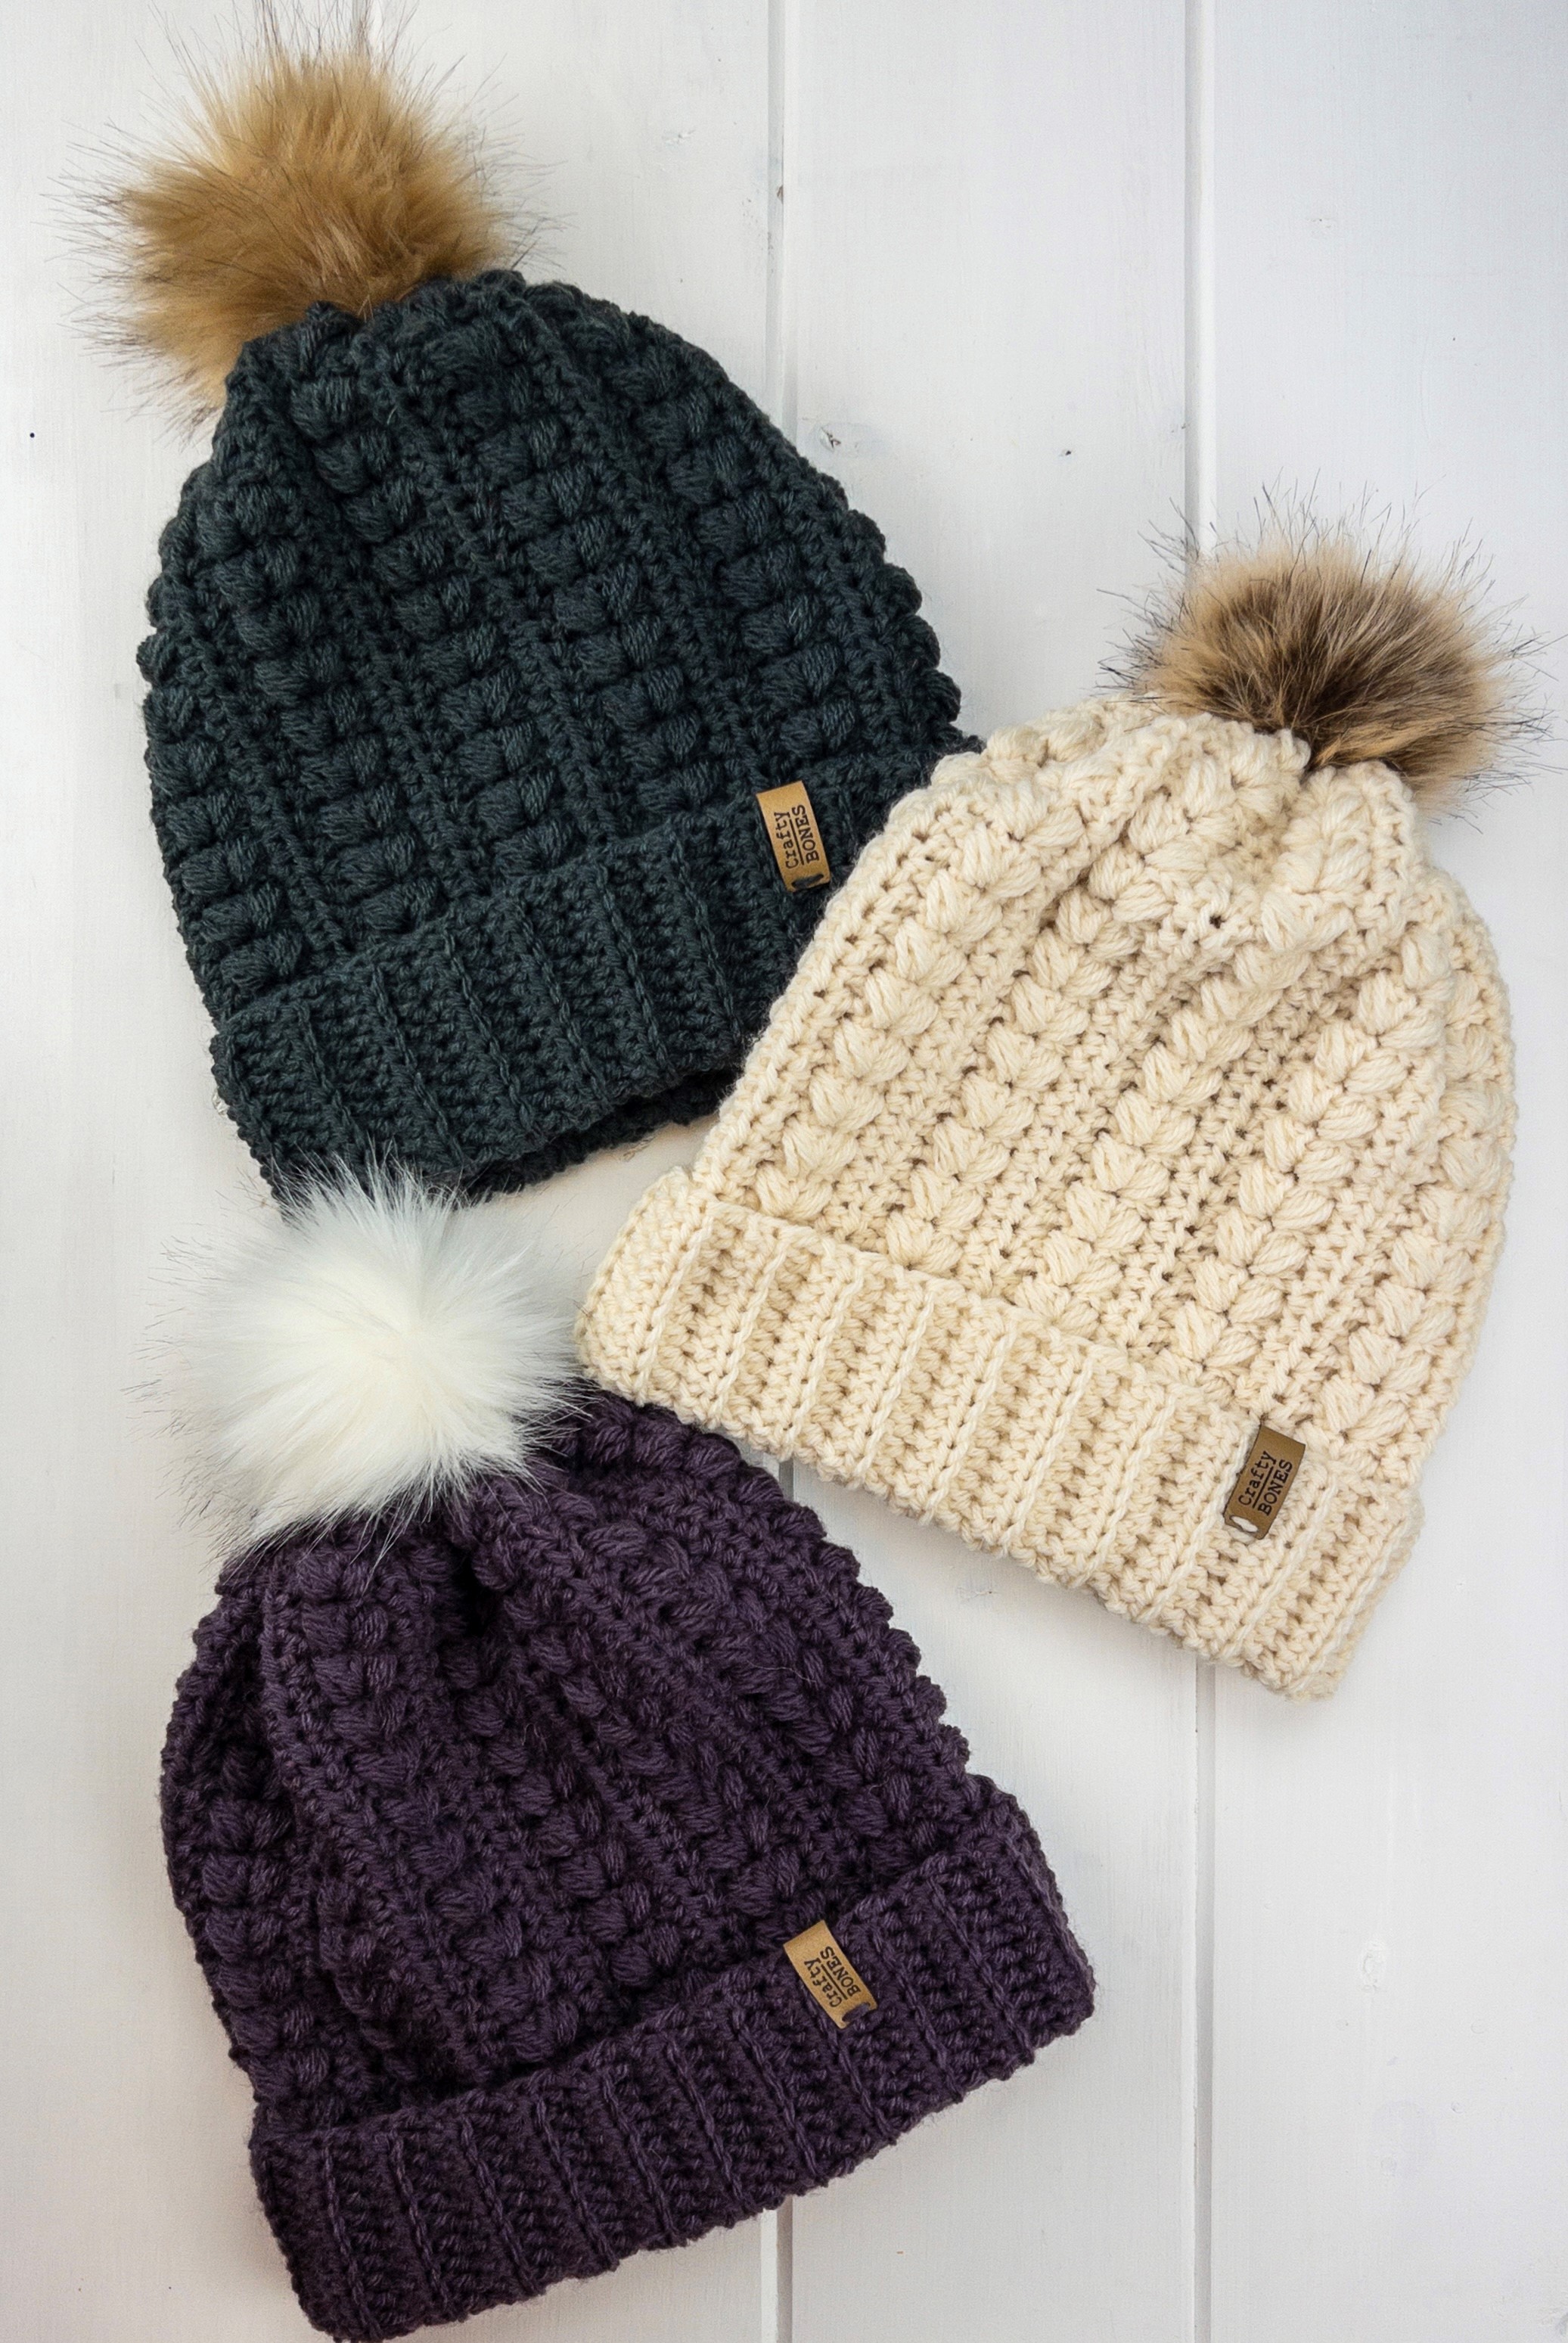
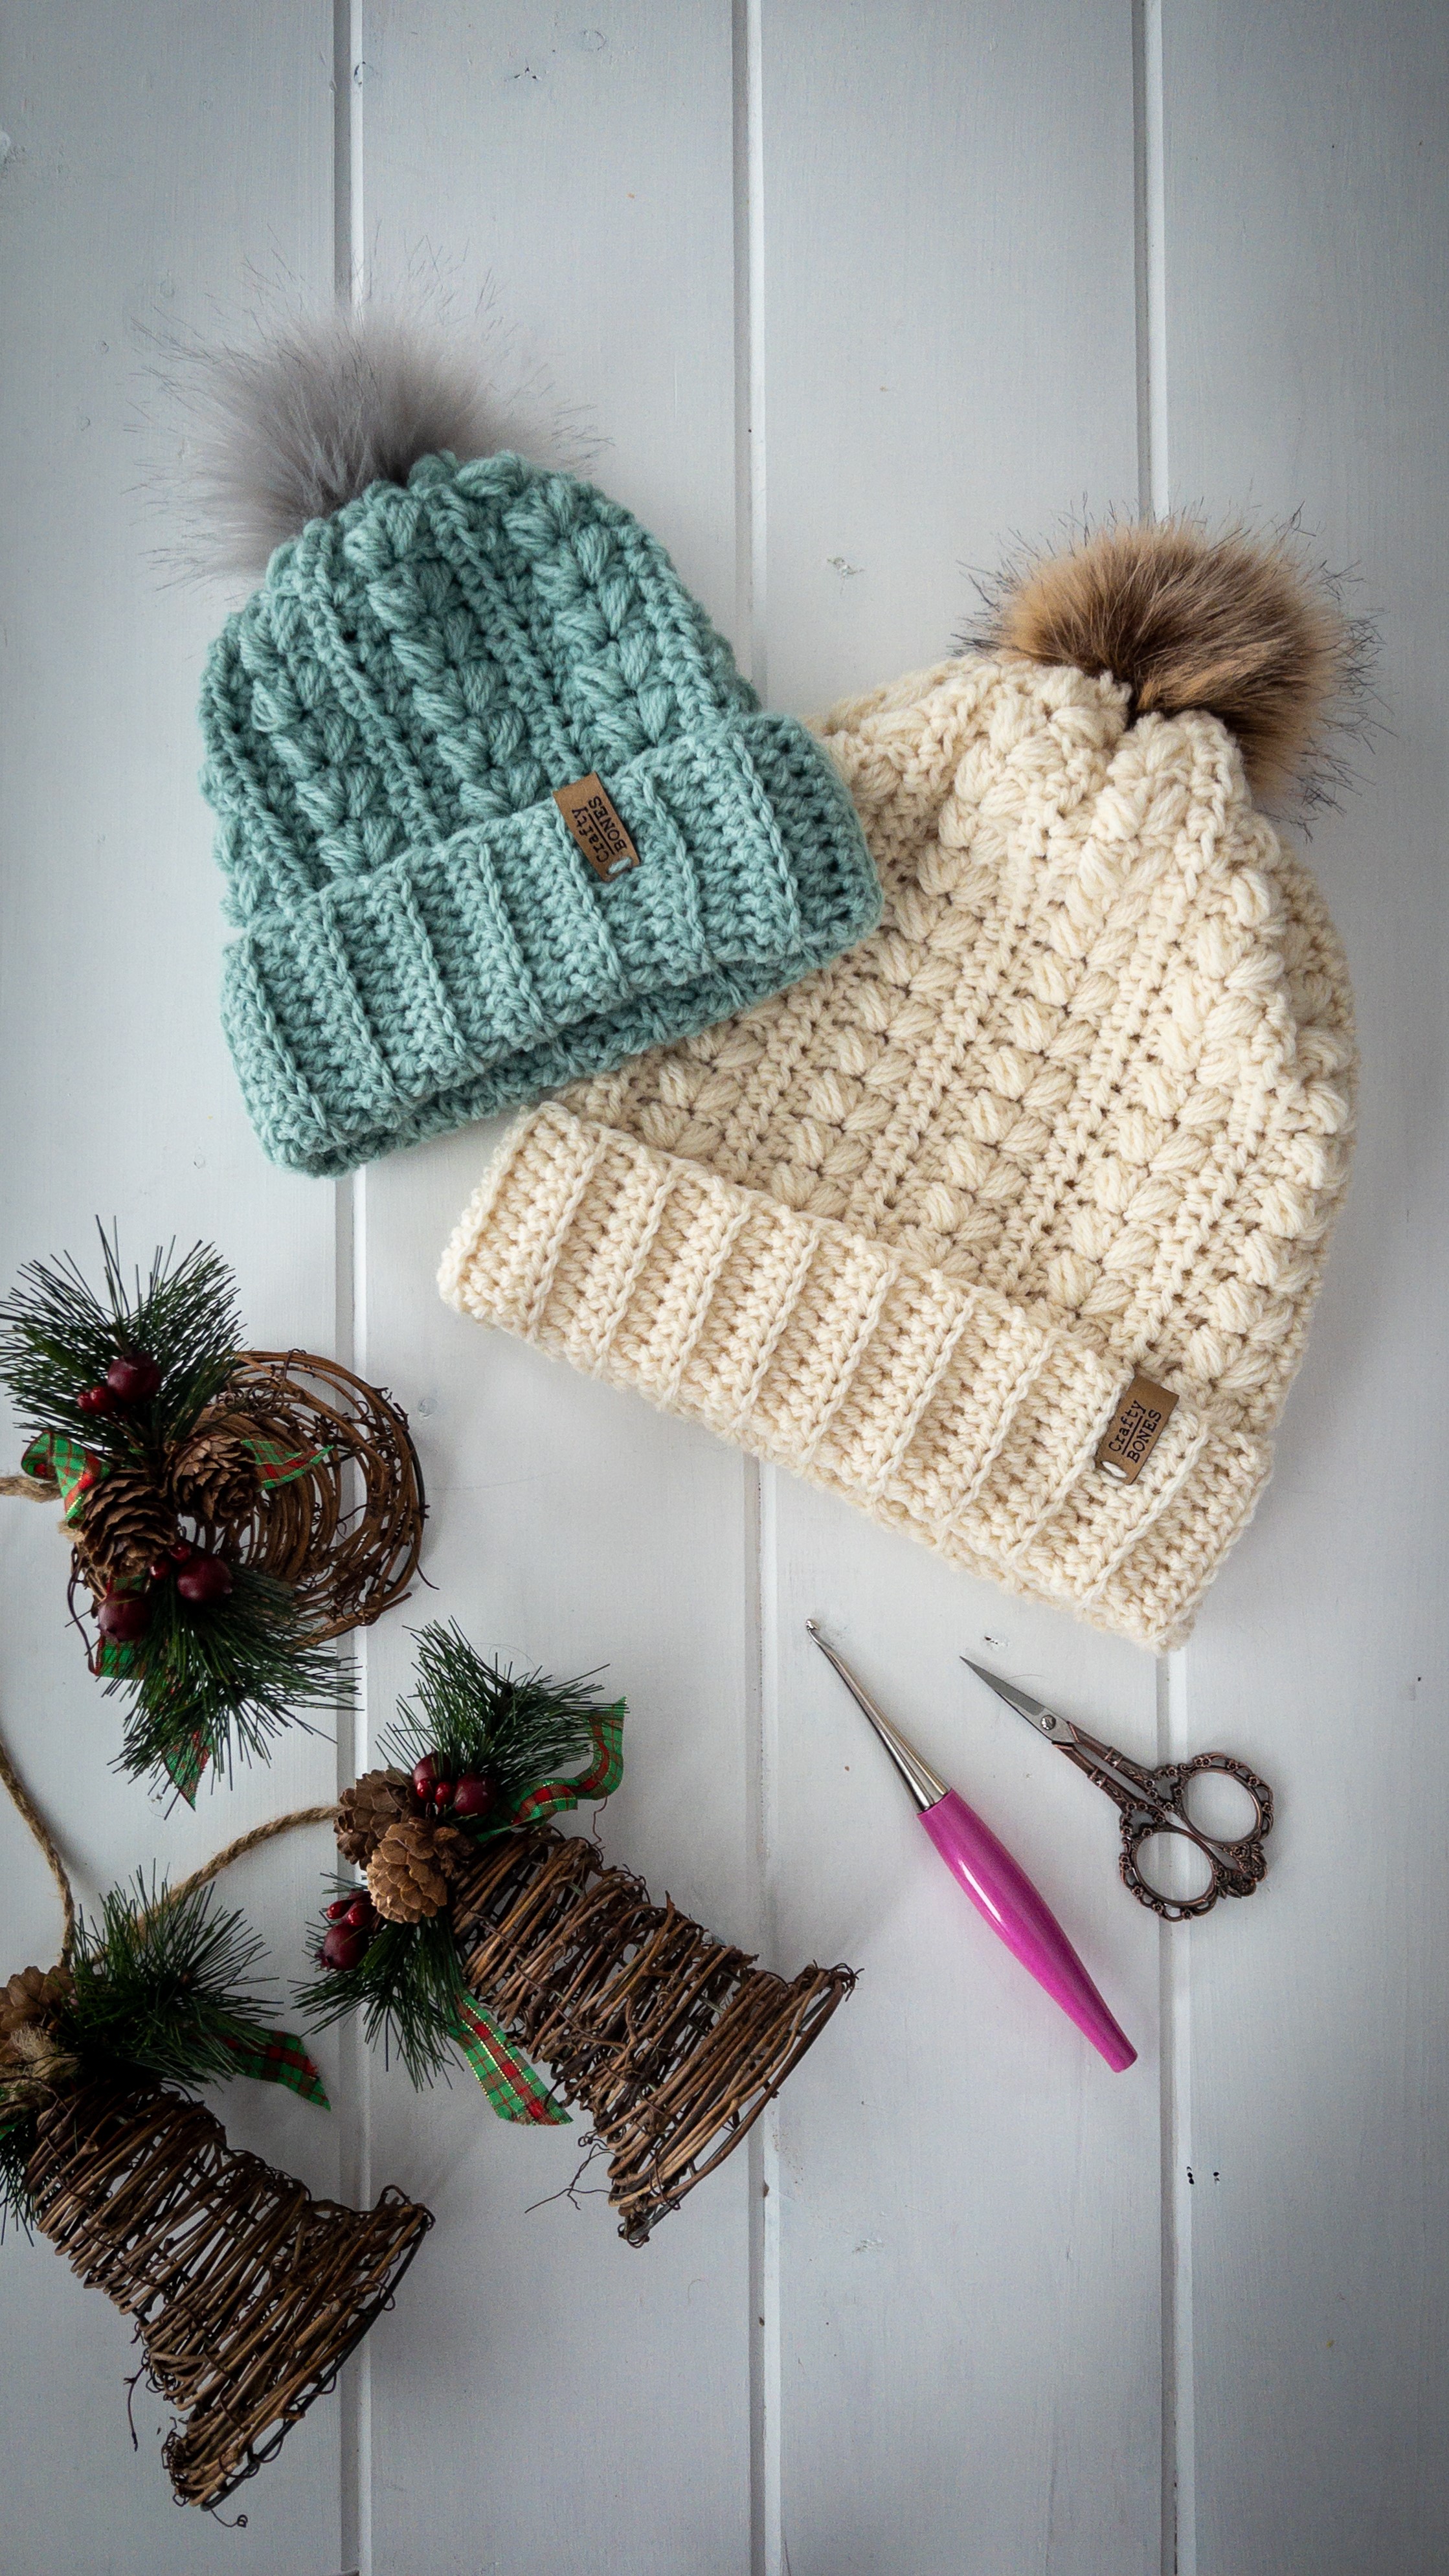
The Danielle Beanie is a very cozy, fun, yet sophisticated looking beanie with lots of texture.
Using Lion Brand Wool Ease Worsted weight yarn this crochets up very quickly, and has many gorgeous colour options.
Love all this texture but afraid it might be too hard if you are new to crocheting? This hat is crocheted as a rectangle, working the pattern and the ribbing at the same time. It is then seamed into a circle, and finished by cinching in the top.
Here is a video showing how to make the
Danielle Beanie
The size can be customized to fit anyone, and you can either add a Pompom, or leave it as is.
Get the PDF Pattern containing 8 different sizes ranging from baby to adult
Printable PDF
Materials
6.5 mm (K-10 1/2) – Furls Crochet Hook
Size 4 / Worsted Weight Yarn – Lion Brand – Wool Ease (235 M/ 260 Yards)
Pompom – Optional
Stitch Marker
Suede Tag – Optional (Brick Bubble)
Scissors
Tapestry Needle
Abbreviations
US Terms
CH – Chain
CONT. – Continued
FHDC – Foundation Half Double Crochet
HDC – Half Double Crochet
PUFF – Stitch described in instructions
SC – Single crochet
HDCBLO – Half Double Crochet Back Loop Only
SK/SKD – Skip/Skipped
SL ST – Slip Stitch
In this pattern there is a Puff Stitch which is made using 3 hdc.
To make this stitch you will:
Yarn over and insert the hook into the stitch where you are creating your puff stitch. Yarn over and draw through. There will be three loops on the hook.
Yarn over, insert your hook into the same stitch as the first step. Yarn over and draw through. There will be 5 loops on your hook now.
Yarn over, insert your hook into the same stitch a third time. Yarn over and draw through. There will now be 7 loops on the hook for a 3 hdc puff stitch. Yarn over and pull through all loops on the hook.
Here is a video If you want a more detailed look at how to do the Puff Stitches
Get the Ad Free Version Here
Gauge
13 sts x 8 rows = 4″ (10 cm) square
6.5 mm (K-10 1/2) hook
(or hook size needed to achieve gauge)
Work up a swatch to see if you are achieving gauge.
(Calculated on an unblocked Gauge Swatch)
Row 1 – Work a fhdc of 23, turn
Row 2 – Ch 1 (doesn’t count as st) 23 hdc , turn
Row 3 & 4 – Ch 1, *sk 1, sc in next st, puff st back into the skd st,
repeat from * across to last st, work a sc in the last st, turn
Row 5 & 6 – Ch 1, hdc 23, turn
Row 7 – Row 14 – Repeat row 3 to 6
Size
Teen/Adult Small
Ch 1 does not count as a st
Row 1 – Work a fhdc of 45, turn
Row 2 – Ch 1, *sk 1, sc in next st, work puff st back into the skd st, repeat from * across till there are 17 sts left, sc, hdcblo in next 16 sts, turn
Row 3 – Ch 1, hdcblo into next 16 sts, *sk 1, sc in next st, work puff st back into the skd st, repeat from * across to last st, work a sc in the last st, turn
Row 4 – Ch 1, hdc 29, hdcblo 16, turn
Row 5 – Ch 1, hdcblo 16, hdc 29, turn
Row 6 – Ch 1, *sk 1, sc in next st, work puff st back into the skd st, repeat from * across till there are 17 sts left, sc, hdcblo in next 16 sts, turn
Row 7 – Ch 1, hdcblo into next 16 sts, *sk 1, sc in next st, work puff st back into the skd st, repeat from * across to last st, work a sc in the last st, turn
Row 8 to Row 39 – Repeat rows 4 through 7
Row 40 – Ch 1, hdc 29, hdcblo 16
Fasten off, leaving a long enough tail for seaming
Want to make it in a different size?
Get the PDF Pattern including 8 Sizes
Seaming
Once you have finished off the Rectangle Panel you will join the two short ends together. Folding it in half with the Right Sides together, use a mattress stitch all the way along the side.
This will create a tube. Once finished the mattress stitch fasten off and flip the tube right side out.
Using the remainder of the tail, loop through the outside of the stitches along the top of the hat. Once you have completely gone around the circle cinch in and tie off.
Attach your pom pom and tag if desired. Fold up the brim to your liking.
This is an original pattern by Crafty Bones ©2021.
Distribution of this document in whole or in part in any way is not allowed.
You may sell finished work with this pattern but please kindly include pattern credit to
Leanna Haughian of Crafty Bones or link back to Crafty-Bones.com
Feel free to tag me in any work on social media
@Crafty.bones or use the hashtags #makewithcraftybones #DanielleBeanie
Subscribe at crafty-bones.com to stay up to date on the latest patterns
If you have any questions my email is
[email protected]
Best way to stay up to date is to Subscribe!
Join my Newsletter to hear about all things Crafty Bones

One Comment