Chain Stitch: The Ultimate Guide
Some links in this post are affiliate links, so I may earn a small commission if you make a purchase. It’s a great way to support Crafty Bones, and it doesn’t cost you anything extra! You can find more details in our Privacy Policy.
Stitches are all in US / Canadian Terms
Welcome back to the “One Stitch at a Time” series here on Crafty Bones! This series is dedicated to helping you master each stitch, one step at a time. Today, we’re diving into the Chain Stitch.
The chain stitch is the backbone of crochet, forming the foundation for almost every project. Whether you’re just learning or seeking to refine your technique, this guide will answer all your questions about the chain stitch.
What is a Chain Stitch?
A chain stitch is the simplest crochet stitch, creating a series of interconnected loops. It is often used to form the foundation of a project, as part of decorative patterns, or to create open, airy designs in lacework.
What is the Abbreviations for a crochet Chain?
In written patterns, you’ll see chain stitch abbreviated as Ch/ch.
This abbreviation is used in written instructions to help streamline the pattern and make it easier to follow.
Here’s how it might look in a pattern:
Row 1: Ch 11, sc in 2nd ch from hook and in each ch across, turn. —10 sc.
Row 2: Ch 1, sc in each sc across. —10 sc.
The abbreviation ch is a universal term in English-language patterns, so once you know it, you’ll be able to tackle any project that uses chains.
What is the Chart Symbol for a Chain Stitch?
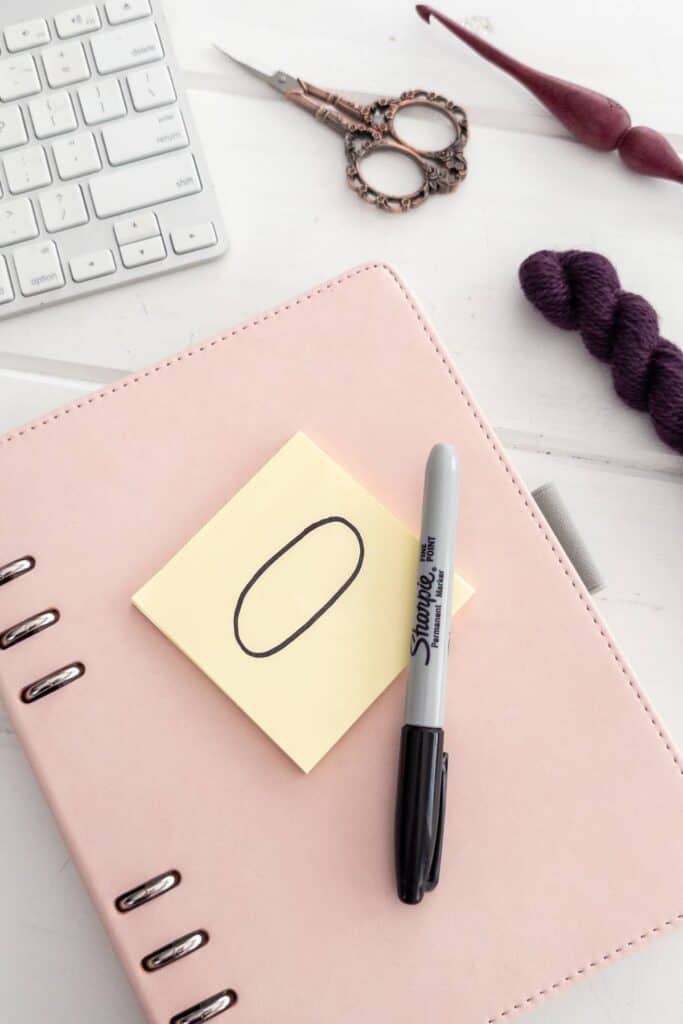
In crochet charts, the chain stitch is symbolized by a small oval or circle, resembling a “0” or a loop. This symbol indicates where a chain stitch should be made within the pattern. Typically arranged in sequences, these symbols illustrate how the chains connect and interact with other stitches in the design.
Understanding this symbol is key to reading and mastering crochet charts, as each represents one stitch. The simplicity of the chain stitch’s oval shape mirrors its straightforward nature, making it an excellent starting point for beginners while remaining essential for advanced designs.
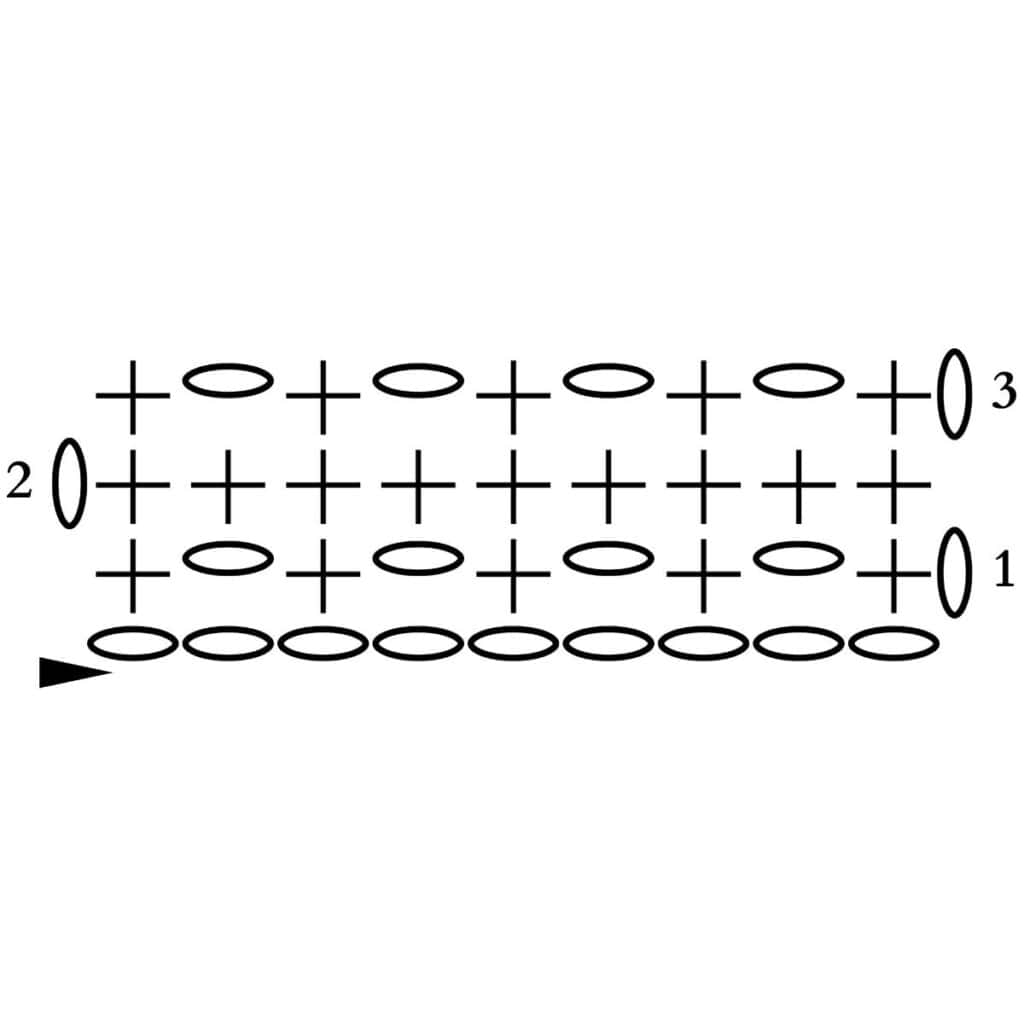
This sample chart indicates:
Ch 10, sc into second chain from the hook, * ch 1, sk 1, sc in the next st, repeat from * across.
Ch 1, sc 9 across (working one sc into the top of each sc, and into each ch 1 space from the previous row)
Ch 1, sc in first st, * ch 1, sk 1, sc in next st, repeat from * across.
How to make a Crochet Chain Stitch: Step-by-Step
Follow these steps to master the chain stitch:
- Make a slip knot: Create a loop with your yarn, then pull the working yarn through the loop to form a knot. Place this on your crochet hook.
- Hold your yarn: Tension the yarn with your non-dominant hand while holding the hook with your dominant hand.
- Yarn over (YO): Wrap the yarn over your hook from back to front.
- Pull through the loop: Draw the yarn through the loop on your hook. This completes one chain stitch.
- Repeat: Continue the yarn-over and pull-through steps until you have the desired number of chains.
When you make a long string of chains to begin a pattern it is know as a foundation chain. You will work other stitches into the foundation chains according to what the pattern says.
How Can I Perfect Making a Chain Stitch?
To perfect your chain stitches:
- Practice Tension: Aim for even tension so your chains are consistent in size.
- Use the Right Hook: Select a hook size appropriate for your yarn to avoid overly tight or loose chains.
- Take It Slow: Focus on forming clean, uniform loops as you practice.
- Check Your Work: Periodically count your chains to ensure accuracy.
What are some Chain Variations?
Some common variations to the Chain are:
- The chain stitch can be adapted in many ways to enhance your crochet projects:
- Foundation Chain: Combines chaining with the first row of stitches for added stretch.
- Chain Loops: Used to create decorative or functional loops in lacework or edges.
- Picot Stitch: A decorative element formed by chaining and securing back into the work.
- Turning Chain: A series of chain stitches added at the beginning of a new row or round in crochet to help elevate the height of your work, ensuring it aligns with the height of the stitches in that row. Turning chains play an essential role in maintaining the structure and uniformity of your project.
Conclusion
Understanding the chain stitch unlocks endless possibilities in crochet. Its role as a foundational stitch and its potential for creative variations make it a skill every crocheter should master. Whether you’re starting a new project or adding flair to an existing one, the humble chain stitch is always up to the task.
Happy crocheting! For more tips and tutorials, explore the Crafty Bones Crochet Stitch Library.

